|
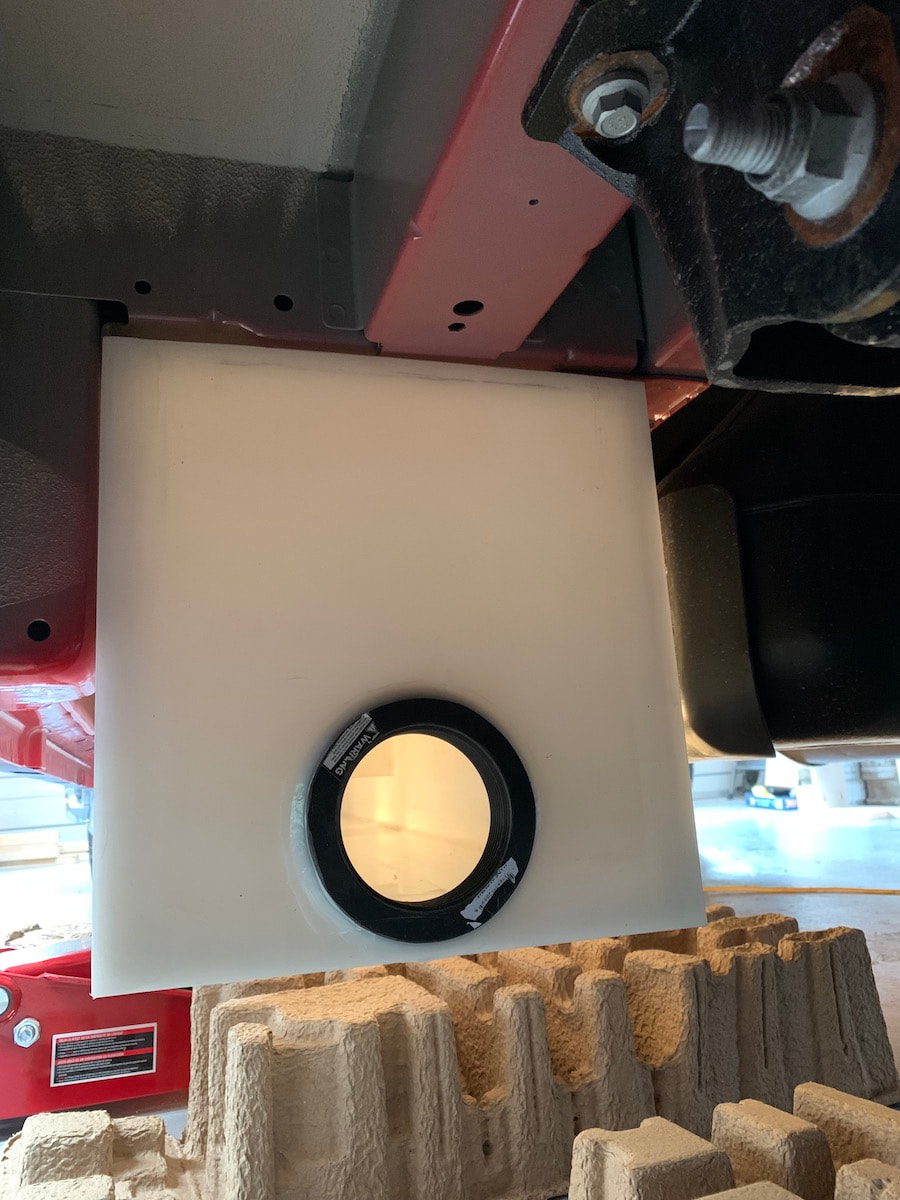
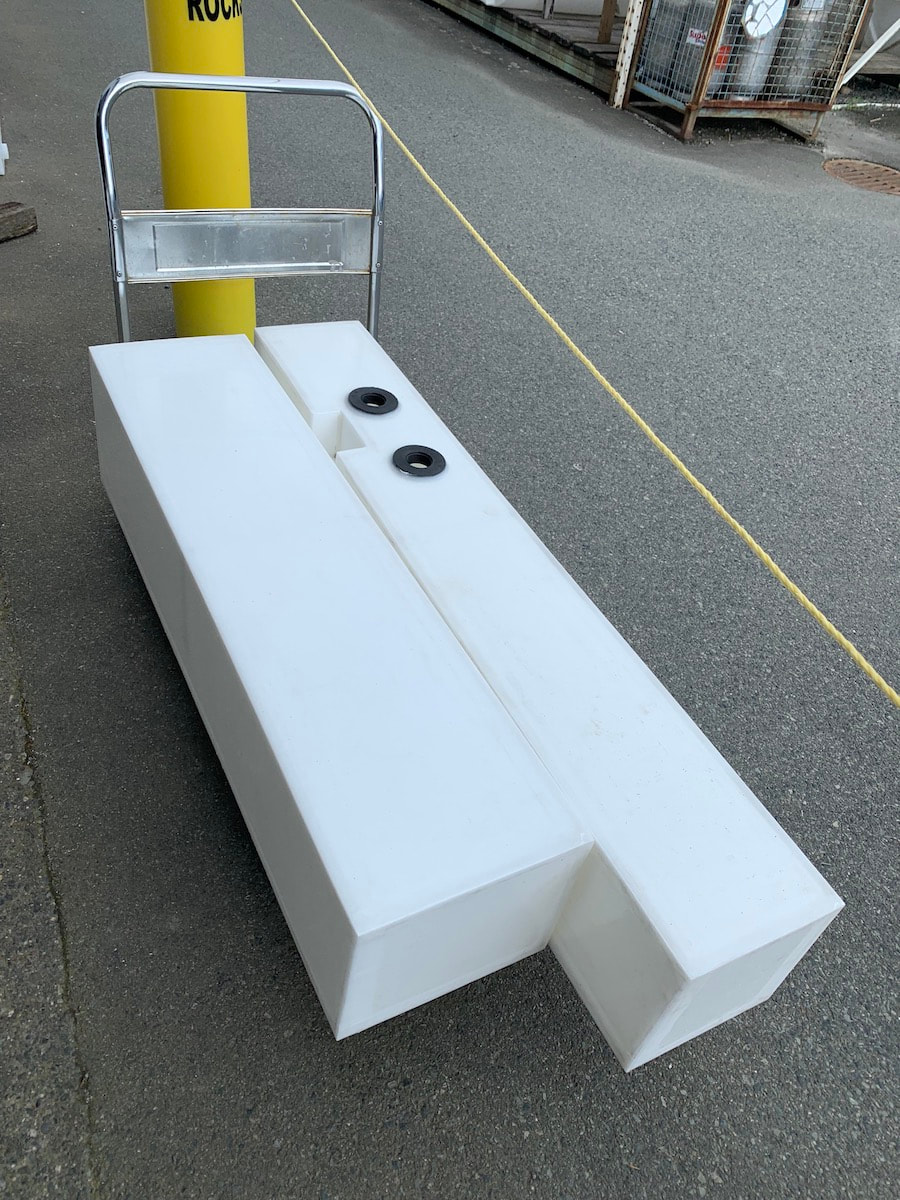
Barr Plastics has been very good. I took the black tank out there today to have the fittings welded in place. The 3" opening just barely fit onto the tank location I indicated. They actually trimmed off about 1/2" of the fitting because it was quite close to the edge of the tank. There was some discussion on the Transit user group website whether the cross-nuts I used will be strong enough to support a full tank (I tend to over engineer things and always want to be on the safe side.) In the end commenters seemed to agree that the materials I used should be plenty strong enough. Nevertheless, I'm going to make a couple of additions to be extra safe. Heck, we are having a toilet system with 28-29 gallons of capacity built into Redford, obviously we're the type of people who do not like "surprises!"
The tanks and some of the straps and hangers got some spray painting today. Several more cross-nuts got installed inside to get ready for building the bathroom framing. One more big hole was drilled into the side for the shore power entry. Just like everything else, I couldn't finish that job because I realized I forgot to buy the 10/3 wire needed to complete the job. I thought I had all of my wire but realized that I had planned to buy the piece at Princess Auto (all of the other wire I bought online as it's marine grade wire - quite pricey!) Yet another quick shopping trip tomorrow morning for the wire and some more spray paint. There have been and will continue to be a gazillion visits to Home Depot, Princess Auto, Lordco, Napa Auto Parts, online to Amazon, etc. before this project is over!
2 Comments
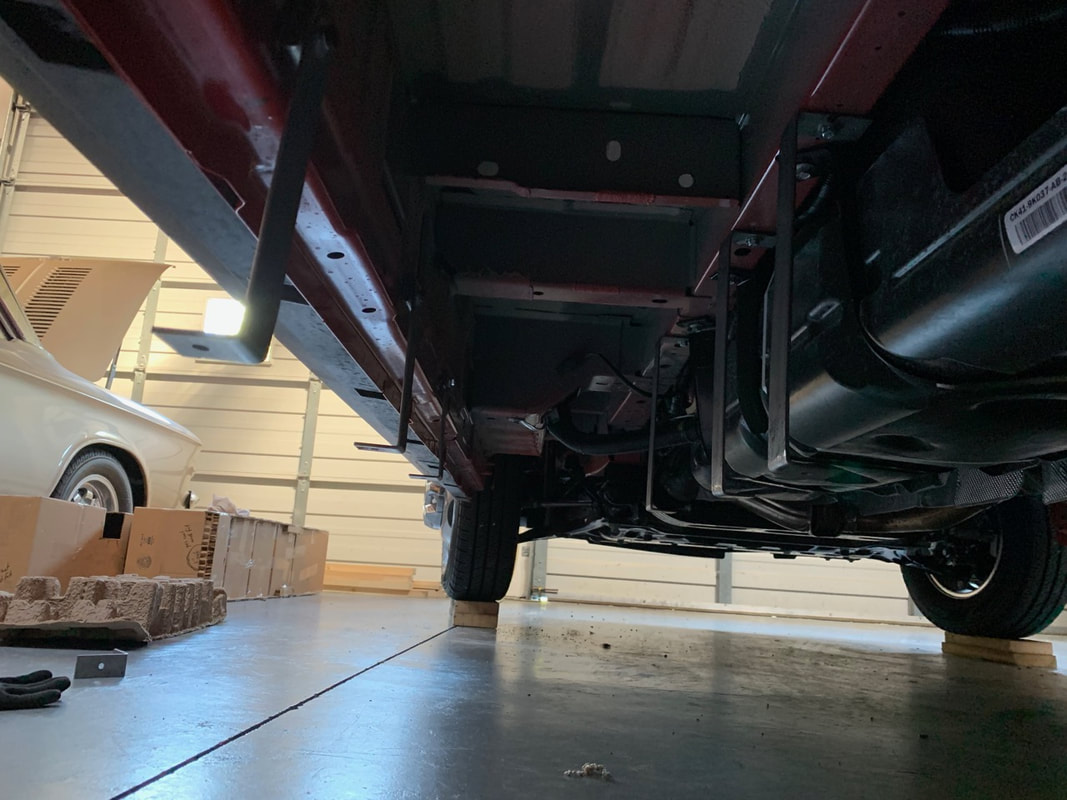
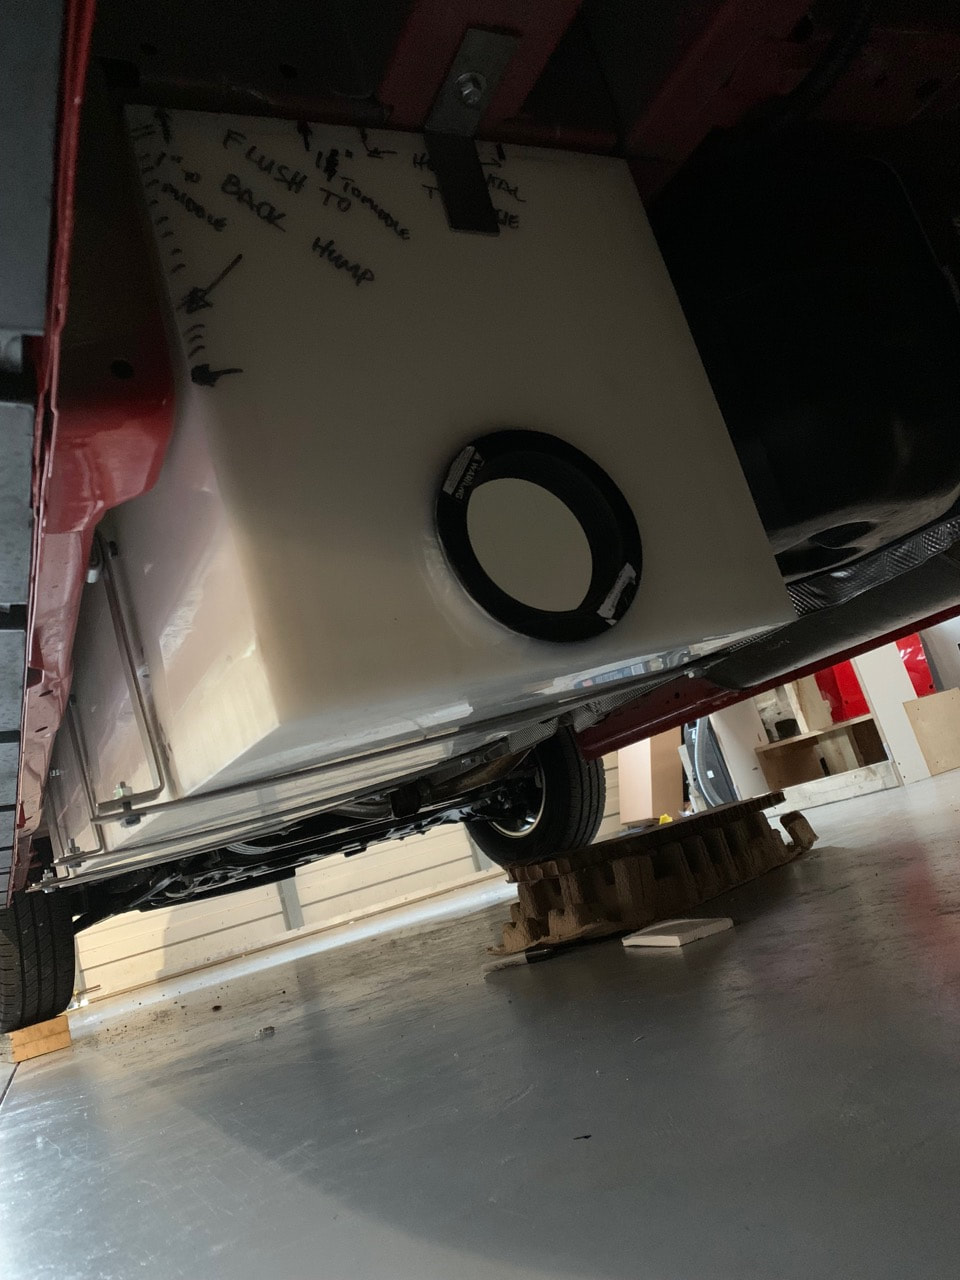
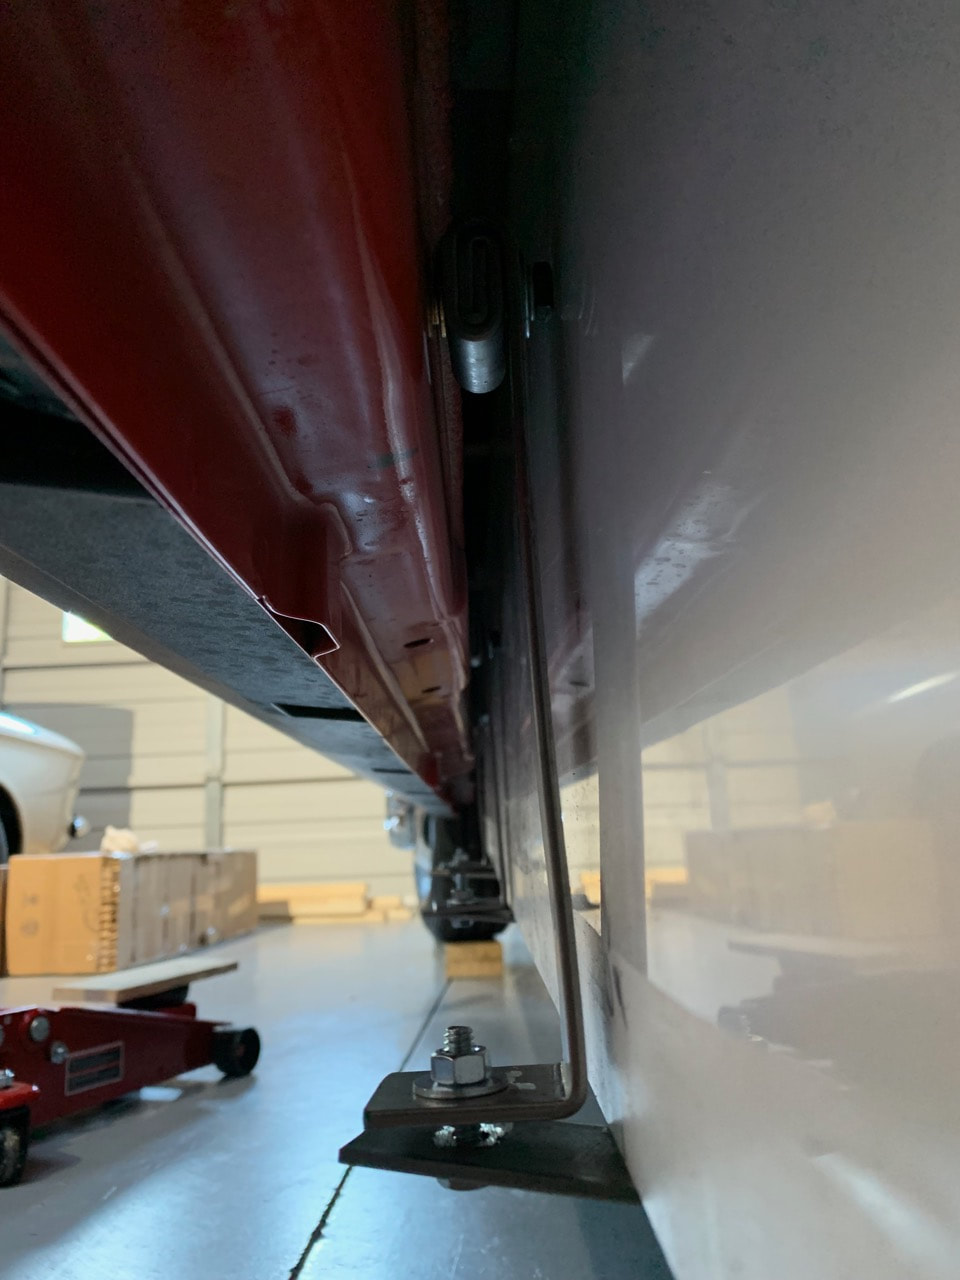
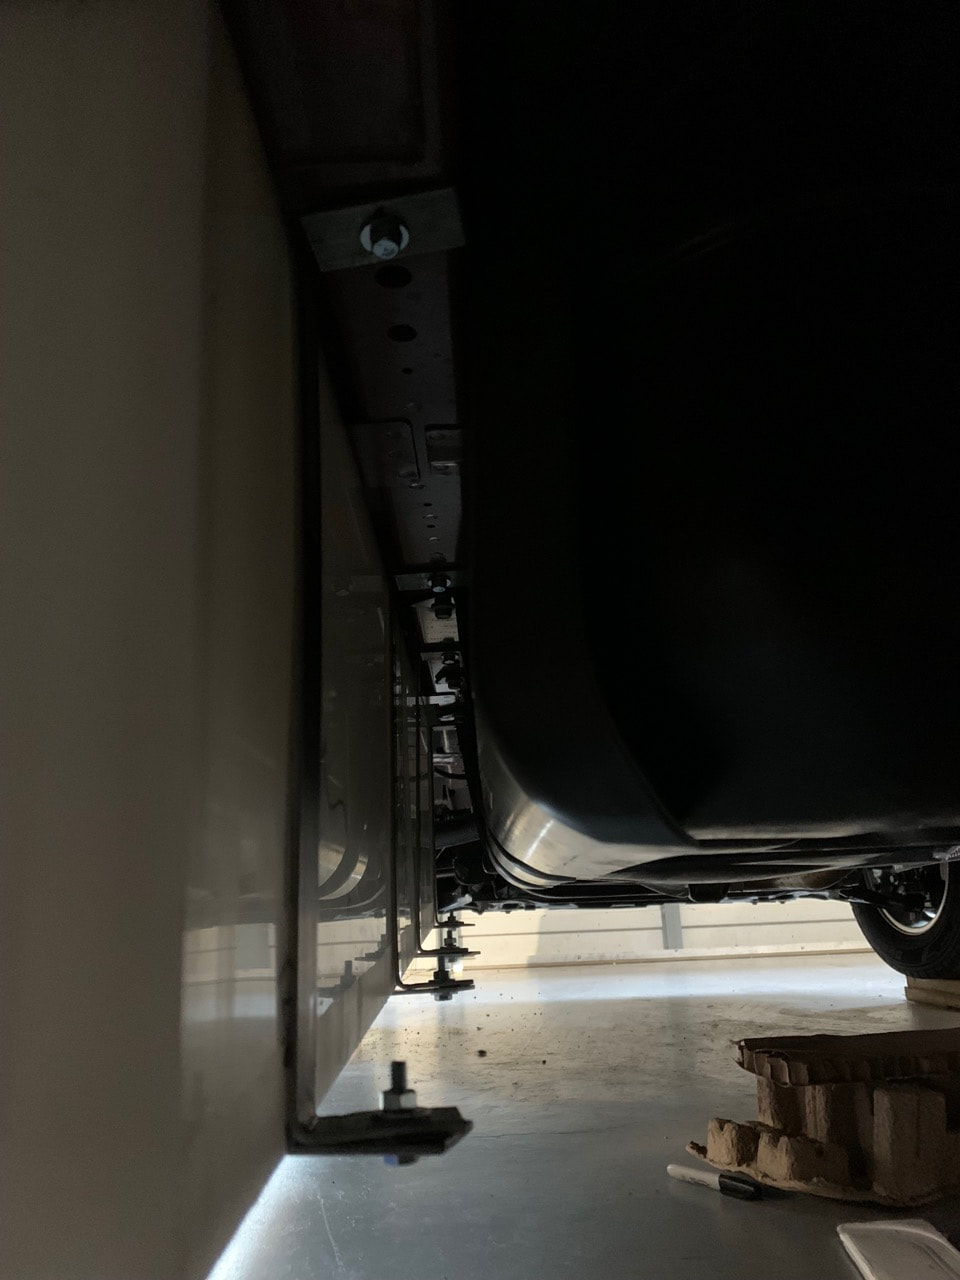
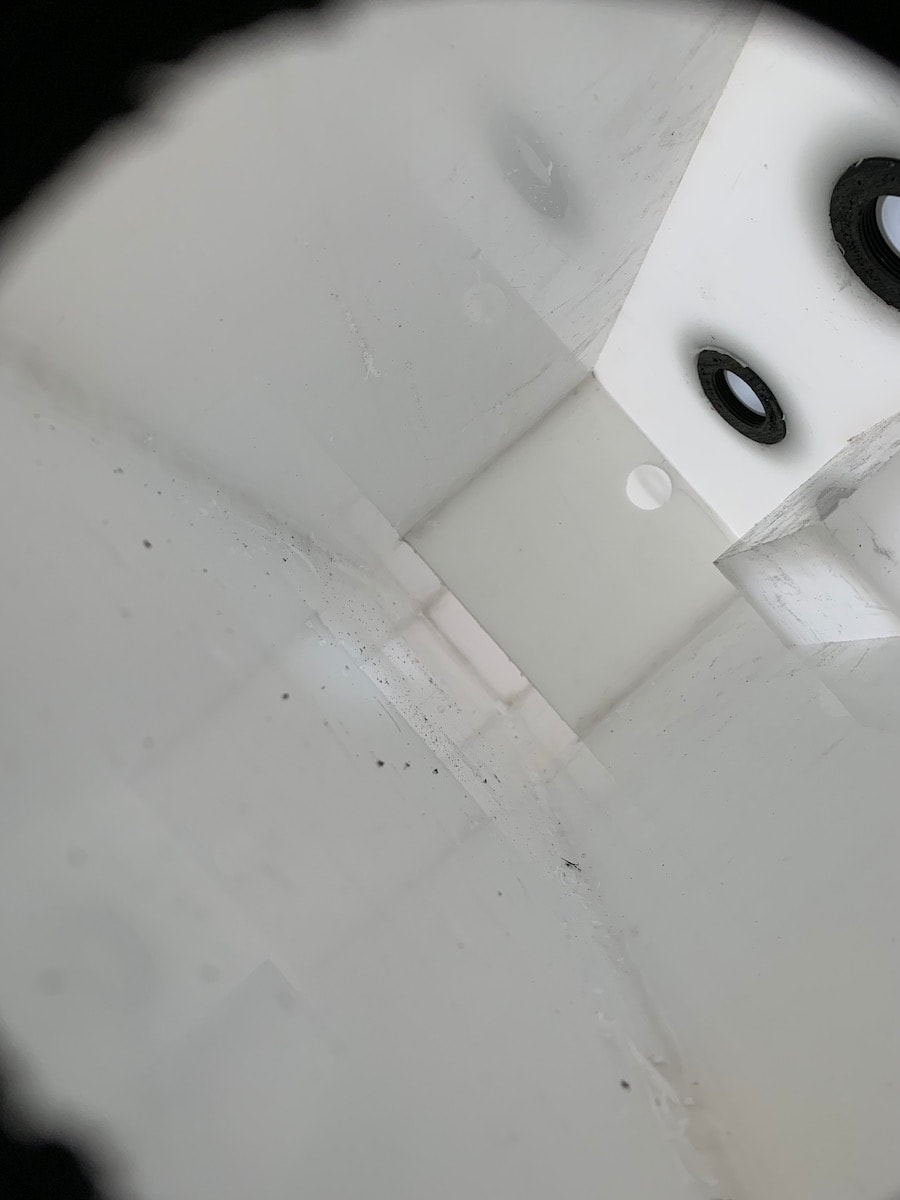
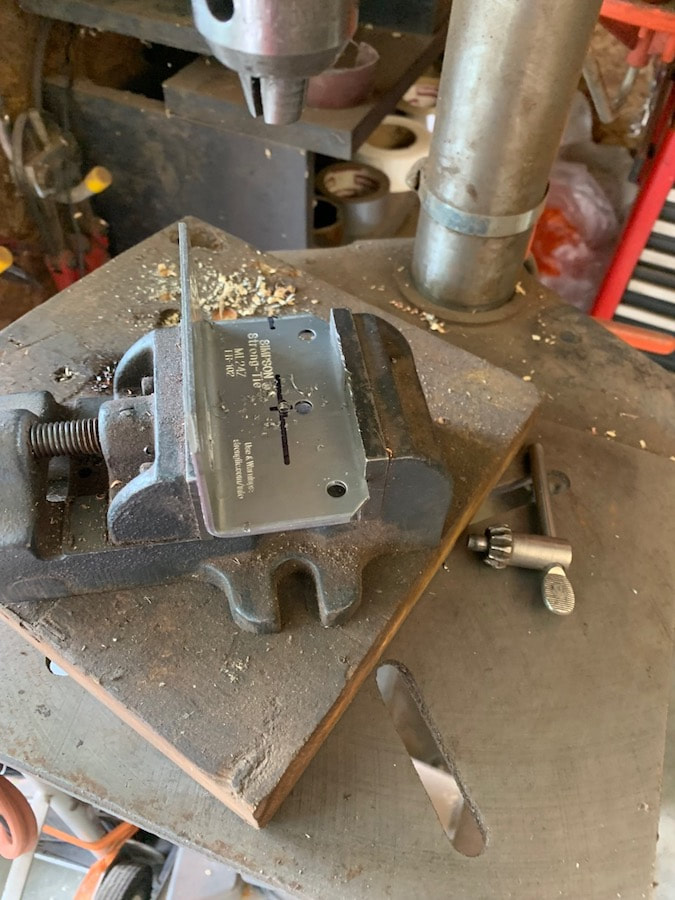
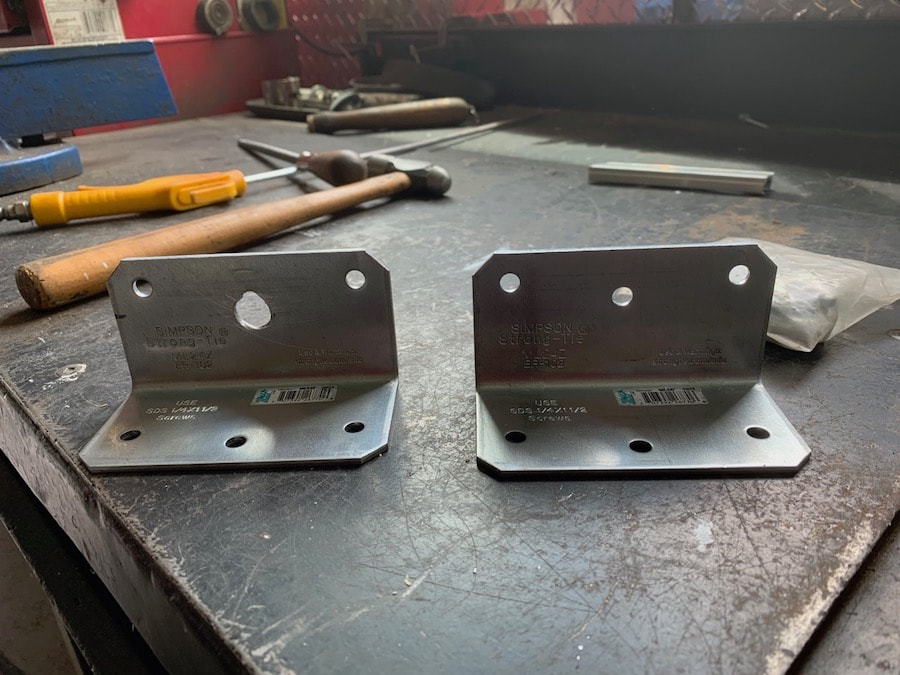
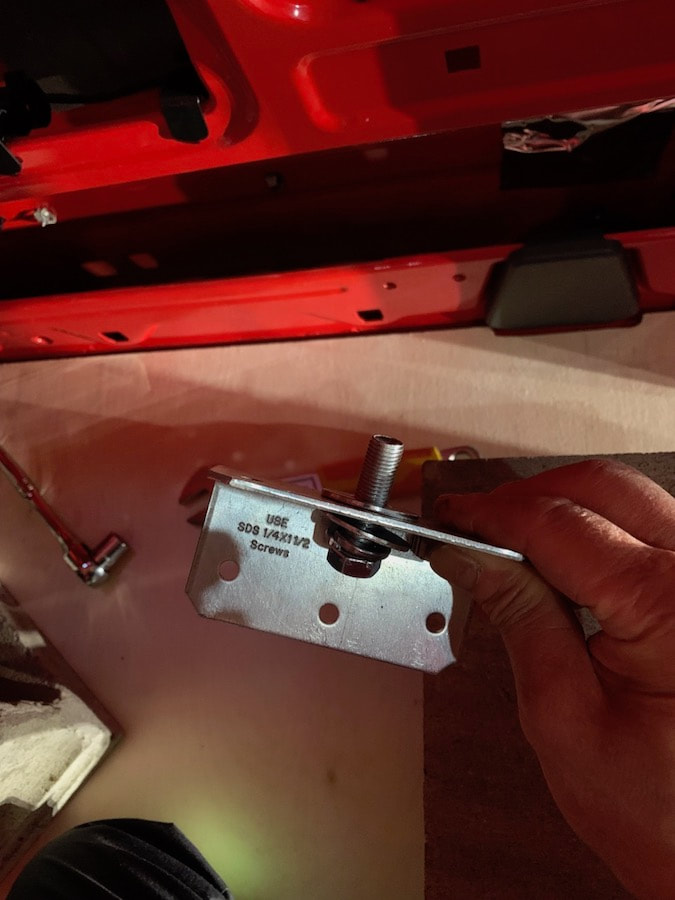
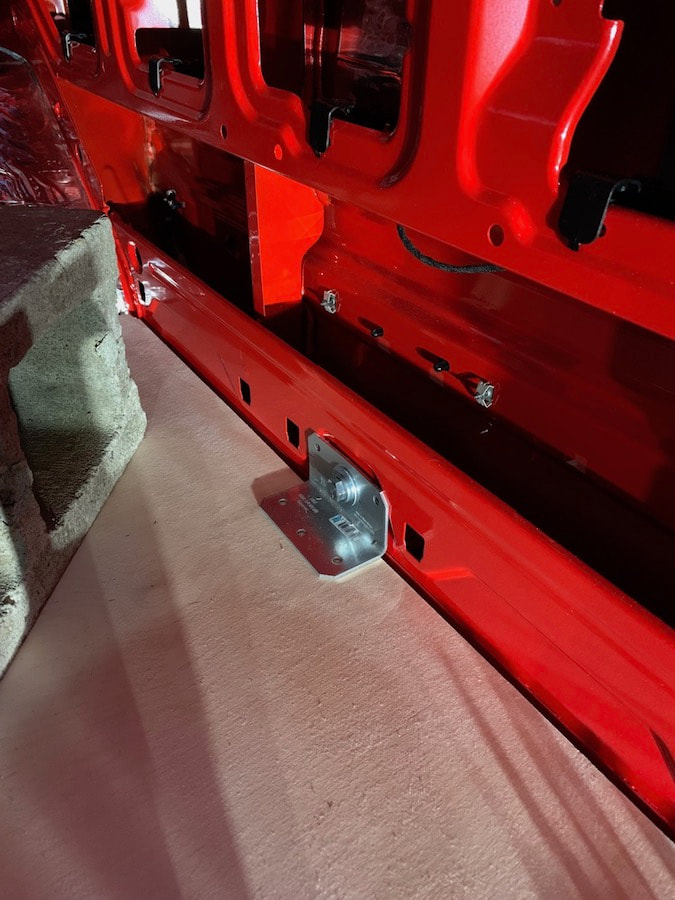
It took me all day but I made the clamps and straps and got the black tank test fitted. The pilot holes for the toilet entry and the vent point have been drilled in the van floor and into the tank. I have to pick up some bimetal hole saws as we don't have one big enough for the toilet flange and my 2" saw has stripped threads. I've dropped the tank back out again as I have to take it back to Barr Plastics in Abbotsford to have them weld the adaptors in place on the tank. All of the brackets also have to get primed and then painted black. Before I paint them I think I will grind off the corners on the brackets and straps just for a cleaner appearance. When the tank comes back I'll also paint it black so that all of it should be "less noticeable" under the van. I was surprised though at how much steel it took. I picked up five 4' lengths at Home Depot this morning and have used up four of them (with very little waste.) The grey tank on the passenger side will be a bit different as the location of the van rails and side wall are different on that side. I think it will be another full day job! An easier way to figure out the bracket lengths is to only do the top angle bend, install them and then measure them directly with the tank in place. I made the mistake of thinking the measurements I took were accurate enough and did the top and bottom bends. Once I test fitted I discovered that three of the brackets were too long and needed to be re-bent at a shorter length. Phew! It didn't take too long. I was able to pick up Redford today and drive it back home this afternoon. Unfortunately due to COVID they didn't have a courtesy shuttle but thanks to cousin Tony for giving me a lift out to Maple Ridge:) I started fitting the actual tanks under the van today. Not an easy job! Lots of back and forth, up and down with the tanks, sliding myself under the van, back and forth several times. Trying to measure for the clamps and supports. Barr Plastics did a very nice job making the tanks (the last two photos are of the insides showing the baffles to help prevent too much sloshing when driving.) The shower base support also got installed today. I'll build the toilet base tomorrow and prepare to drill through the floor for the black tank entry and air vent. I want to double check everything on a full day before drilling. On the drive back from Maple Ridge the van was really quiet on the inside. The insulation made a huge difference. There was one squeak that I could hear that was bugging me a bit. I think I found that this evening and took care of it (I had cut one piece of wood a bit too long and it was rubbing against the metal base in the corner of the wheel well.) We'll have to take it for another test drive to see if that was the solution or not. What a drag! The service department says the Body Control Module needs to be replaced. Basically it is the component (computer) that controls everything in the van except the engine and the transmission.) It had to get transported from Edmonton and is supposed to arrive today or tomorrow at the dealership so we wait. During the wait we made a decision about what stain to go with for the cabinetry inside. Our initial choice was no longer available (that happens to us a lot) so we bought another one that is really close and happens to be less money. I also decided how I was going to seal the edges of the shower base and the corners in the shower. I'll put down a strip of Flexseal tape first on the shower base lip and onto a 90° vertical wood back edge. Marine fir plywood will follow that. The corners between where the marine fir comes together will get a layer of Flexseal as well. Overtop of all that will be the vinyl sheet (in reality it's flooring material) and caulked corners. Back to doing some housework!
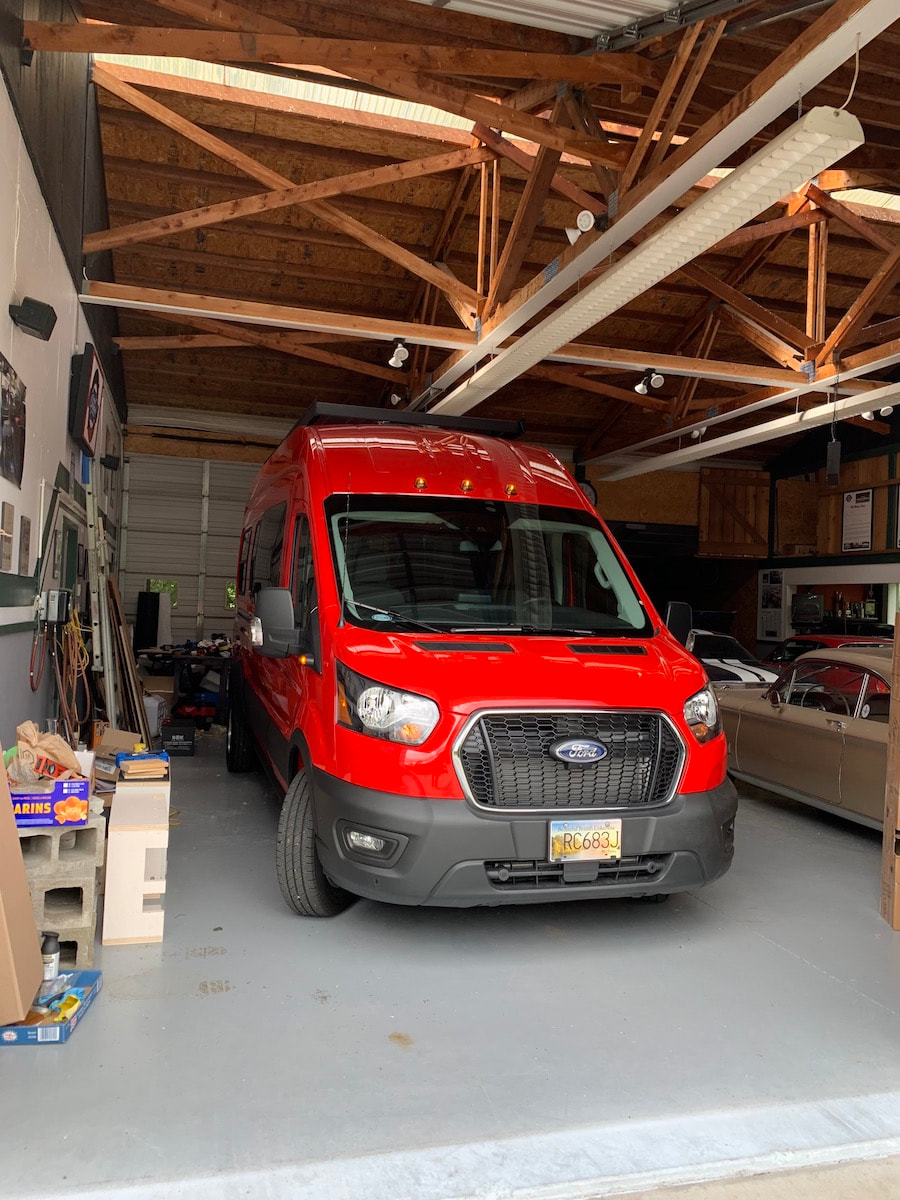
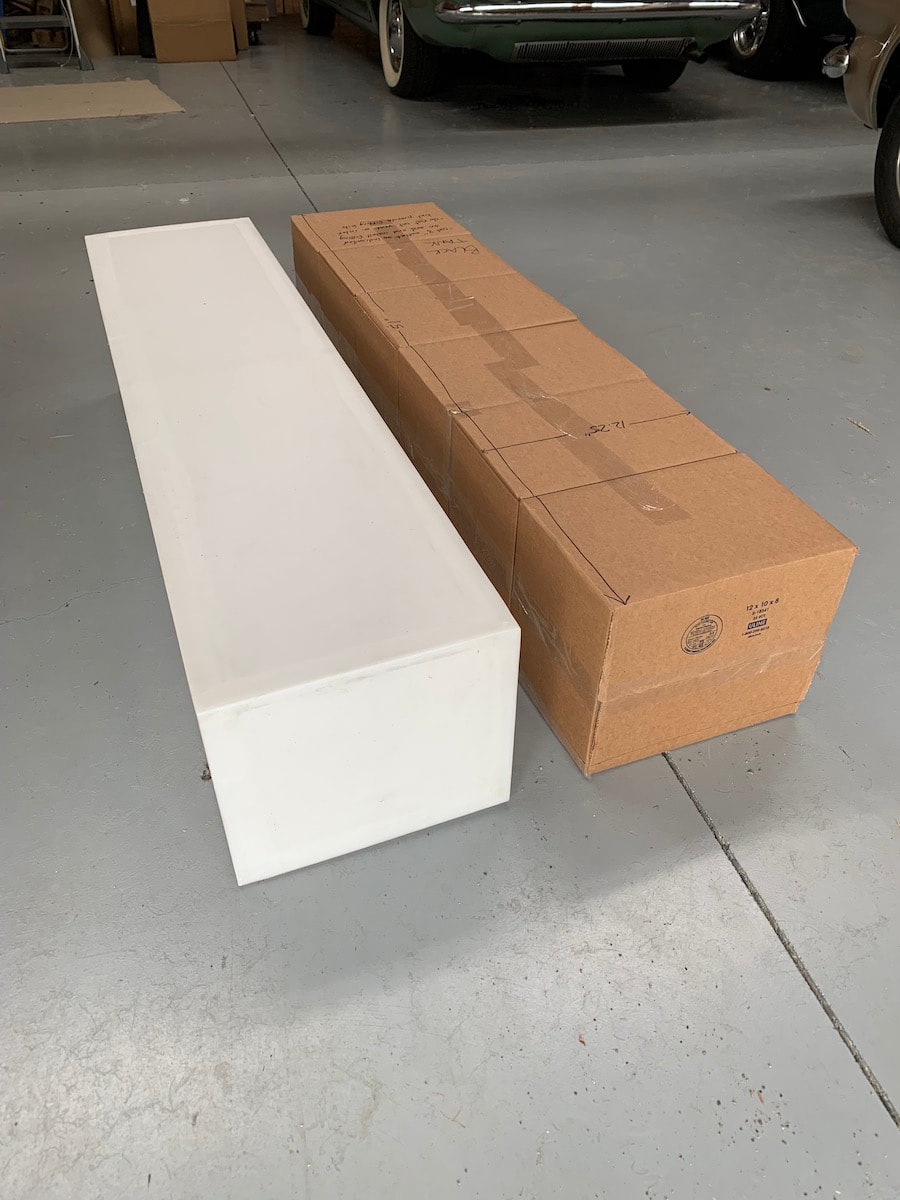
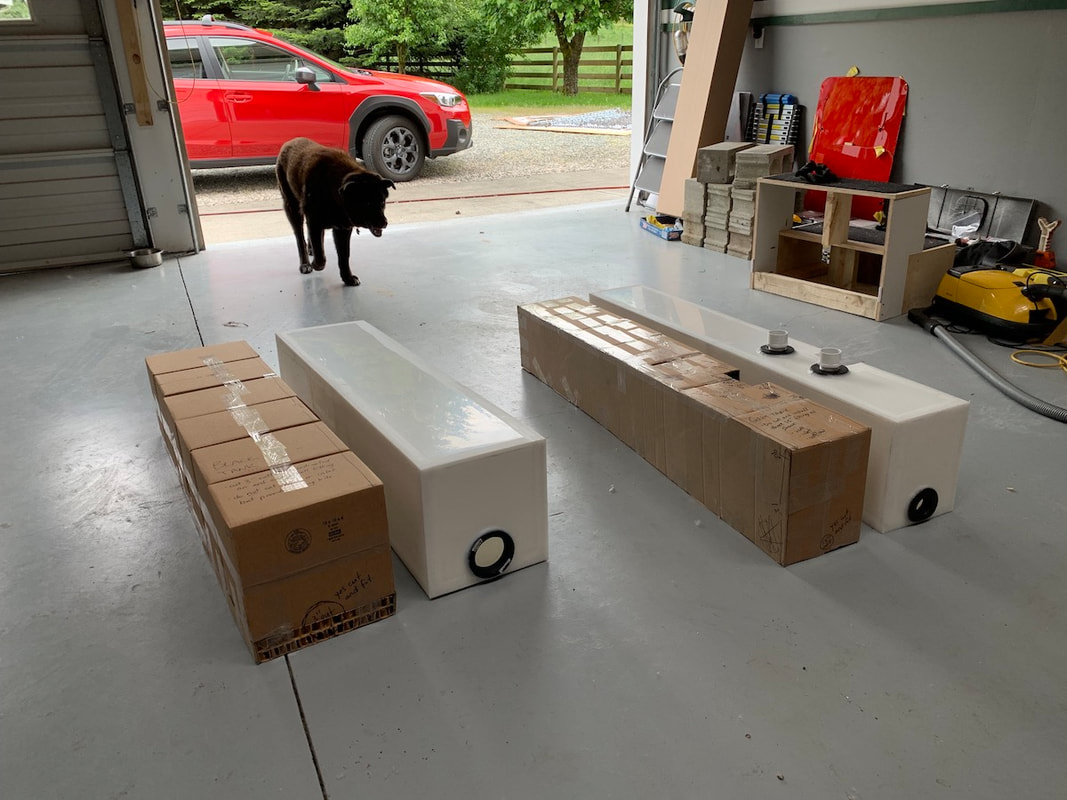
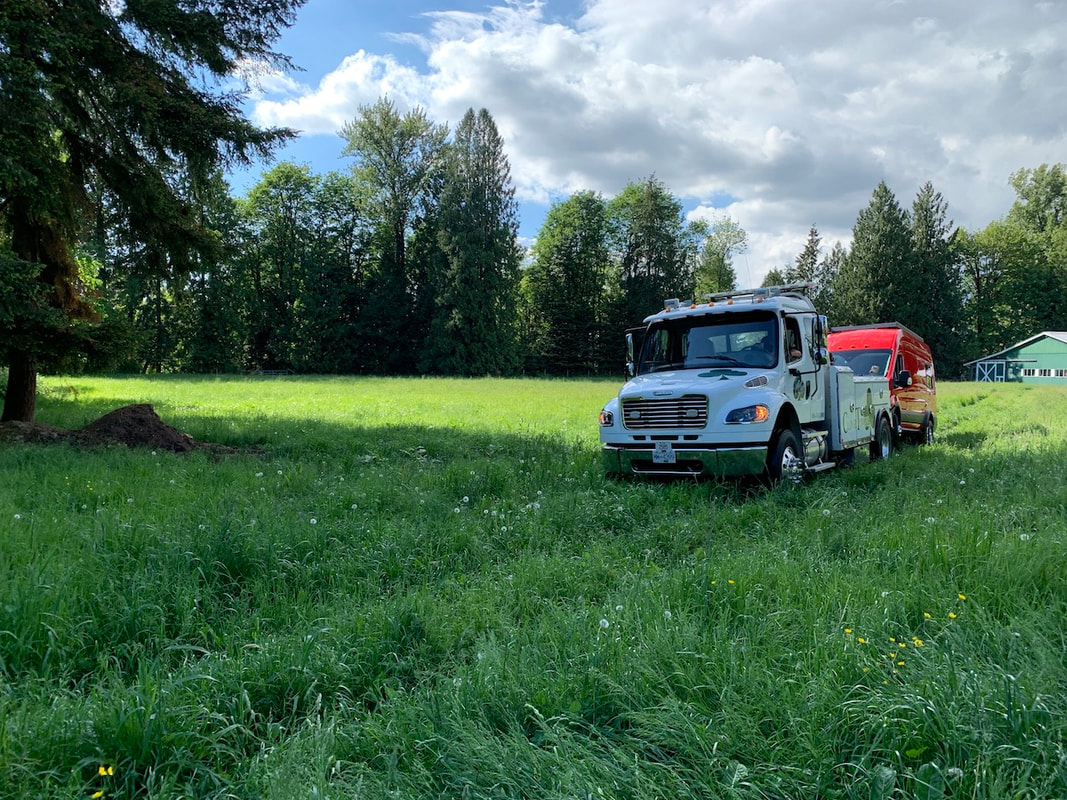
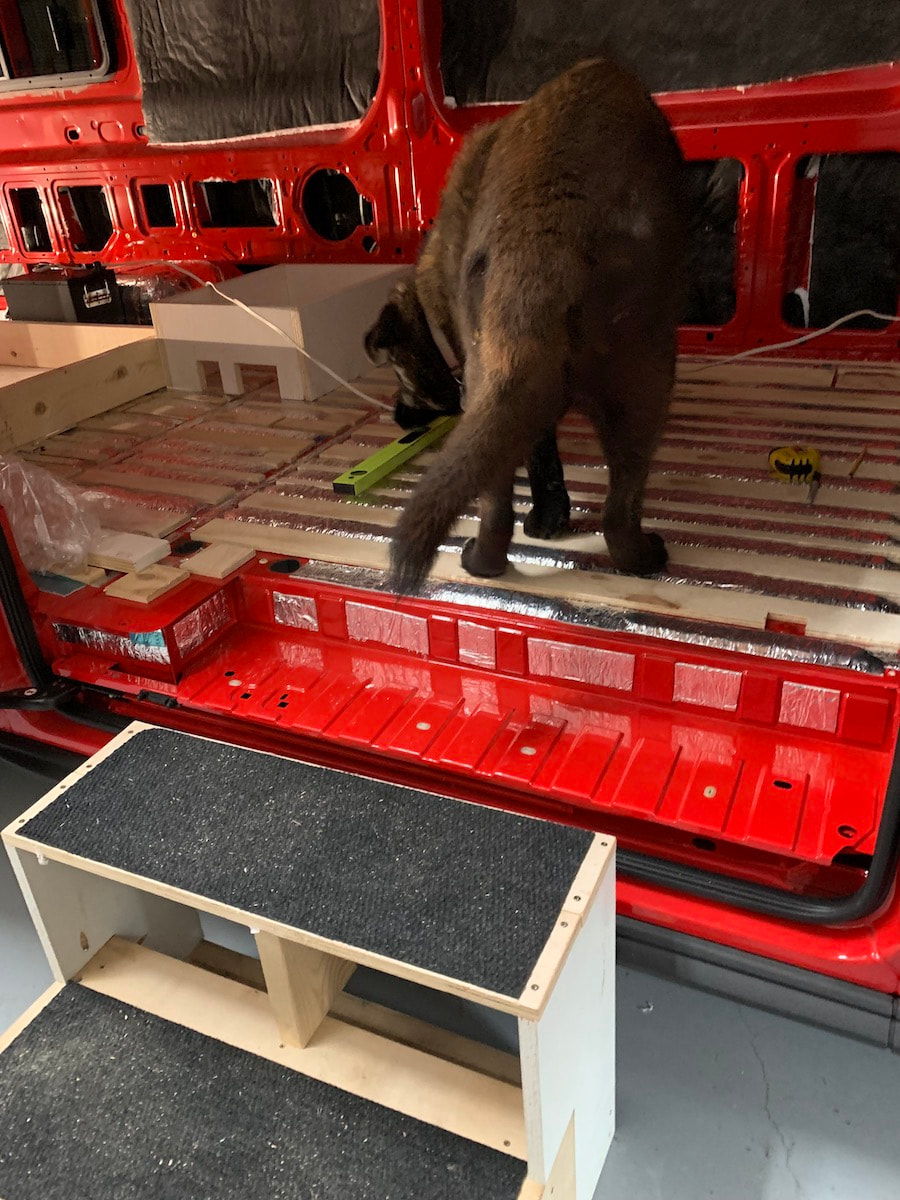
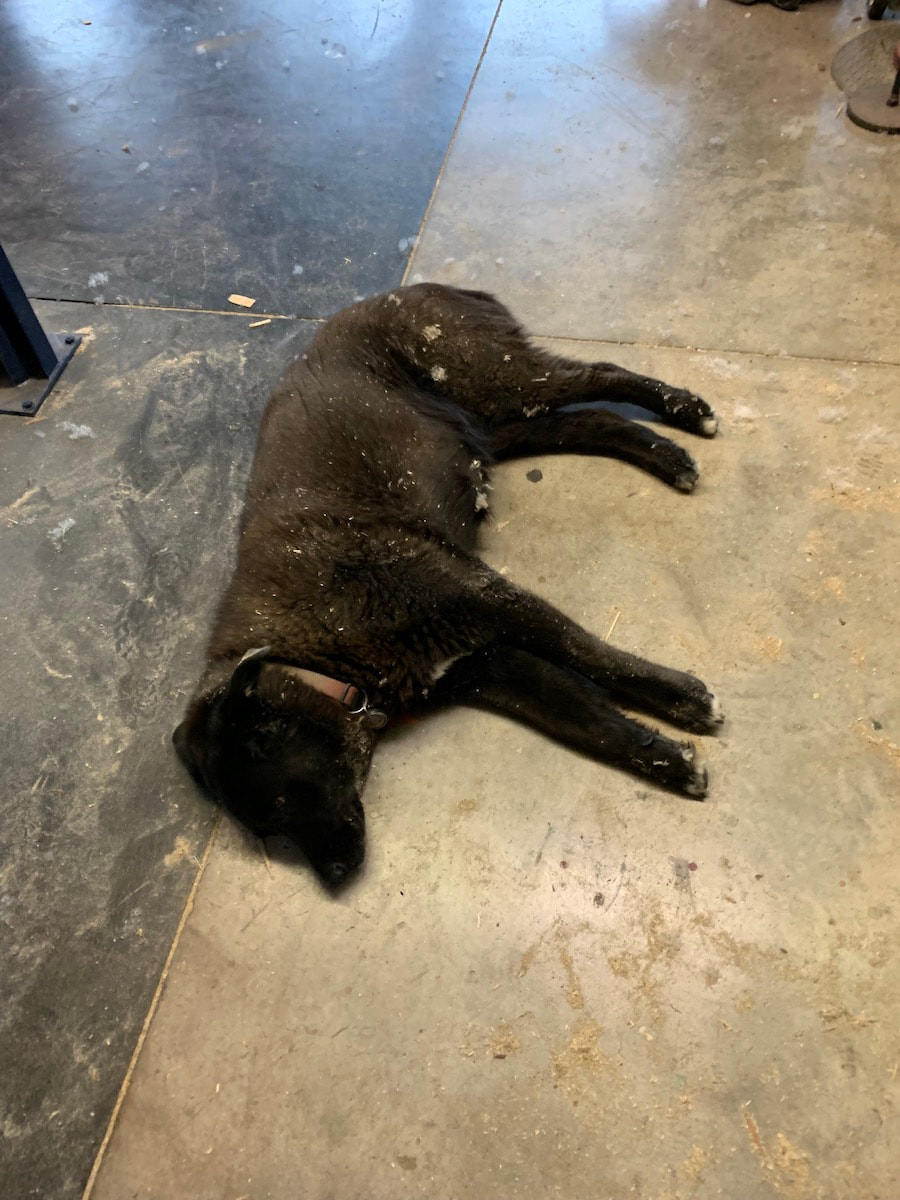
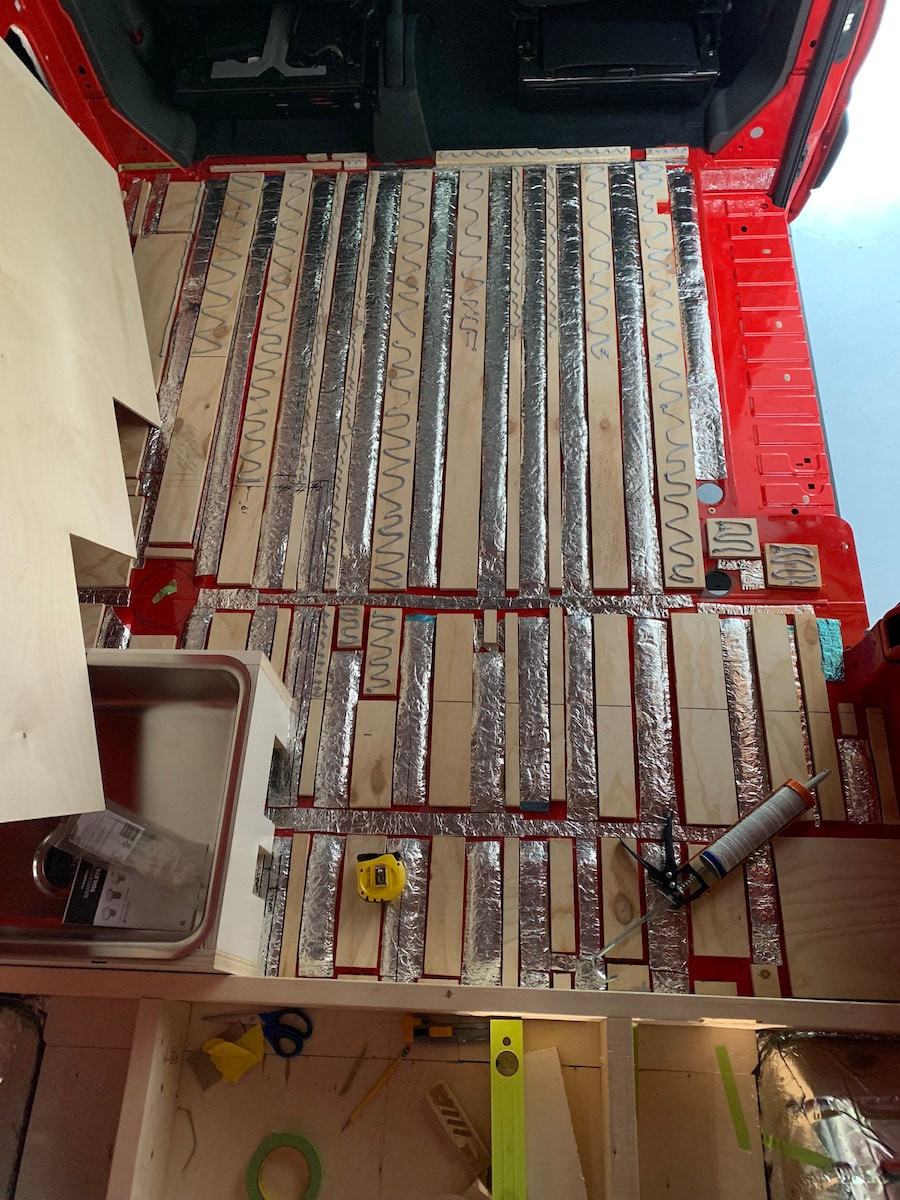
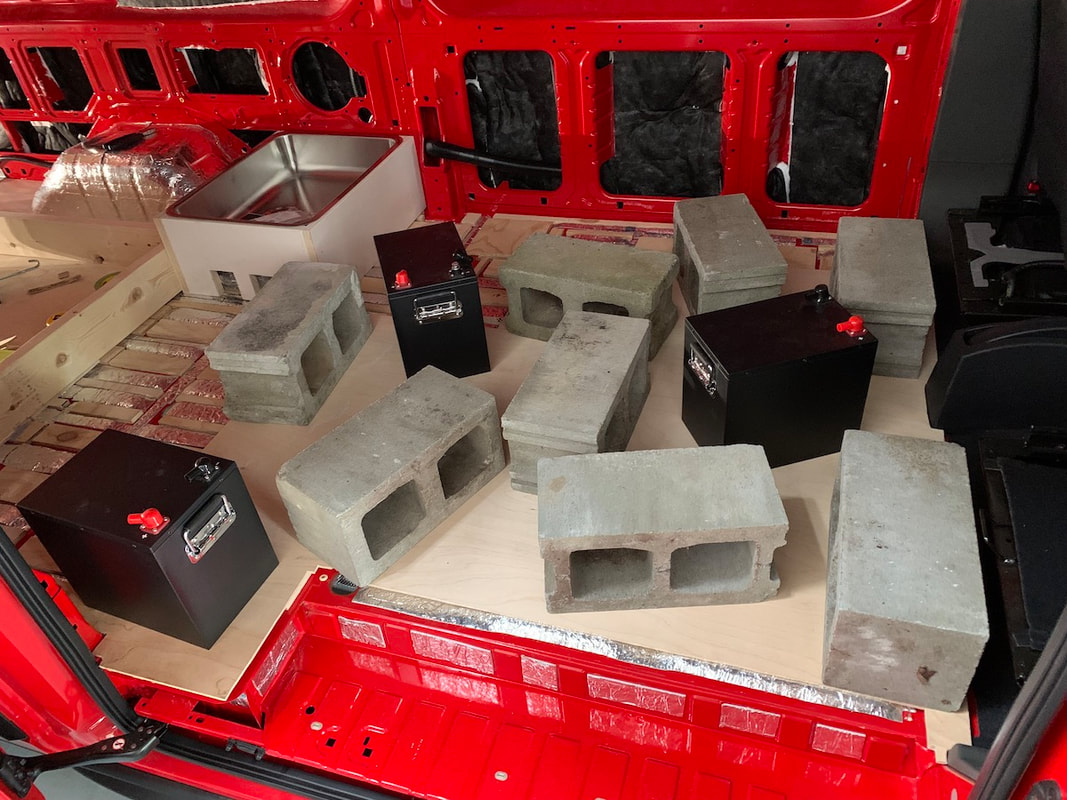
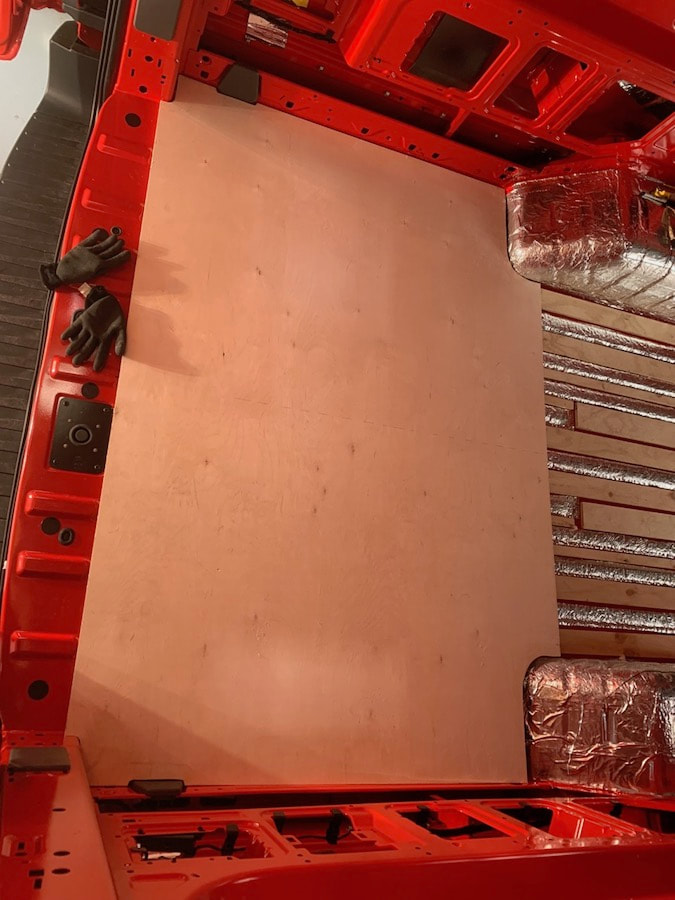
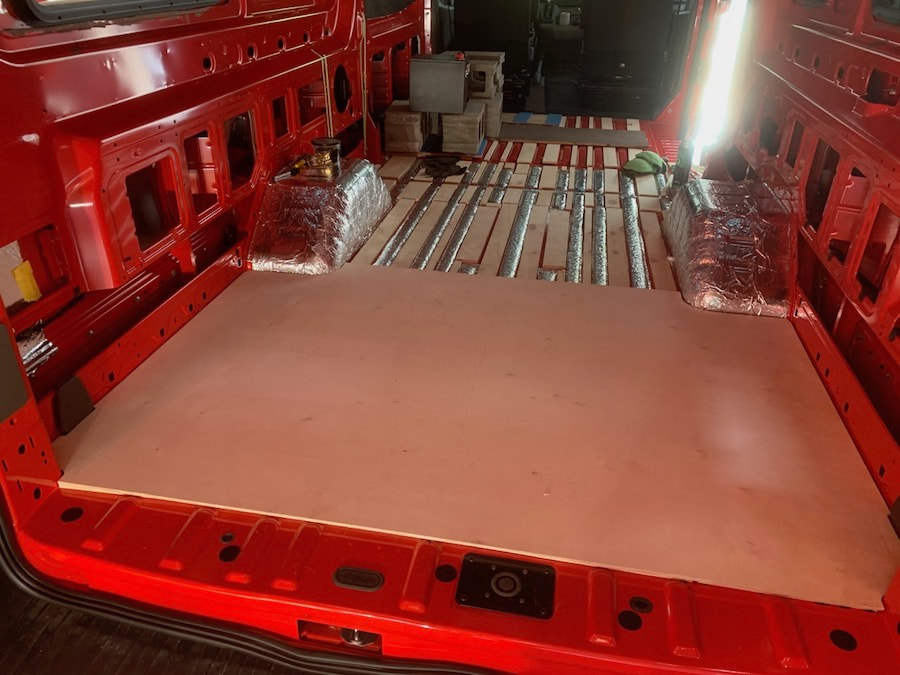
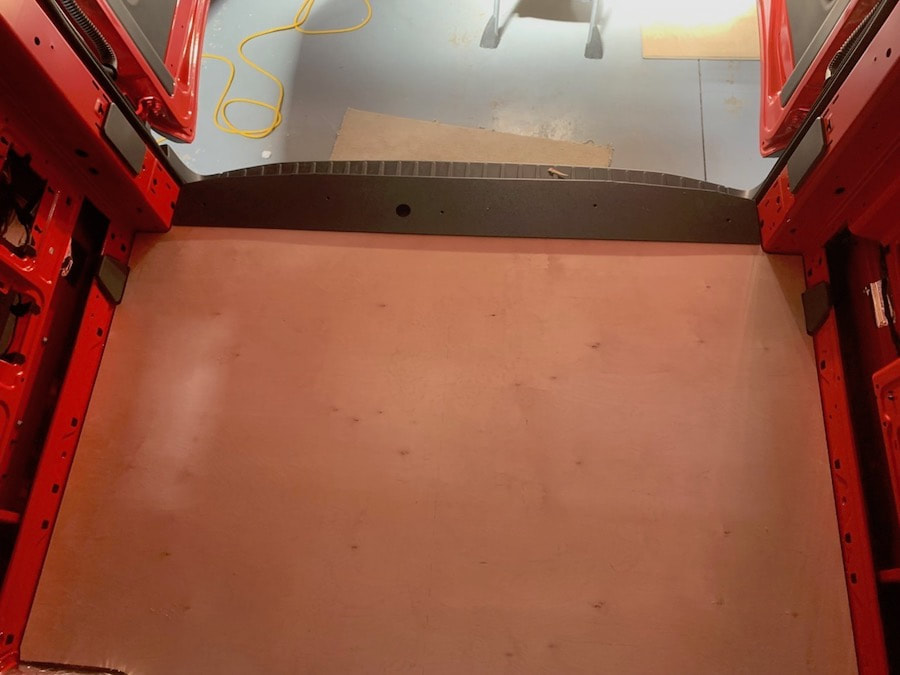
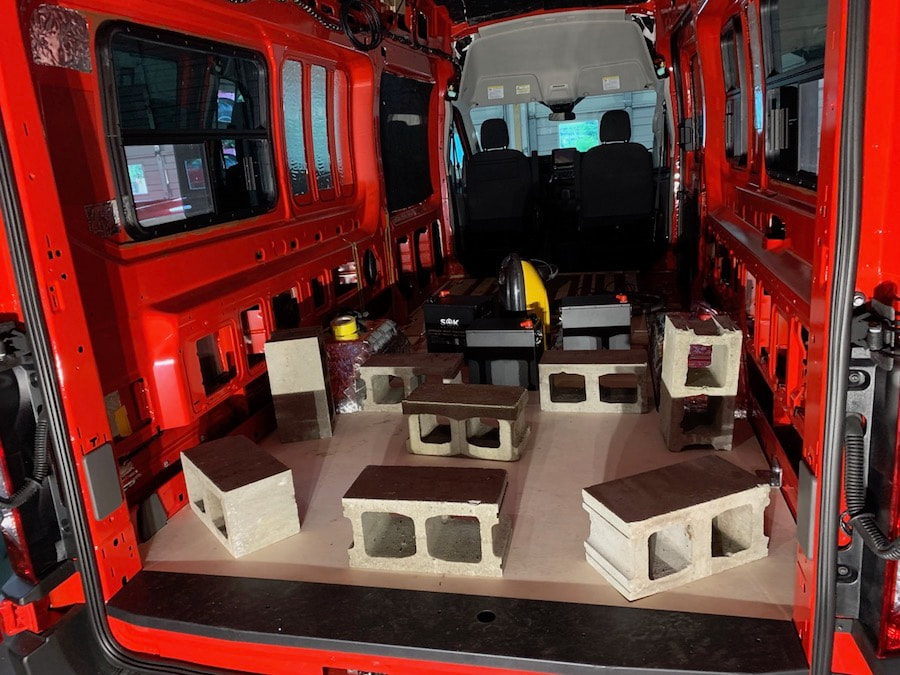
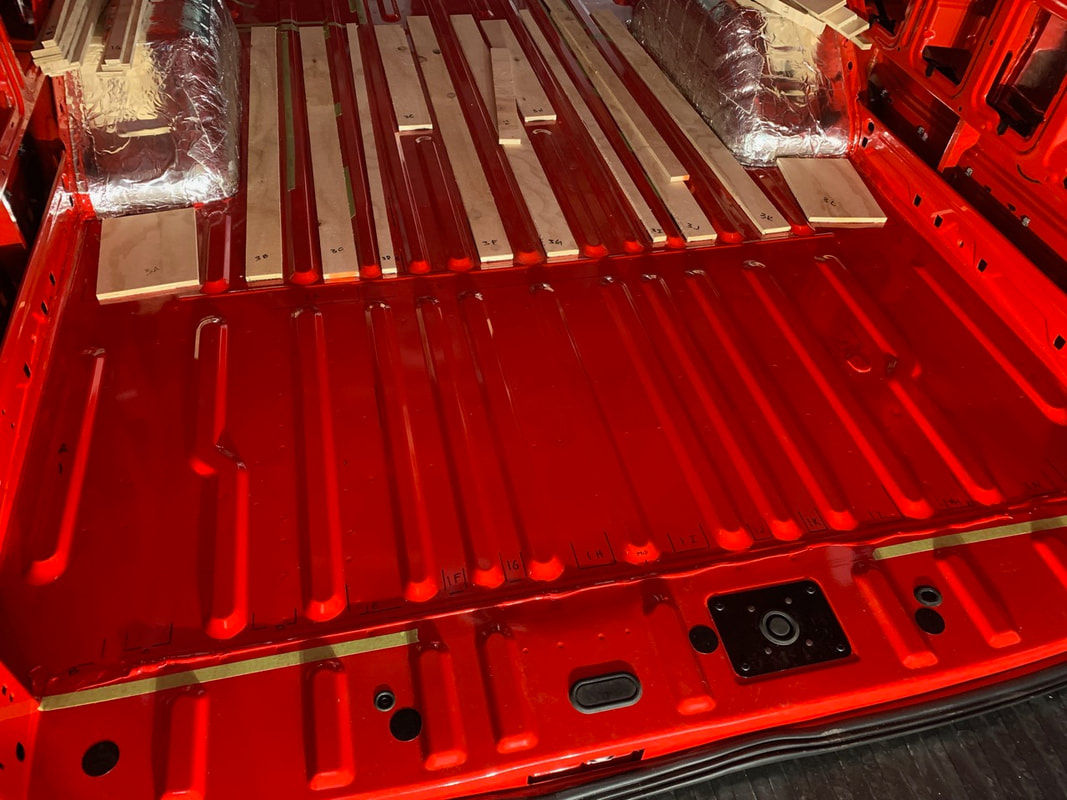
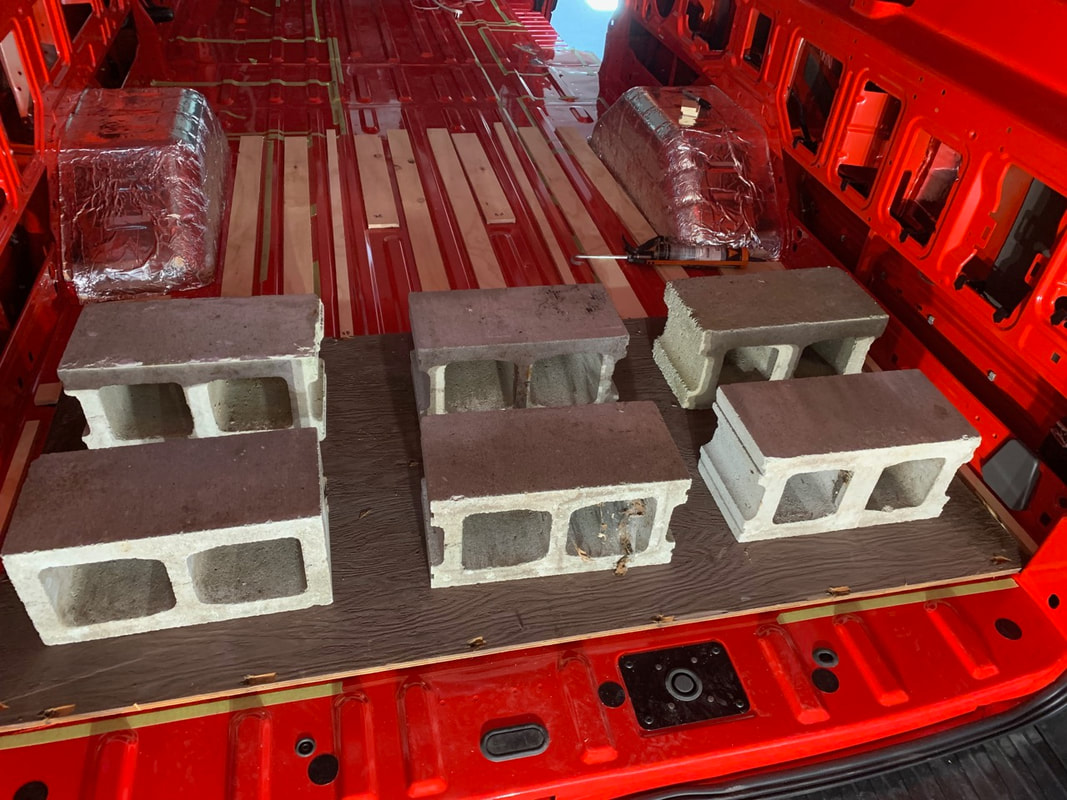
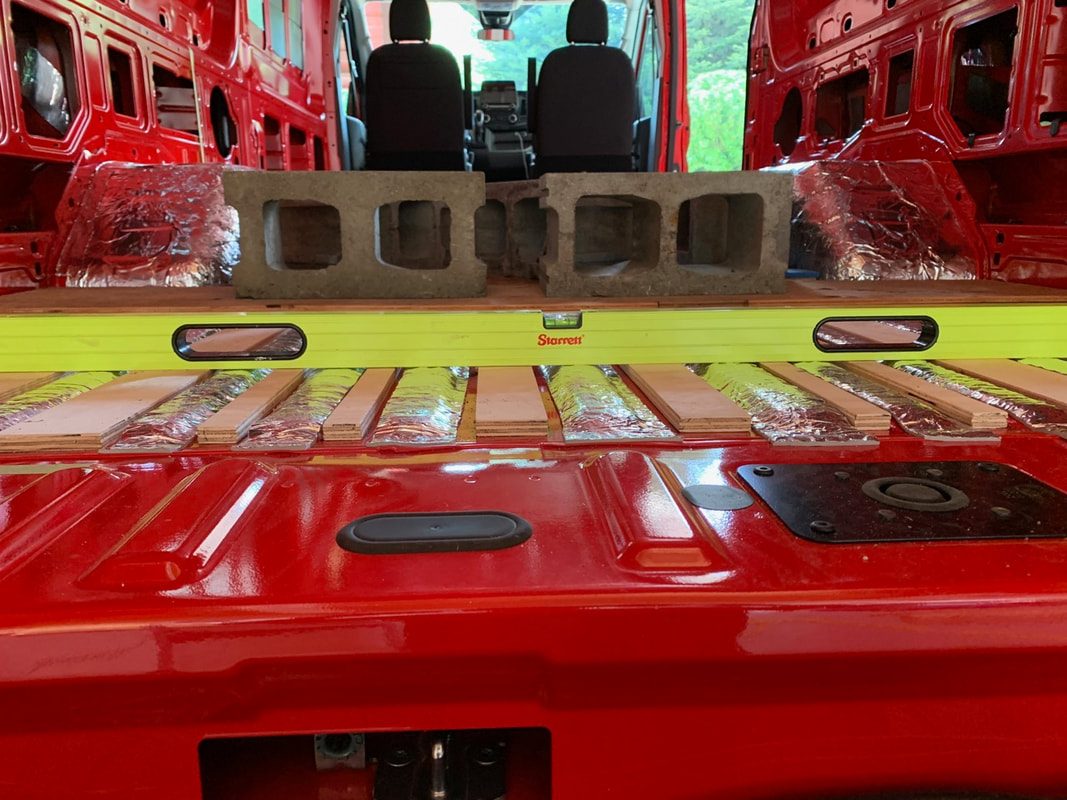
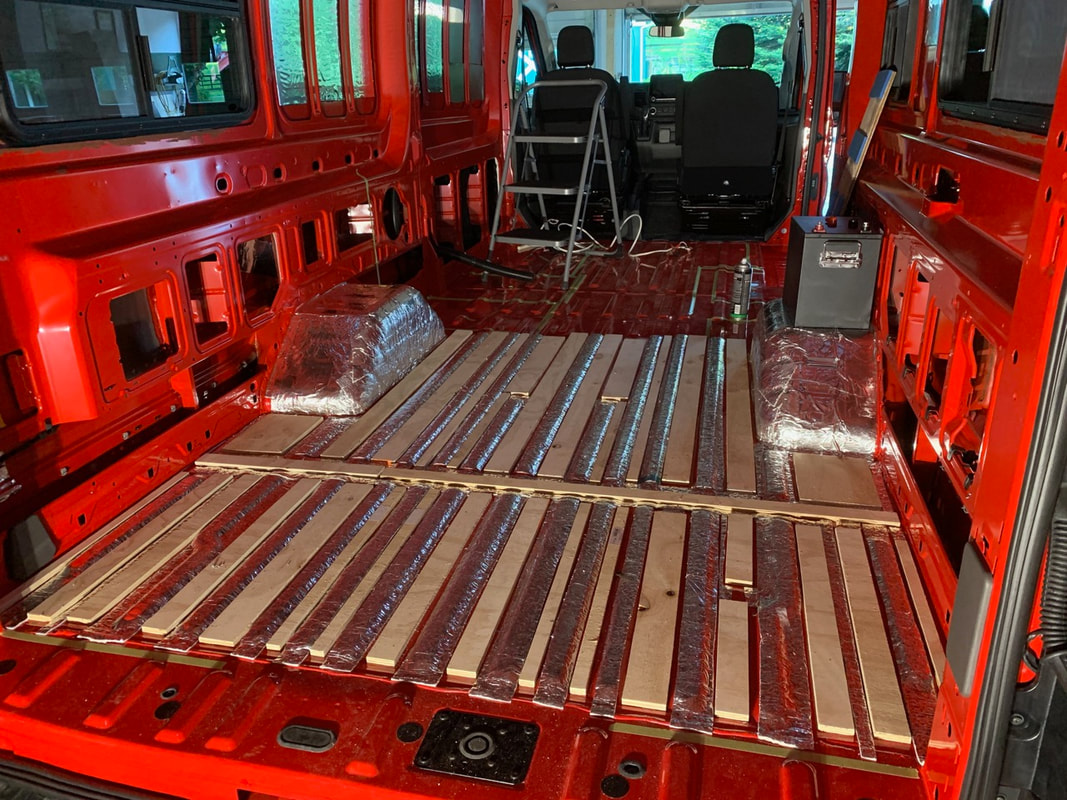
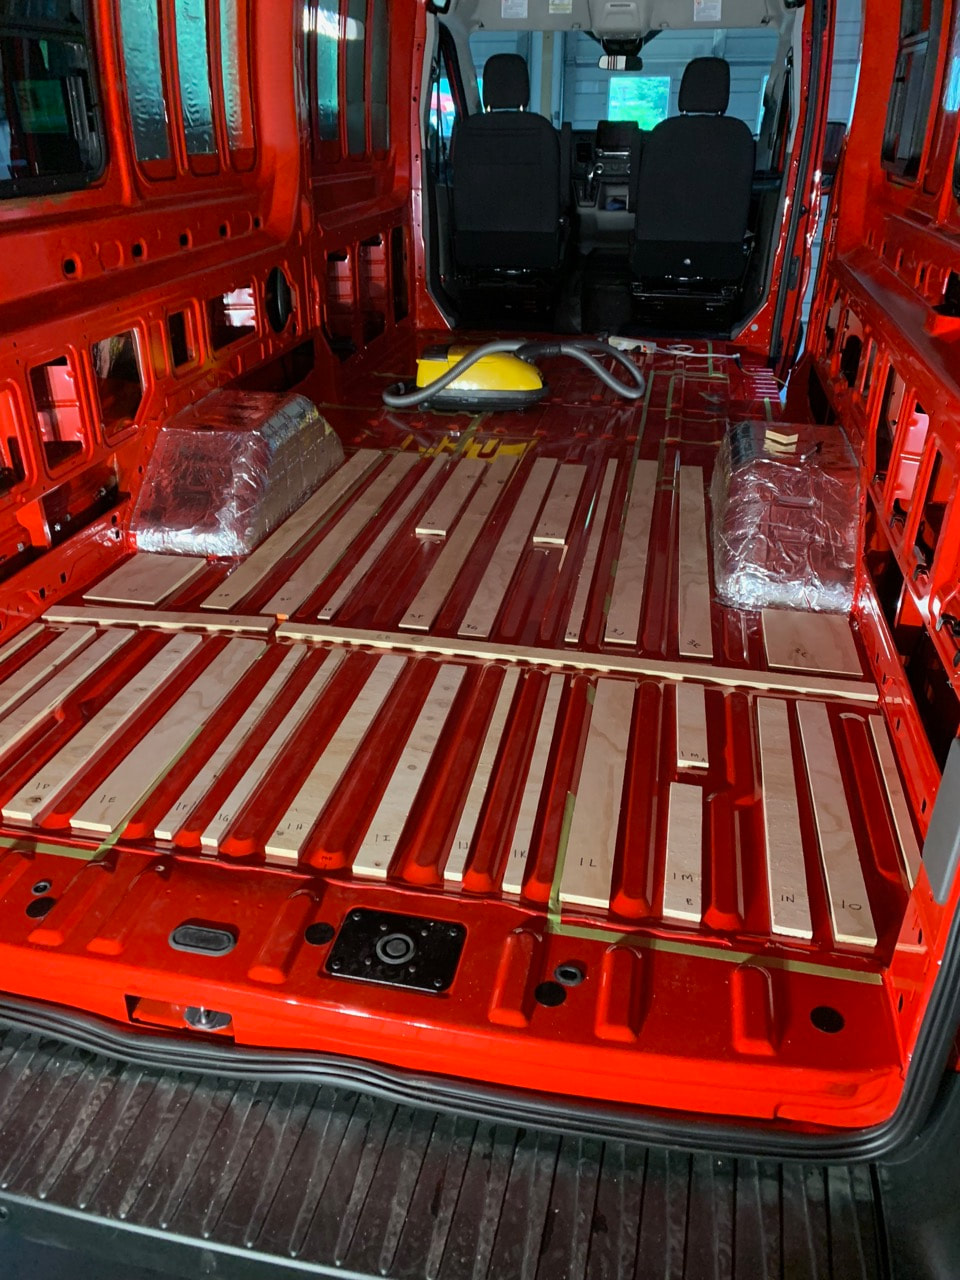
Exciting news - the morning started off with an email from Barr Plastics saying that our custom grey and black tanks were ready to pick up. After panicking for about 15 minutes thinking that I had lost my wallet I found it (phew!) I drove out to Abbotsford in the Subaru and picked up the tanks and some wood from Home Depot in preparation for framing the bathroom wall and bed cabinets. Barr Plastics threw in the threaded couplings for the fittings (the tanks weren't cheap but at least I "saved" the $35 it would have cost to buy the fittings from Home Depot.) Then when I got home I couldn't get into Redford - the locks wouldn't unlock. The good news is that after manually unlocking, there was no evidence of water penetration from the heavy rain over the last two days. I was even going to take Redford for a short drive. It wouldn't start! :( It seemed unusual - there was none of the usual lurching sounds when a battery has run low. The was no attempted turn over of the starter, no clicking sound, nothing... Then I tried the stereo - it worked. Further checking and testing: a fully charged external battery did nothing, the battery in the van had a good charge on it, but nothing was working. I called Ford roadside assistance and Redford had to get towed to the dealership! The last of the subfloor was glued in place yesterday. Some of the 2x6 floor support framing and the shower base support has also been put in place. I think this will be the last time I need to move around the cinder blocks as floor weights! Today I spent an hour at Home Depot trying to figure out the plumbing attachments for the sink and shower to connect to the grey tank (SO MANY DIFFERENT TYPES OF PARTS!) I also wanted to figure out how I was going to be connecting the black and grey tanks to the same vent pipe to the roof... more options! So far I'm happy with the floor plan and how everything will fit in. I think I may have to do a dry fit of the fridge to make sure the vertical space I'm planning on will work. Also the first cabinetry goes in place this week. The bed bench which houses the electrical system will need to be built. I'm happy to report that the heavy duty ground point I created works fine. It goes into the same piece of metal as the official Ford ground points but the metal is much more substantial where I have connected the 4/0 wire. The photos below are from yesterday. All of the wood support slats have been cut and almost all have been glued down (I ran out of Sikaflex this morning.) Only about half of the very front section still to glue down. In the meantime I made a template and cut out the first section of the plywood for the actual subfloor. The 1/2" slats with the self-adhesive aluminum backed foam went perfectly together to support the 3/8" top sheet. The top sheet gets glued to the slats and is also bolted from the top to the side rails of the van. This will give me 7/8" thickness of wood to use my Kreg screws to tack and anchor framing to. The cabinets and structures will also be secured to the side and ceiling so I'm thinking everything should be really solid. I should be able to finish the subfloor installation and all of the insulating by the end of the week - yay! Not a lot of news to report or photos to show today. The insulation work and subfloor installation continues. It is progressing well. It's really finicky trying to install the insulation into some of the metal channels in the walls. I don't really want to stuff the channel full as it is a fairly vacuous space and that would take a lot of insulation. Instead it's measuring, cutting, folding, carefully stuffing in and then unfolding in the cavity (kind of like a ship in a bottle) to check placement. Then refolding, spraying in adhesive on the van wall and folding yet again to press the insulation into place with my finger tips of a wooden stick for places I couldn't quite reach. Time consuming work! Tomorrow I will also start tracing so that I can cut a piece of 3/8" plywood for the first piece of the subfloor (all of the support slats and insulation are in place for that section.) Here's the one photo for today... our dog was wanting to see what was going on. She's old so I had to lift her in. She was actually happier than she looks in the photo! 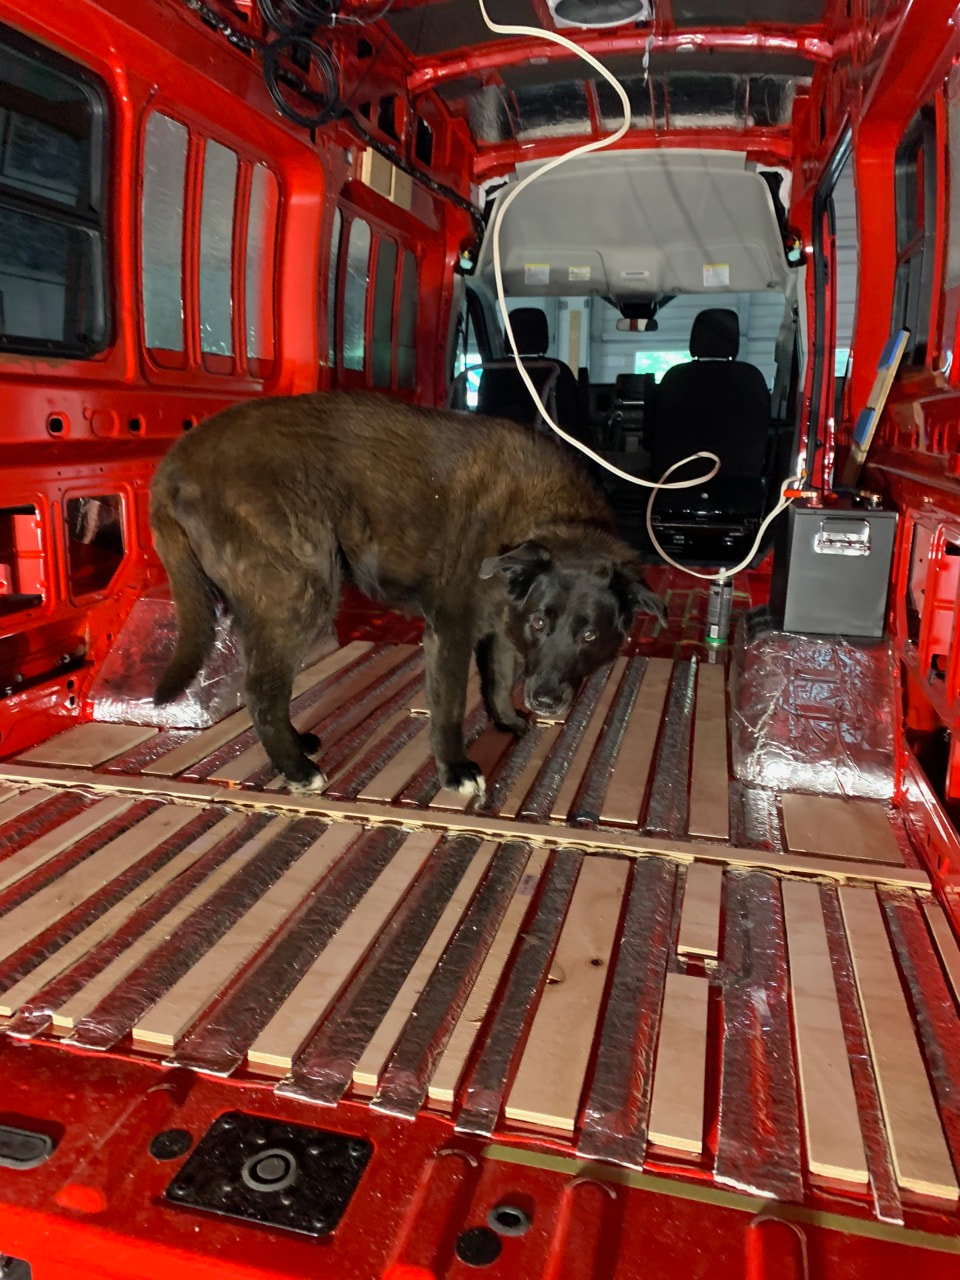 Thank goodness I have a pair of knee pads that are perfect for the van conversion work. Enough foam to cushion my knees (both of them have torn cartilage...) but the outside is soft enough also to not dent or scratch anything. The wood ribs (1/2" Auracoplywood from Homedepot) is perfect for bring up the spaces between the floor ribs. I've also but a layer of aluminum and foam duct insulation onto the ribs in preparation for a 3/8" baltic birch plywood as a subfloor. The slats and then the plywood subfloor are all being secured with Sikaflex 221. Then the top sheet will be bolted from the top using long "L" brackets and the bolt holes that are normally used for the D-rings in the cargo van. I also managed to get lots of Thinsulate insulation installed/glued as well. The window install got completed today :) Then I had to spend some time and wash the van to get all of the metal filings and bits off so that they didn't start to oxidize and discolour Redford. I also started on the floor system today and started cutting and laying out strips for the subfloor. Our grey and black tanks are also on order now. |
AuthorCalvin here - after spending almost 33 years in education as a high school teacher, elementary teacher, and elementary administrator, it was time to retire! I did so happily and with no regrets; it was a terrific and fulfilling career. I do enjoy building projects as the design and building process is very therapeutic and you see a completed functional product in the end. Now to combine the build with another of Angela's and my passions - travel - is something we're really looking forward to. Archives
September 2022
Categories |


 RSS Feed
