|
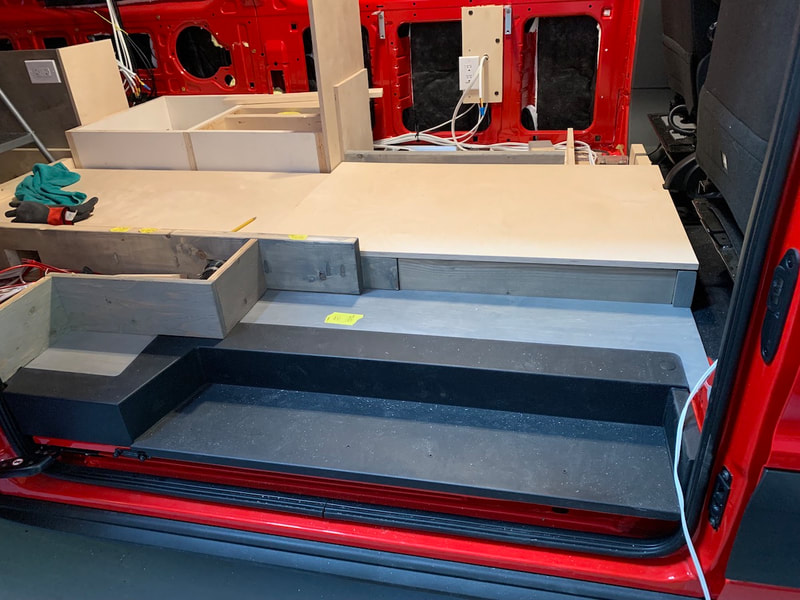
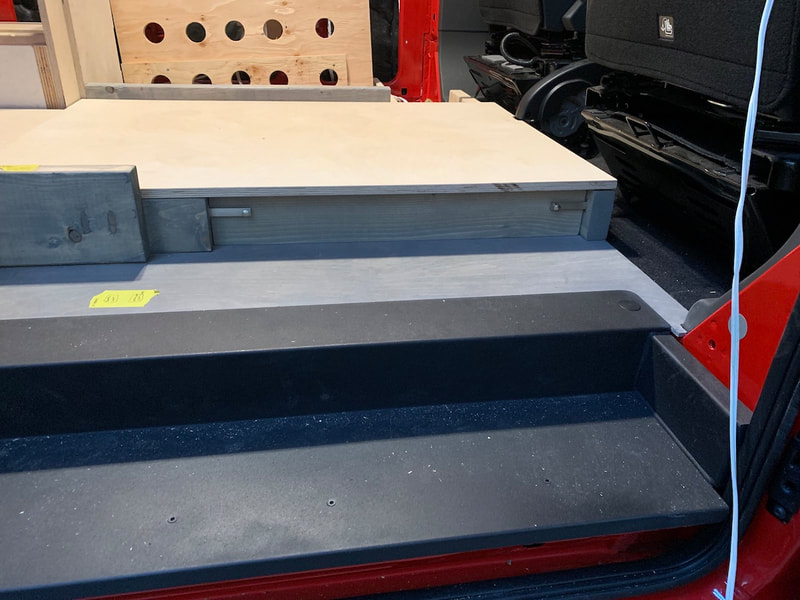
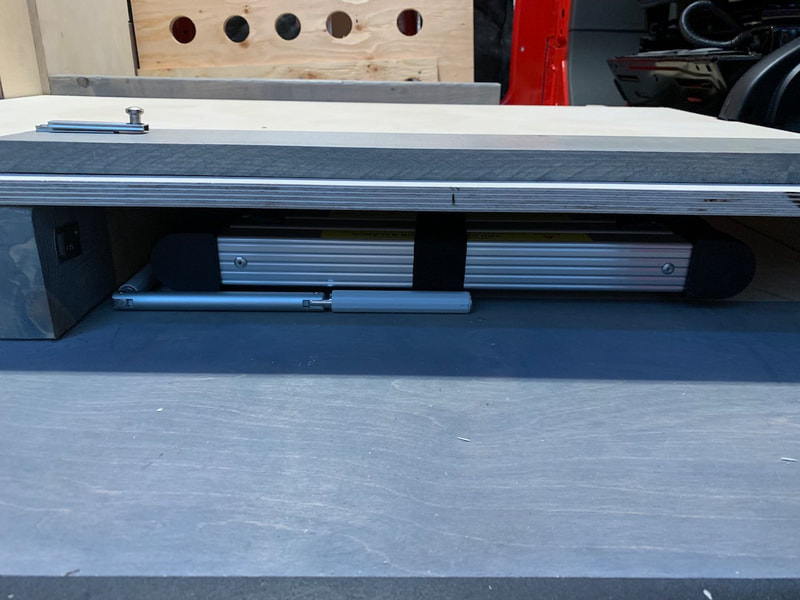
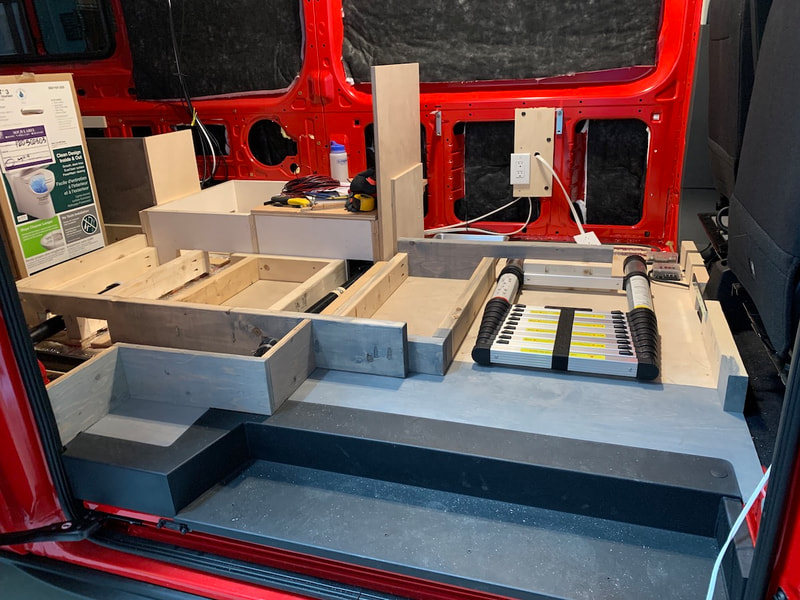
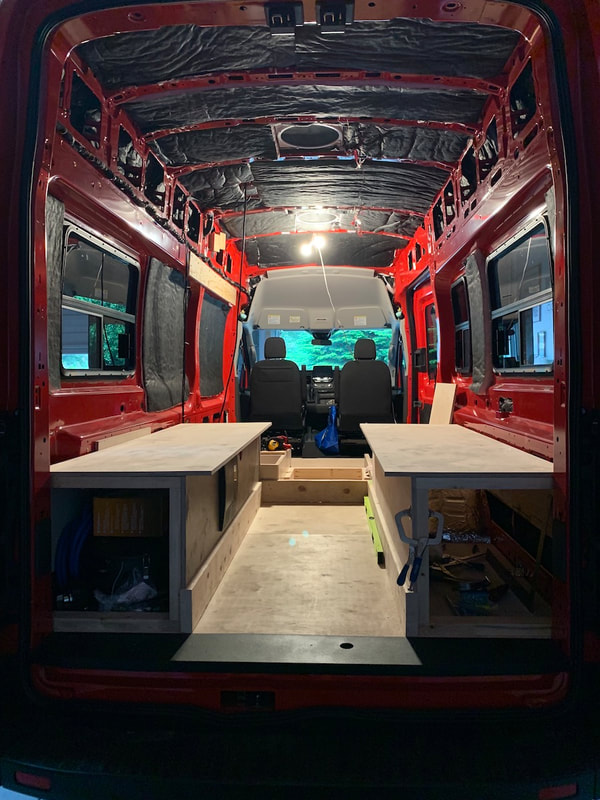
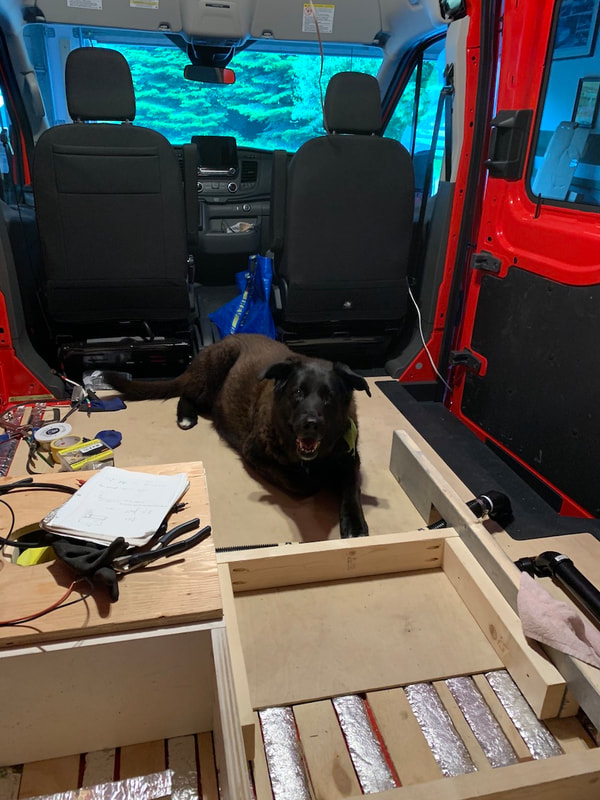
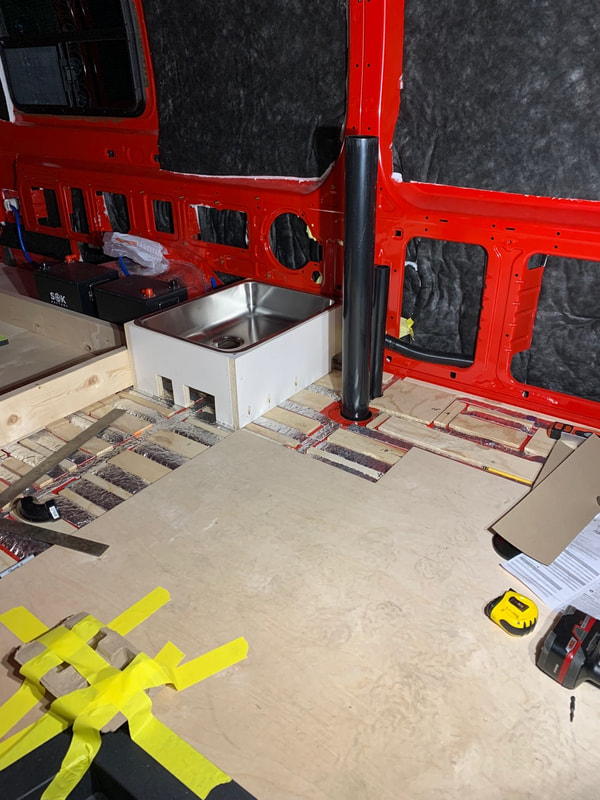
Electrical was progressing very nicely today until I ran out of wire. Those 3-way switches (on and off from two different locations) take a lot of wire! We have that type of switch system for the entry light and also for the main ceiling lights. Now I'm in need of wire to finish the lighting as well as the final two 110V receptacles. I couldn't get my brain engaged in running PEX for the water lines yet so I decided to spend sometime on the floor boards instead. While I'm not ready to install the boards yet (because the electrical and plumbing have to finished first) I can still cut the boards and put them in place, just not screw them down at all. We feel really good about the headroom in the front part (over 74" after the ceiling is installed.) It's also got a nice little storage area for the ladder and Fiamma awning crank rod.
0 Comments
There's a heatwave! Tonight it's 27°C in the bedroom - by Thursday it's supposed to be in the high 30s. It is very warm in the barn but the MaxxAir fans certainly help keep the air moving in the van. I continue to work on electrical and there are times when I need to turn the master battery connect to "off" and I can certainly feel the difference inside Redford. I finished installing the floor supports (2x6 in the dinette area and 2x4 in the kitchen and front areas) this week and we're glad we went with 2x4 supports which result in extra headroom (thanks to Greg for pushing that!) Today was one of those days when installing one outlet took almost two hours. I had cut out a hole in the bench face for an outlet (ostensibly to plug in a heating pad if we ever get really cold when camping) only to find the electrical box I had planned on was much too small to fit a GFCI receptacle into it (the reason for the GFCI is that the circuit continues to the passenger side and will be near the kitchen sink.) Result? I had to find another box (this one was a plastic one from "inventory"). I had recut the opening, installed the box, measured and cut the wire, wired up the receptacle, and was screwing in the last screw to attach the receptacle to the box... SNAP! The screw broke. NOOOOO! The receptacle wasn't even secured yet! I was swearing again (like when the awning became detached.) Of course it broke off flush with the box lip. I spent the next 45 minutes trying to get the broken piece out of the box. I had to use an oscillating saw to trim 3/32" from the box to expose part of the screw and then use pliers to take the screw out 1/16 of a turn at a time. In the end - success! Of course then I had to spend time trying to find a suitable replacement screw - sigh! Some new learning for me is around 12V systems. Tonight I spent time figuring out how to wire in an illuminated switch for the bathroom heater and fan. That worked out in the end as well but only after some experimentation. While I was doing all of this there's a little voice in the back of my head - "Don't start an electrical fire!" Tonight I'm going to order a couple of ABC fire extinguishers and have them in the van. One at the front and one by the rear doors. Yay! A successful day:) After the awning disaster on the weekend, I had yet another mishap yesterday. I had come home with some pastries in a box and a bottle of whiskey (not an expensive one but still) in a box. As I was crouching down to do something, the box opened and the bottle slipped out. It was definitely one of those "slow motion - ohhh noooo" moments. I kind of caught the bottle with my foot and had it directed to the mat next to the garage door. It did land on the mat but in its final moment in existence it twisted off my foot and just lightly made contact with the concrete floor. AAaacckkk! The garage smelled nice though (it was a Highland single malt whiskey - sniff, sob.)
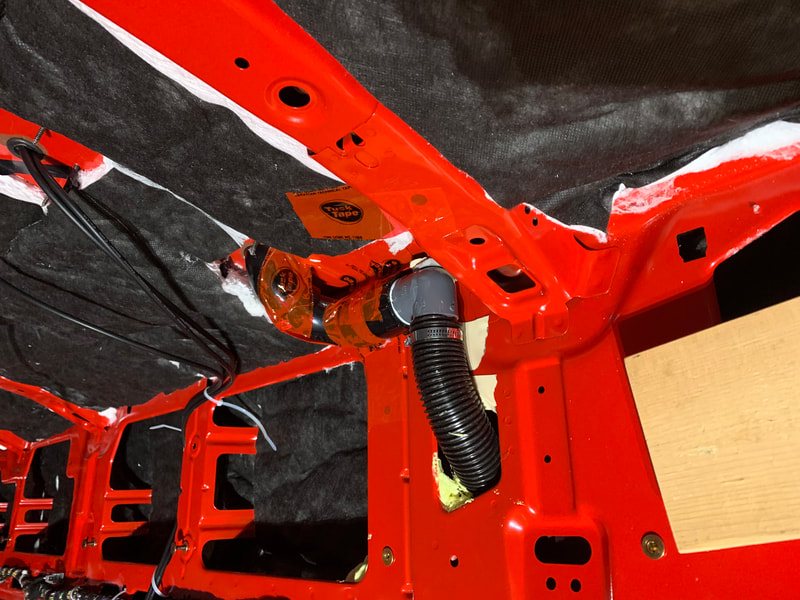
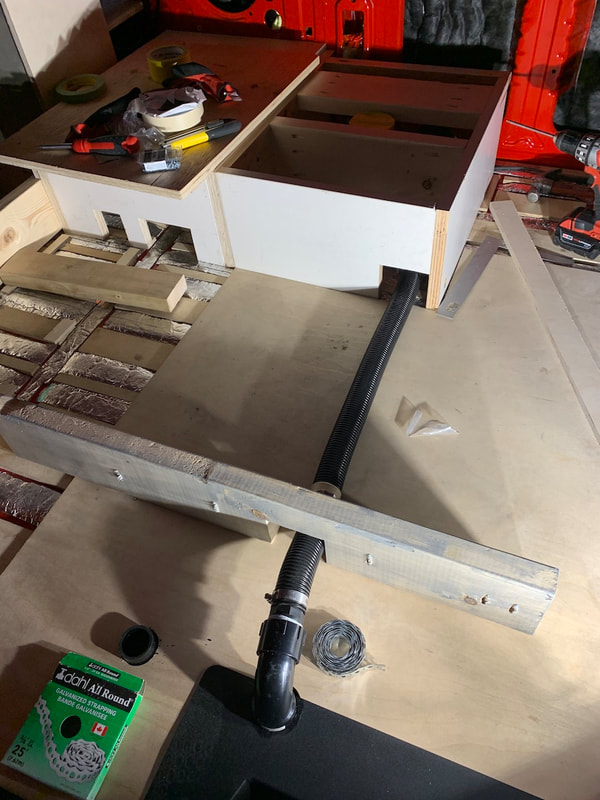
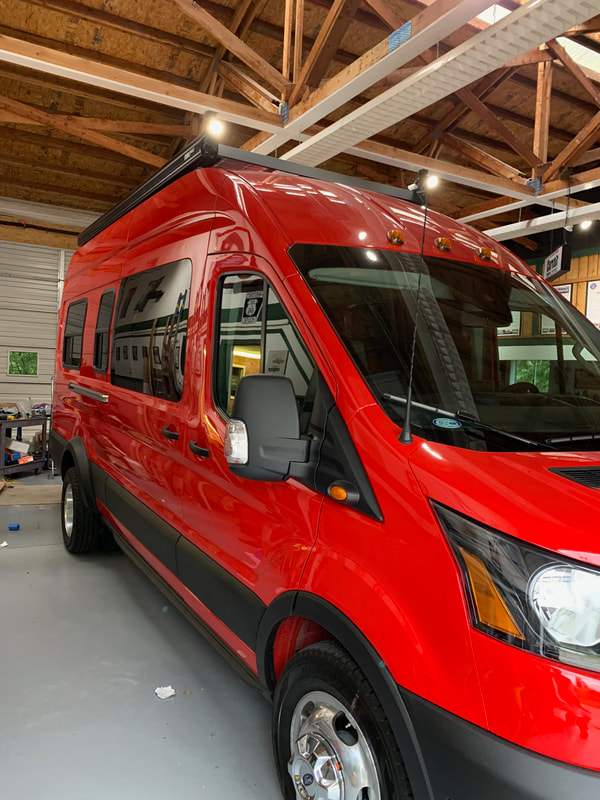
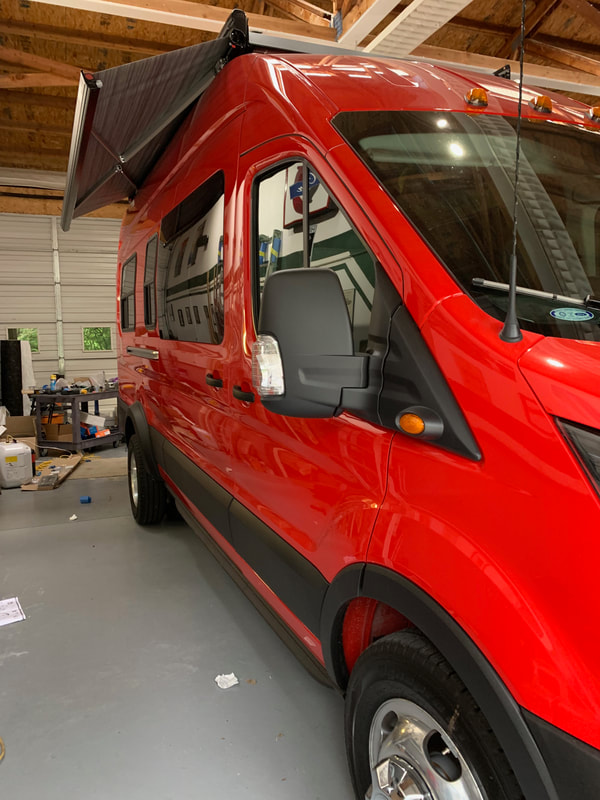
As for Redford - the vent for the grey and black tank is now connected and complete. The installation went quite well and is as close to the wall as it can be. It will still need a small box around it to cover it up but the layout for the bathroom is coming along. Today I also managed to get the Victron electrical system components (solar charge controller, DC-DC alternator charge controller, and battery monitor) to connect and communicate with my phone. I was having no success the last couple of days but then thought to try my iPad to connect. That worked which allowed me to update the firmware in the components and then they connected to my phone. I'll keep an eye on how the system works as there is a ton to learn. We decided to change how the bed system will work. Redford will have two single beds which can be joined to make a queen sized bed. We want the system to be simple and not fussy. So all we'll have to do is take the back cushion from each bench and put them in the front driving area and the beds will be ready for sleeping - no sliding out or adjusting needed. Each bed will be 23" wide which will be fine for us. When we want to join to a queen bed, the panels will slide together and the 11" high back cushions will lay down to complete the 68" wide mattress surface. As I want to run electrical wiring and plumbing soon, I needed to get the framing down for the floor. The final decision was to use 2x6 spacers in the bench/dining area and 2x4 spacers in the front area. Using the 2x4s as spacers will sacrifice a bit of storage but will make the interior feel bigger as there will be 75" of headroom in the front part (bathroom, kitchen, in front of the fridge) of the van. Barr Plastics in Abbotsford made the custom grey and black tanks but for the fresh water tank we're going with a stock 39 gallon tank so it will be less than half the price of a custom tank. Hopefully I can pick that up in a day or two and start the plumbing installation inside the passenger side bench. On Friday our awning finally arrived (a long time coming - it was ordered back in December.) After unboxing it, I prepared for the installation on Friday night. Three aluminum brackets got bolted to the roof rack in specific locations to support the awning as there is a massive amount of leverage from a 13 ft long and 10 ft deep awning. The brackets went on with a bit of figuring as I had to work around the Ford roof rack mount points. On Saturday Angela and I were away until mid afternoon and we missed her brother and nephew who I was hoping could help me lift the awning into place. Angela and I decided to give it a try and that part went off without any problems. We carefully climbed the two ladders and hooked the awning onto the three brackets. Now I had to get a small bolt and nut onto each bracket to secure the awning into place. The van is a gift of awkward and small spaces... The instructions say to open the awning a couple of feet to expose the bottom rail that sits on the brackets - no problem there. Then you're supposed to drill a hole into the rail (by going through the bracket hole) for the bolt to go through. That's a great strategy if the awning is mounting onto the side of the van. Because the awning mounts onto the roof rack and is overtop of the van with about 1" of clearance, there's no way to get a drill in there to make the holes as shown in the instructions. I tried compact angle drivers, machine screws, self tapping screws, etc. with no luck. So I figure I'm going to have to put masking tape onto the rail and mark with a Sharpie the distances to drill the holes, then bring the awning down to the ground, drill the holes, and remount. First bracket marking was not a problem. I'm on the ladder at at the middle of the awning trying to mark the tape for the second hole. (Side note here - I have a very big head. We're talking XL for bicycle helmets or as the doctor told my sister - your brothers are in the 90th percentile for head size. Oh well.) I'm struggling to see the hole location properly to mark the tape so my head pushes again the awning fabric a bit... I hear a "click"! The next thing I know the 80 lb. awning is now balancing on the top of my head and I'm balancing on the ladder. It's partially open and the front rail and main awning body are moving about! Yes, I'm swearing in my head at this point... I grab hold of the front rail with my right hand while I hold onto the ladder with my left and I'm thinking, "What now!? Do I try to put it back onto the rail? Do I call for help? Do I climb down with it on my head?..." I try lifting it with my head (good thing I have a strong neck from my wrestling days MANY years ago) and almost have it back on when it pops off again. I have no choice but to try and climb down with it. I do get it and myself down to the ground successfully. The "injuries" turn out to be a very small ding near the top of the cargo door and a couple of scuff marks on the front edge of the awning case. PHEW! I let Angela know and we recover by measuring for the holes, drilling, put the awning up (only to find one hole was a bit off), take it down, adjust the hole, and then as always during this project make modifications because the bolts sent were too short to feel secure. The bolts and nuts got secured after lots of work with a spanner/wrench 1/8th of a turn at a time (there's that gift of awkward spaces again!) Awning disaster recovery complete...
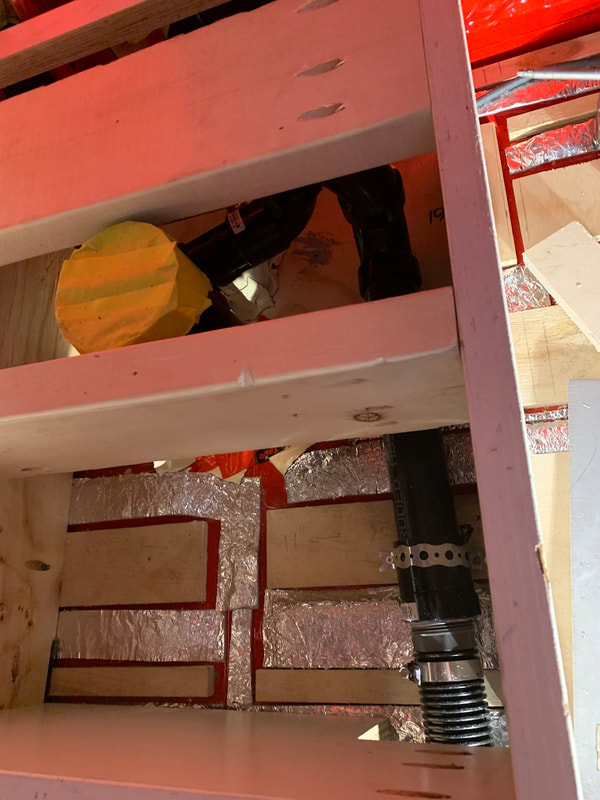
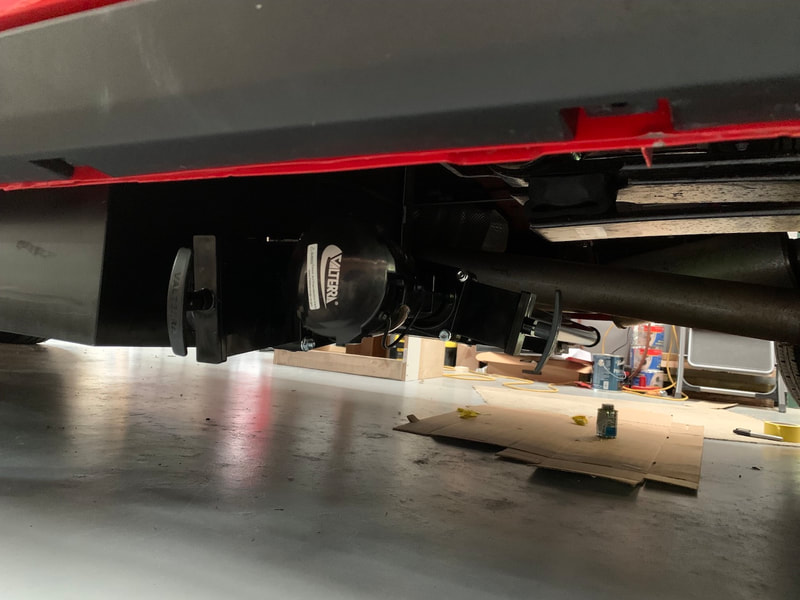
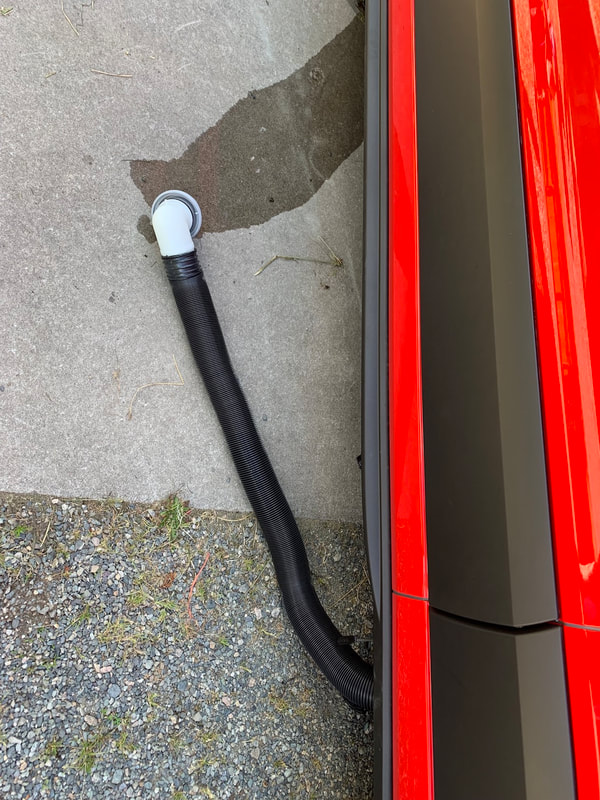
I read somewhere that building an RV is like building a house but it has to be mobile... It actually requires a lot more than that. When building a house, usually you get to hook into a sewer system and power grid. With an RV you have to build those systems into the vehicle as well. The last part needed for the tanks to be connected arrived yesterday late afternoon - the valve for emptying the tanks. I got that installed this morning and also completed and turned on the electrical power system. Everything seems to be working nicely. I could have used a bit more slope on the drain pipes under Redford, but I think it will be completely functional.
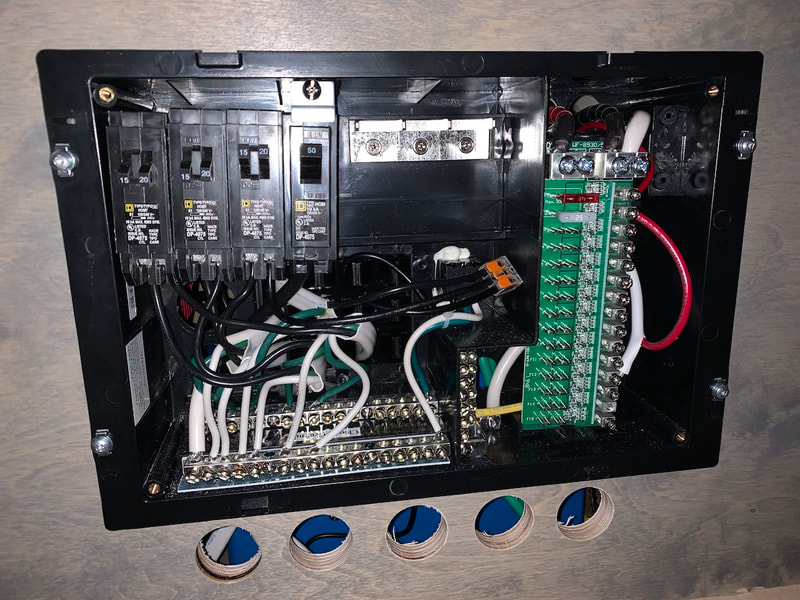
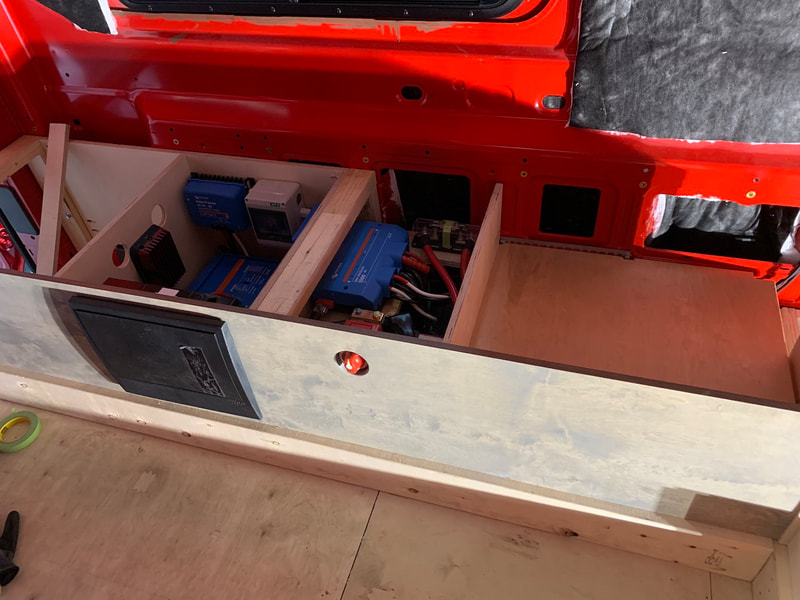
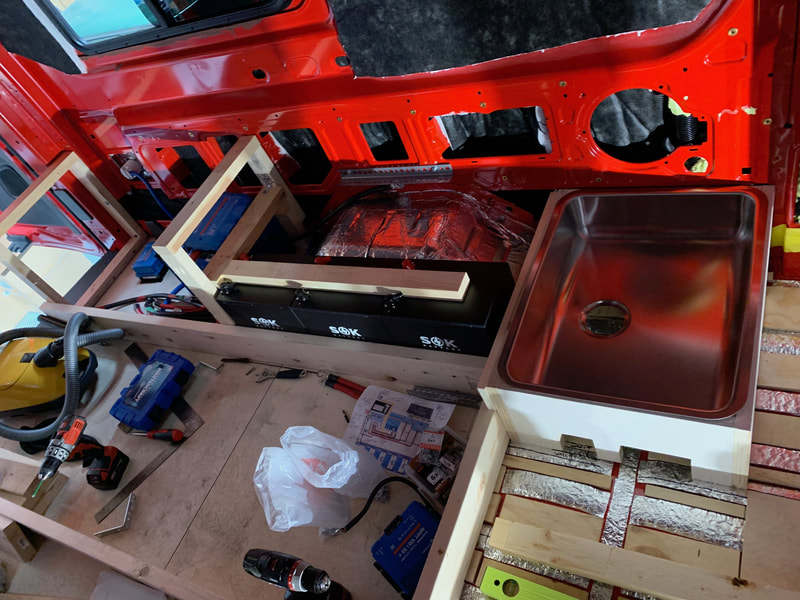
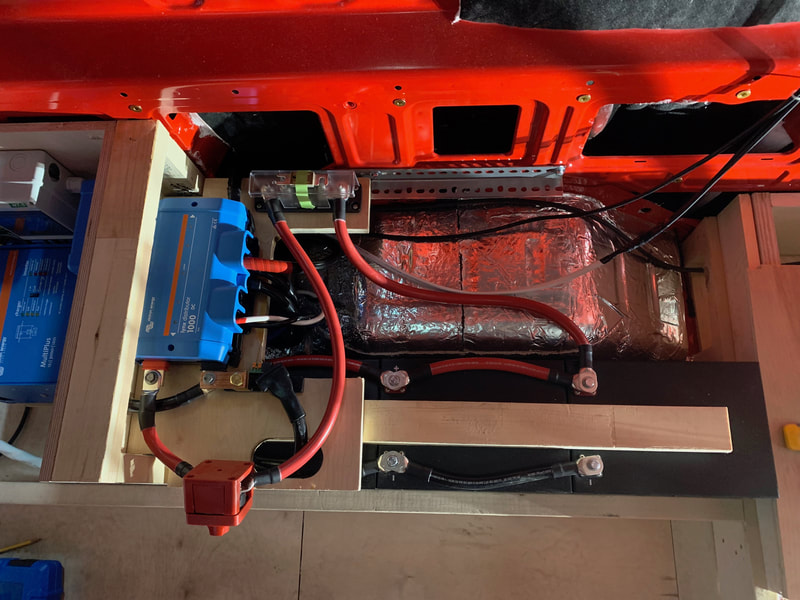
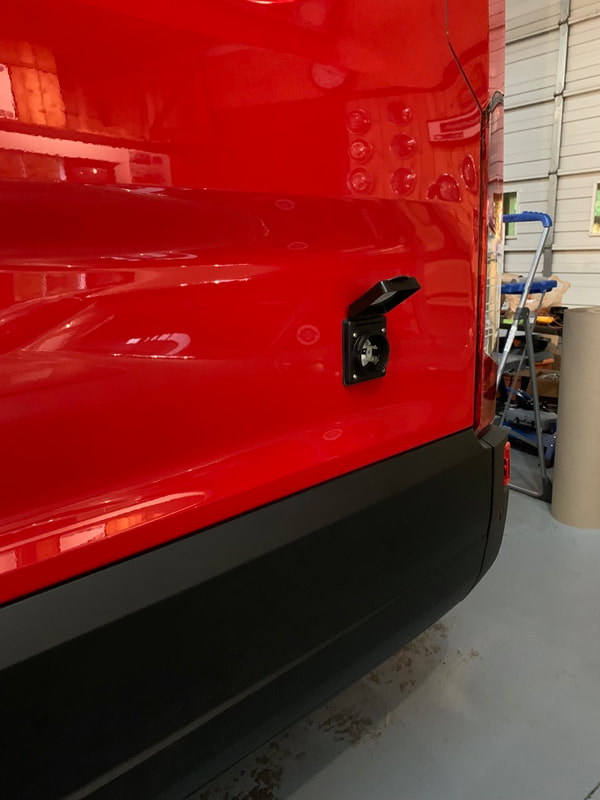
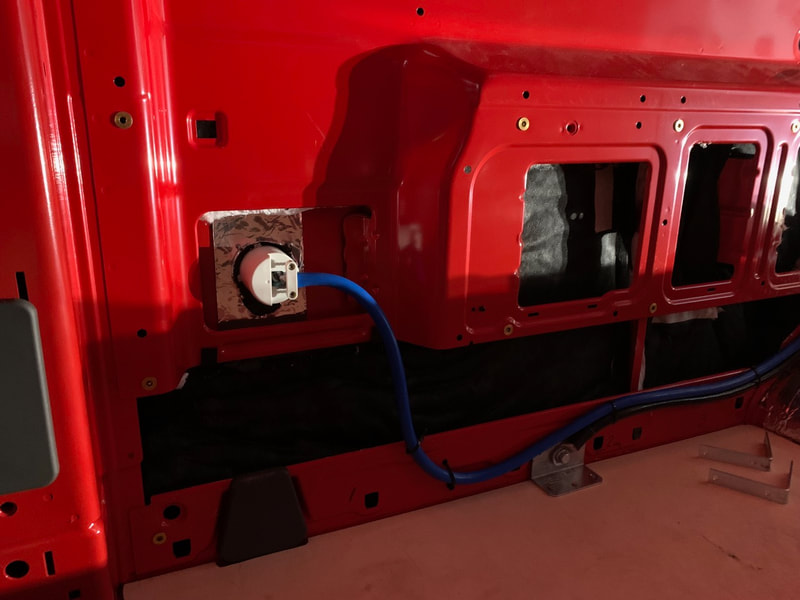
One "oops" that I discovered today was that I did not realize there are two different types of 30A receptacles (arrrgh!) I thought if I ordered a 30A RV shore power outlet, it would fit with a 30A RV extension cord. Go figure that the outlet I installed has an outlet like those found on generators. The extension cord is different. Now I have to figure out which is the most universally accepted. Update - after some research I discovered that marine outlets and RV outlets are different. The good news is that they sell adaptors that will make them compatible. The marine outlet is better in that it is waterproof and more secure. Go figure that an outlet that is called "Parkpower" is for a boat... Much of the focus this week has been on the electrical system. Not the actual wiring for the camper, i.e., lights, appliances, charging points, etc. but the central power system itself has been mostly completed; three 206 Ah lithium batteries are installed and connected, Lynx power distribution unit installed (and mostly wired), power switch installed, solar power is connected, etc. Wiring in a van is quite different from working on house wiring. In homes things are very standardized but I'm finding in the van I'm constantly having to find ways to adapt things to get them to connect together. The challenge of course is to do it in a sound and safe way that will work long term in a moving vehicle. There are standards that are established but small things differ from one component to another. Also, the spaces are very tight in a van and in the power system equipment the wiring is very heavy duty. It's like working with wires heavier duty than for ovens and clothes dryers (but it's stranded wires in a van) in tight spaces. It's not easy to get a wire that's as thick as your thumb to bend to reach a particular location without putting stress on one component or another. Cutting wires is a big deal because it means putting new lugs as connection points onto the end of the wire. All-in-all I think it's gone quite well thus far. I have to give thanks to Nate Yarborough at www.explorist.life for all of the information he has on his website and his answers to questions that DIY people ask. I certainly didn't figure this out on my own! I'm using one of his system designs that met our needs and am configuring it to fit into our space.
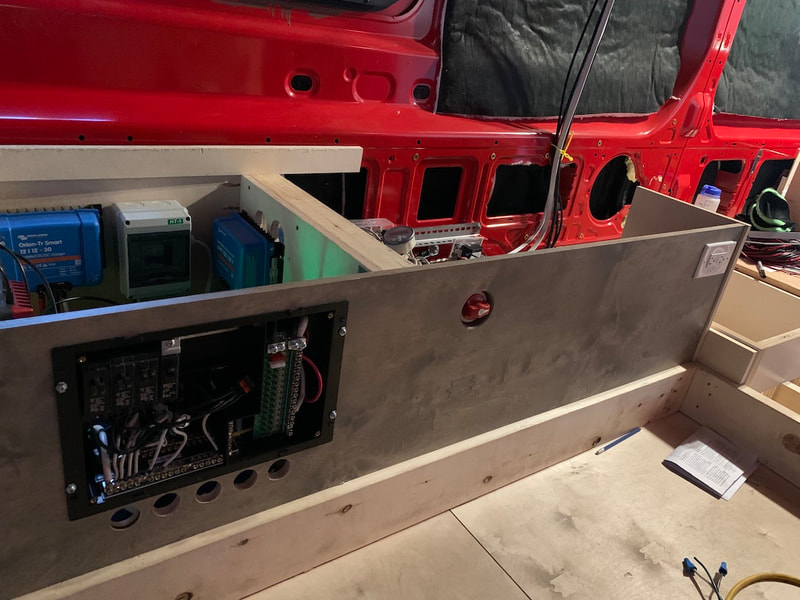
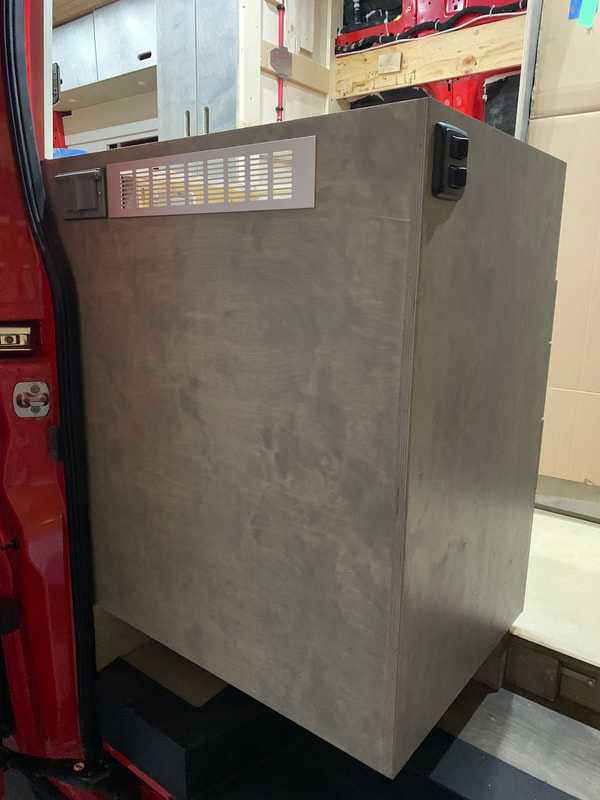
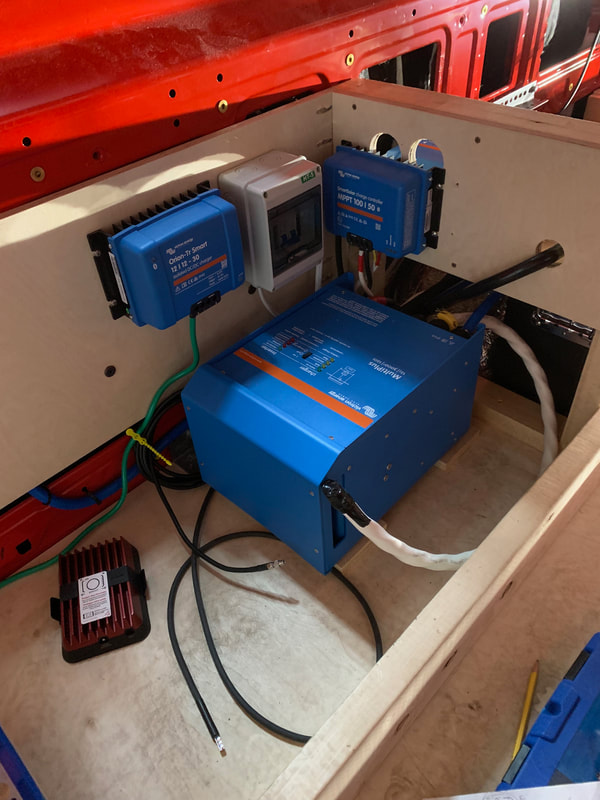
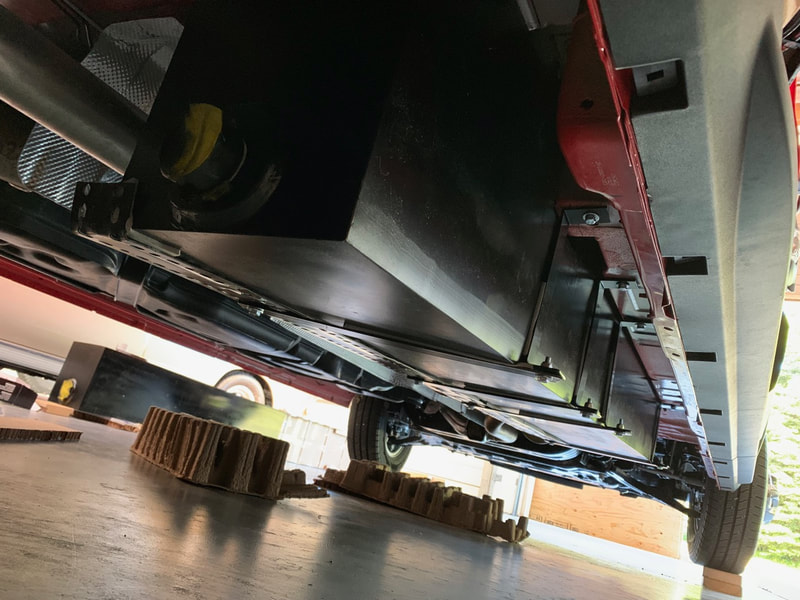
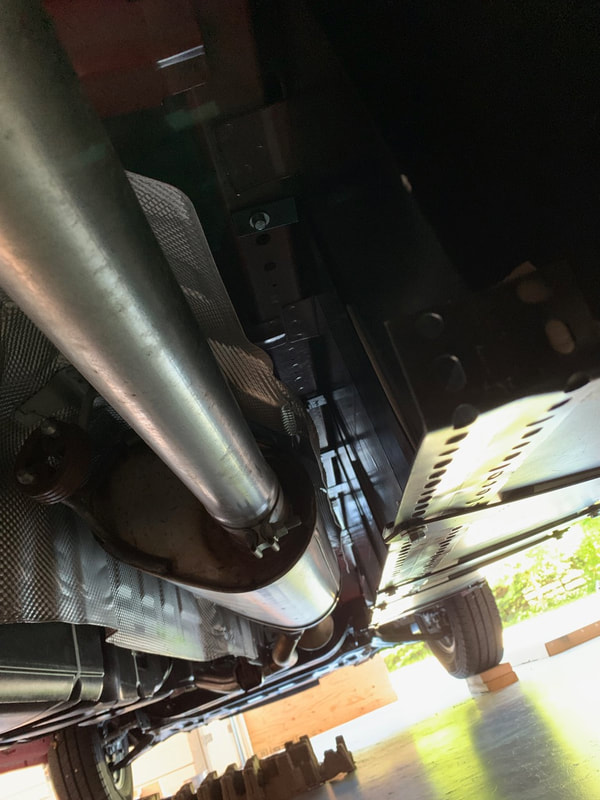
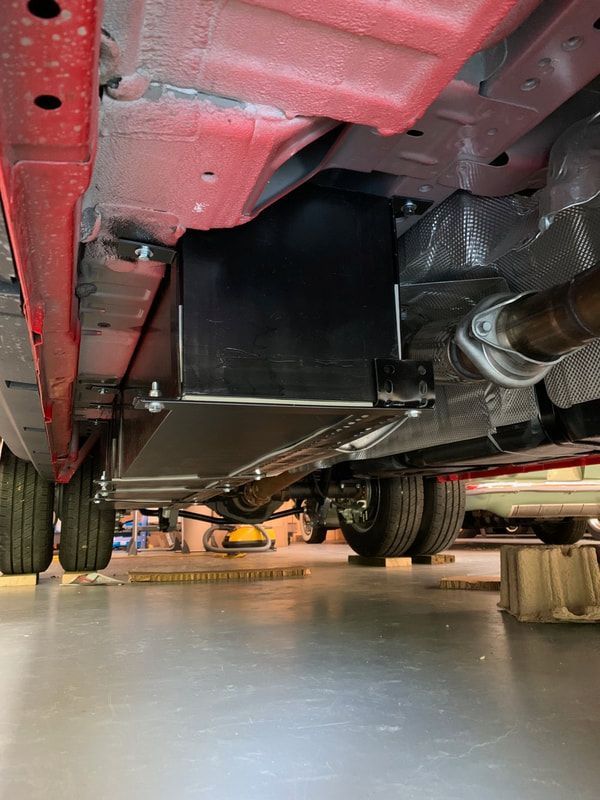
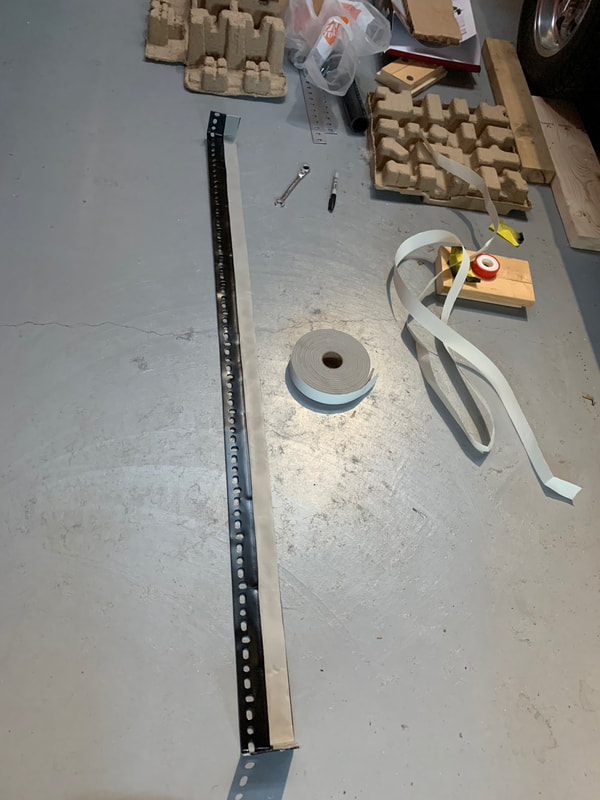
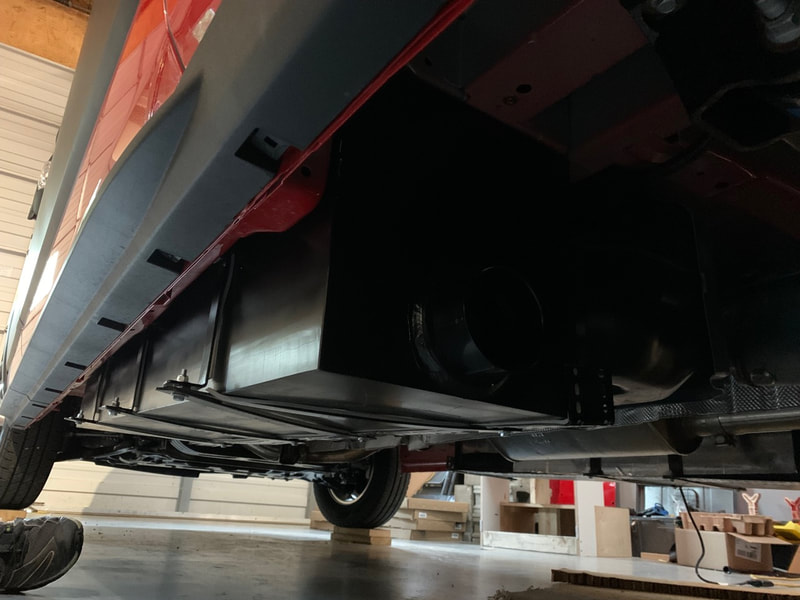
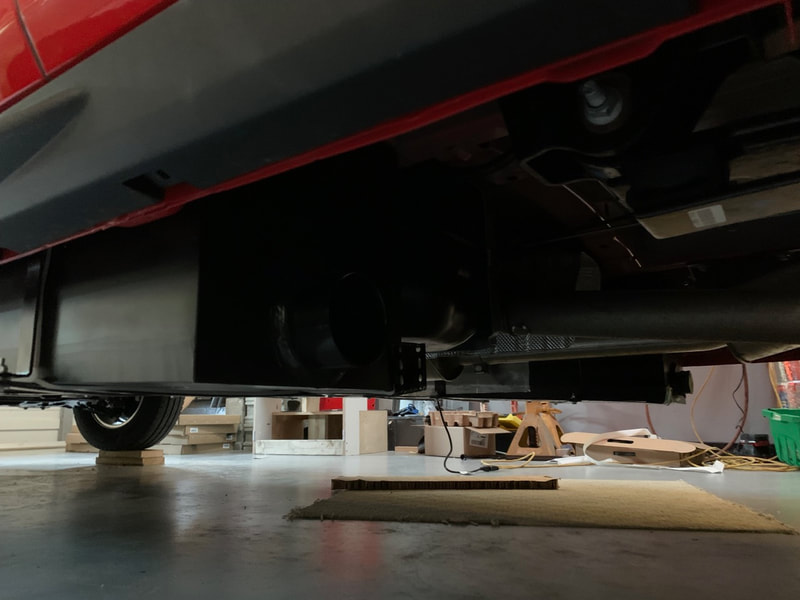
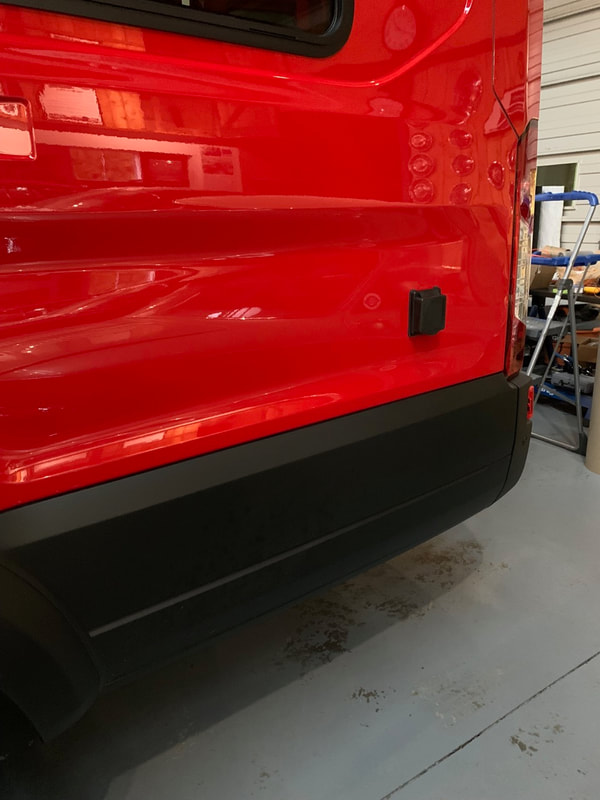
As with other systems, things didn't go as how I planned them a few months ago. Everything is incredibly integrated. I had planned to install the inverter (the device that converts the DC electricity for the batteries into AC current to run regular house type appliances - it's the big blue box in the right hand photo) in one of the bed/benches above the wheel well. It turned out that to do that the bench would have to be 1.5" taller. That doesn't sound like much but between the cushion (which is also a mattress) and the bench, the seating surface would have been too high to sit comfortably. In the end it'll be okay because it just means the storage area changes form and location. In a way it's even better because the angled space off the back wheel well would have been dead space, now I have the heavy wires running through that space so it is being put to good use. A very productive day to start June! After a quick shop to pick up some wire, I finished the shore power inlet and by the evening I had the grey and black tanks installed under Redford. Switching back and forth between painting and fitting worked well. The fast drying "pro-tremrclad" allowed me to get one set of brackets primed and painted while I was installing the first tank. There were some tricky moments when I had to work around very limited space: brackets were installed, fittings for inlets into tanks, camper foam tape applied to hangers, etc.; it was very challenging to work the tanks under the van on their sides, then find a way to stand them up and get them into place. After a little "Tank Tetris" I was able to slide, turn, shift, and manoeuvre them into place. They were jacked into place (while minding the plumbing fittings inside Redford) and clamped. Tomorrow I will start looking at the cabinet/bench/bed that goes just behind the washroom. Most of the electrical system will be housed inside that bench.
|
Details
AuthorCalvin here - after spending almost 33 years in education as a high school teacher, elementary teacher, and elementary administrator, it was time to retire! I did so happily and with no regrets; it was a terrific and fulfilling career. I do enjoy building projects as the design and building process is very therapeutic and you see a completed functional product in the end. Now to combine the build with another of Angela's and my passions - travel - is something we're really looking forward to. Archives
September 2022
Categories |

 RSS Feed
