Is it really "final"? The last detail still to be completed is a bug screen for the cargo slider door. I think we'll wait on that to see how the overall function and flow feel before getting a commercially made screen. Otherwise, like all RVs there will be constant regular maintenance required (and hopefully not too many repairs!)
Scroll down to see information and photos of: Construction details / Electrical specs / Water and heating systems / Kitchen / Dining area / Sleeping area / Interior storage / Exterior storage / Other details.
Scroll down to see information and photos of: Construction details / Electrical specs / Water and heating systems / Kitchen / Dining area / Sleeping area / Interior storage / Exterior storage / Other details.
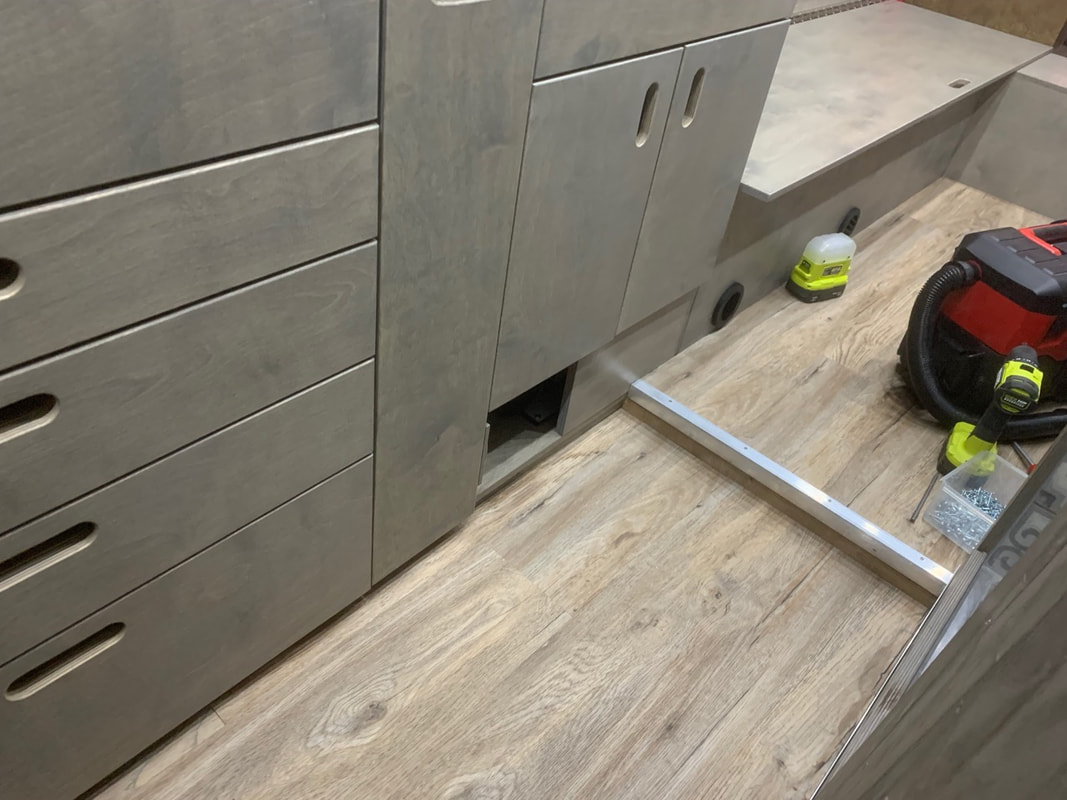
Construction details
Plywood types: some of the anchoring panels on the van sides were 3/4" regular plywood from a local home improvement store. All of the cabinets and wall panels were built from 5/8" Baltic birch plywood. It was the most uniform in quality and appearance. Some lighter duty pieces, e.g., shelves, night stands, upper garage area, were made from 1/2" Baltic birch. I definitely preferred working with the 5/8" material. It was easier to work with in terms of connecting with pocket screws and not having small bulges show. Total weight... we're glad we went with the 11000 lbs. van. The commercial weigh scale showed us at 4220kg which is 9284 lbs. This leaves us with a decent payload of just over 1700 lbs. for equipment, supplies, water, people, etc.
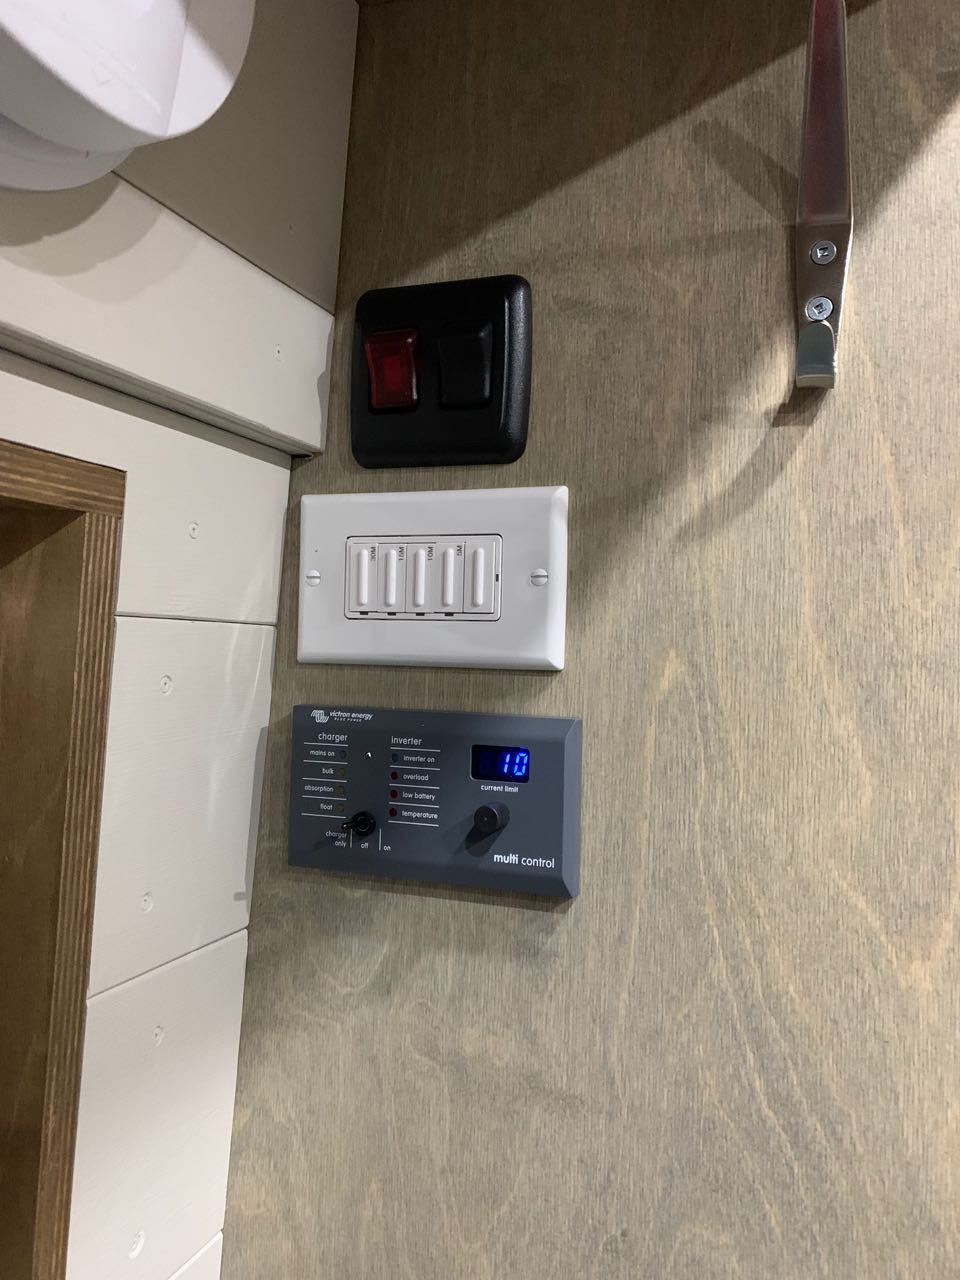
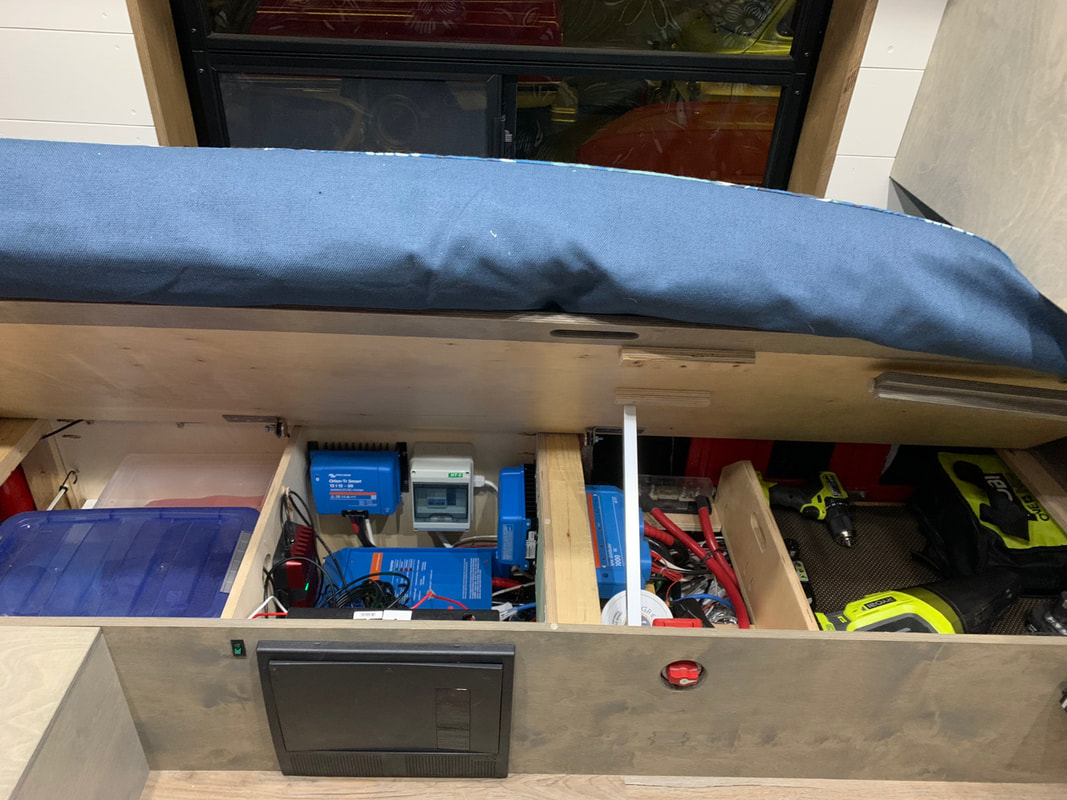
Electrical Specs and Details
|
|

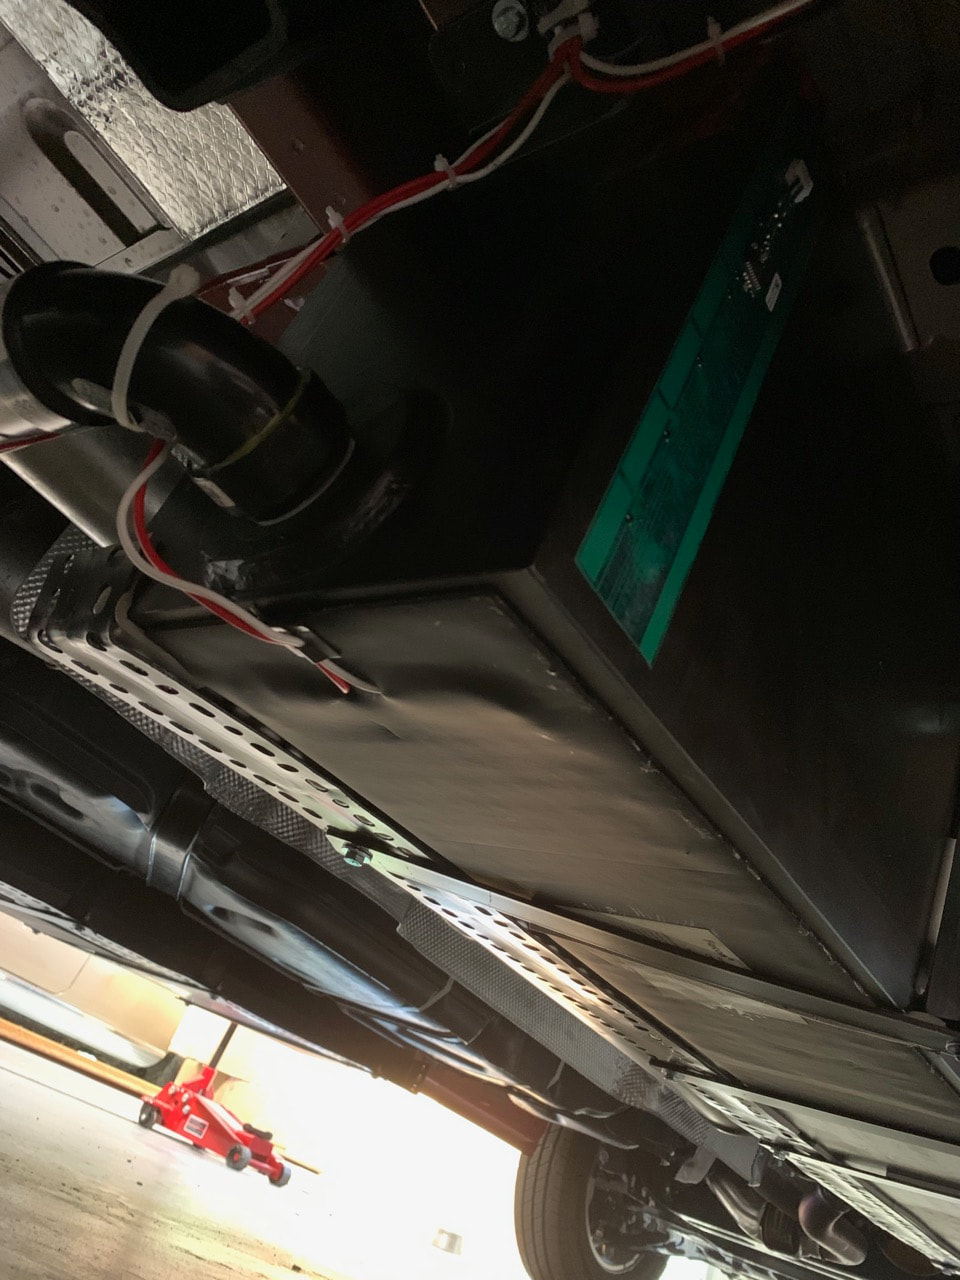
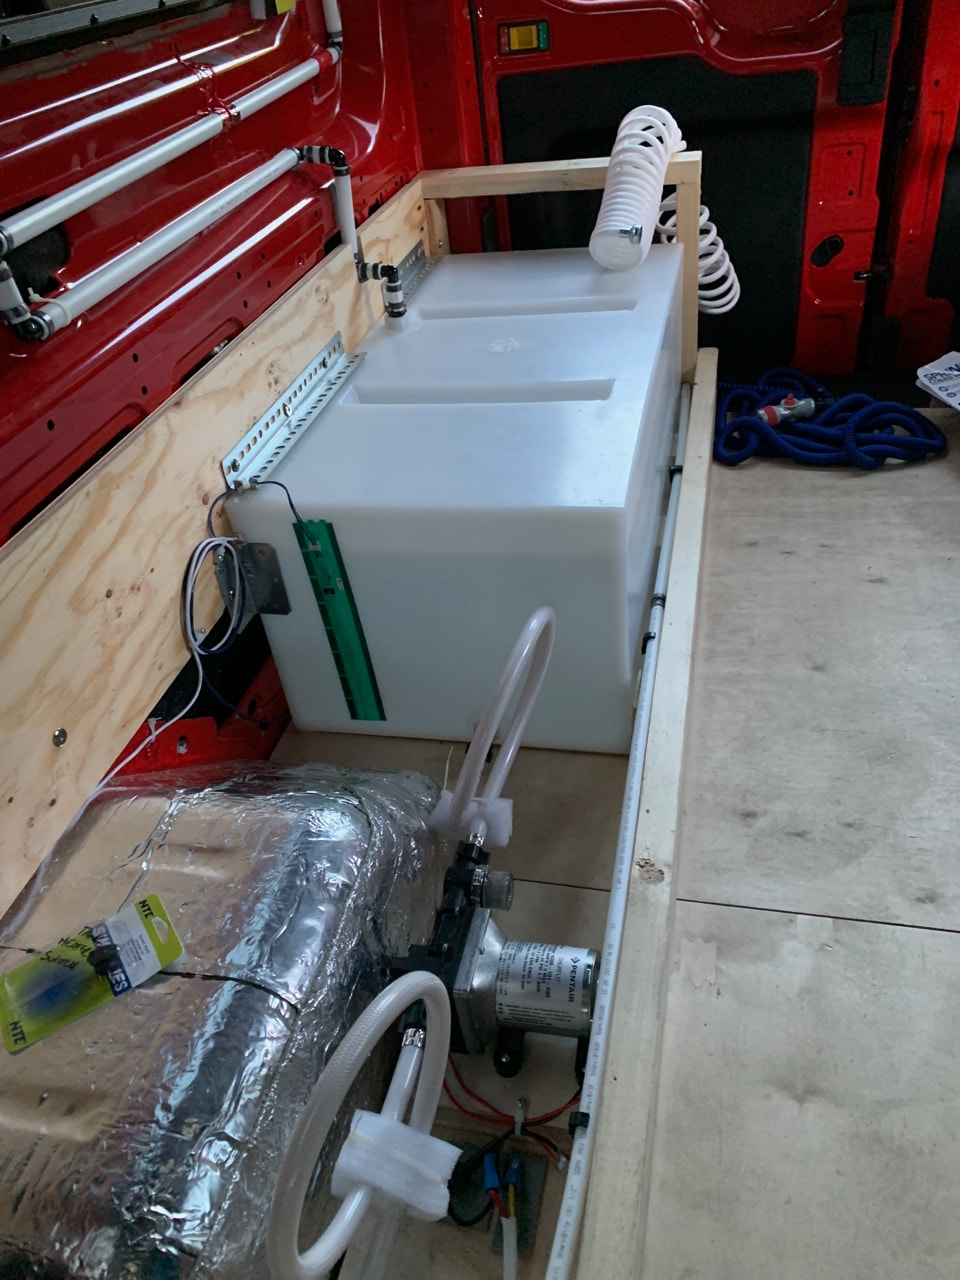
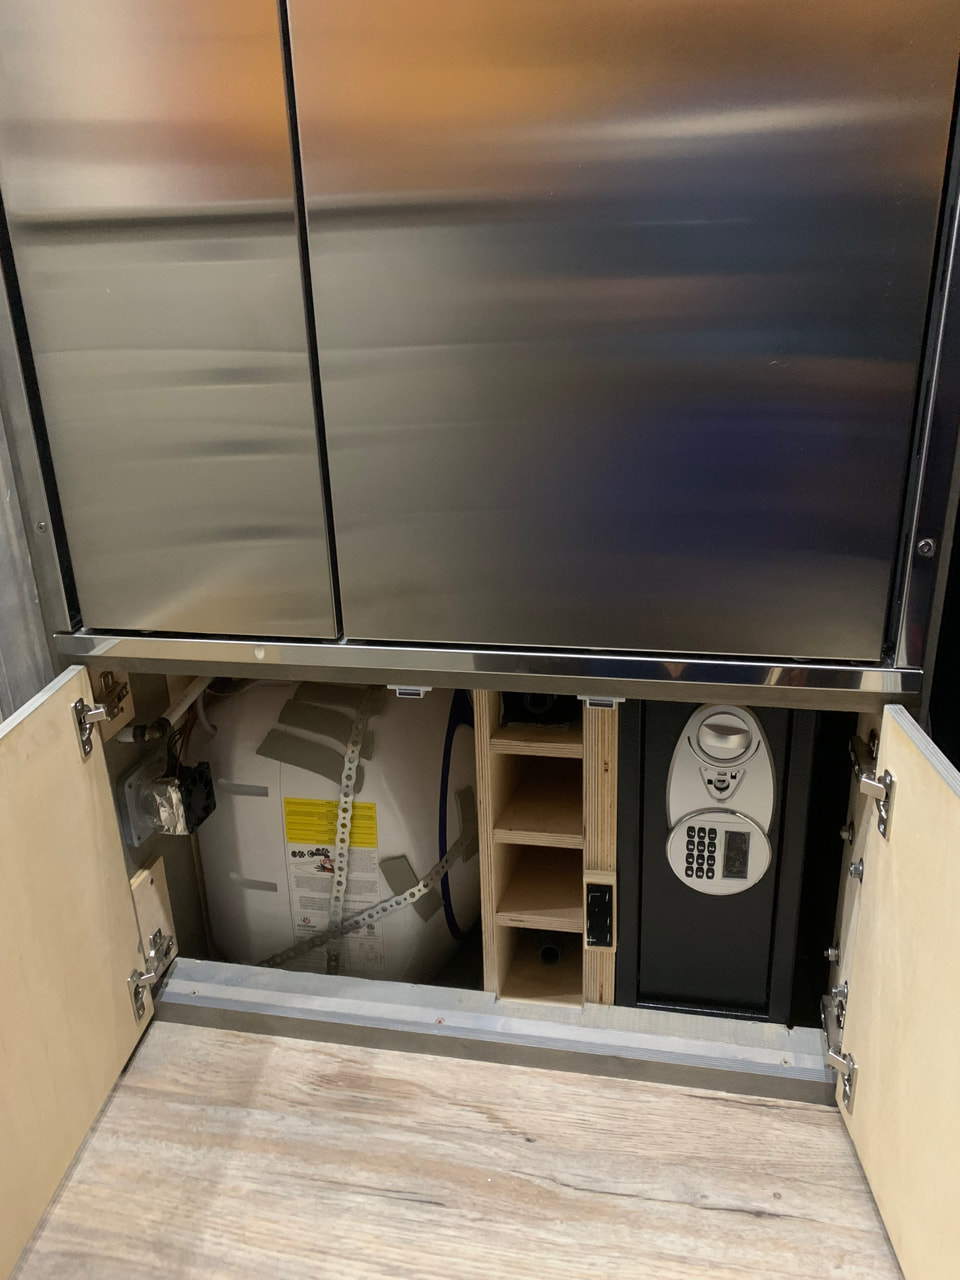
Water Capacity & Function and Heating & Ventilation
|
|


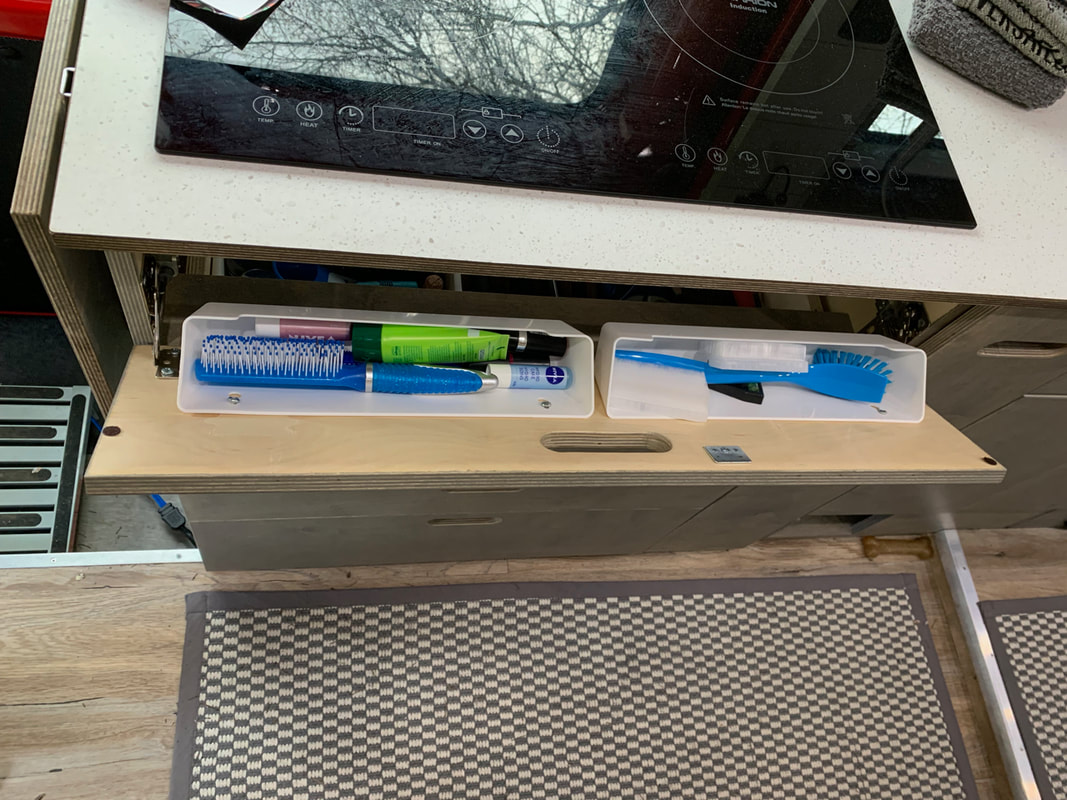
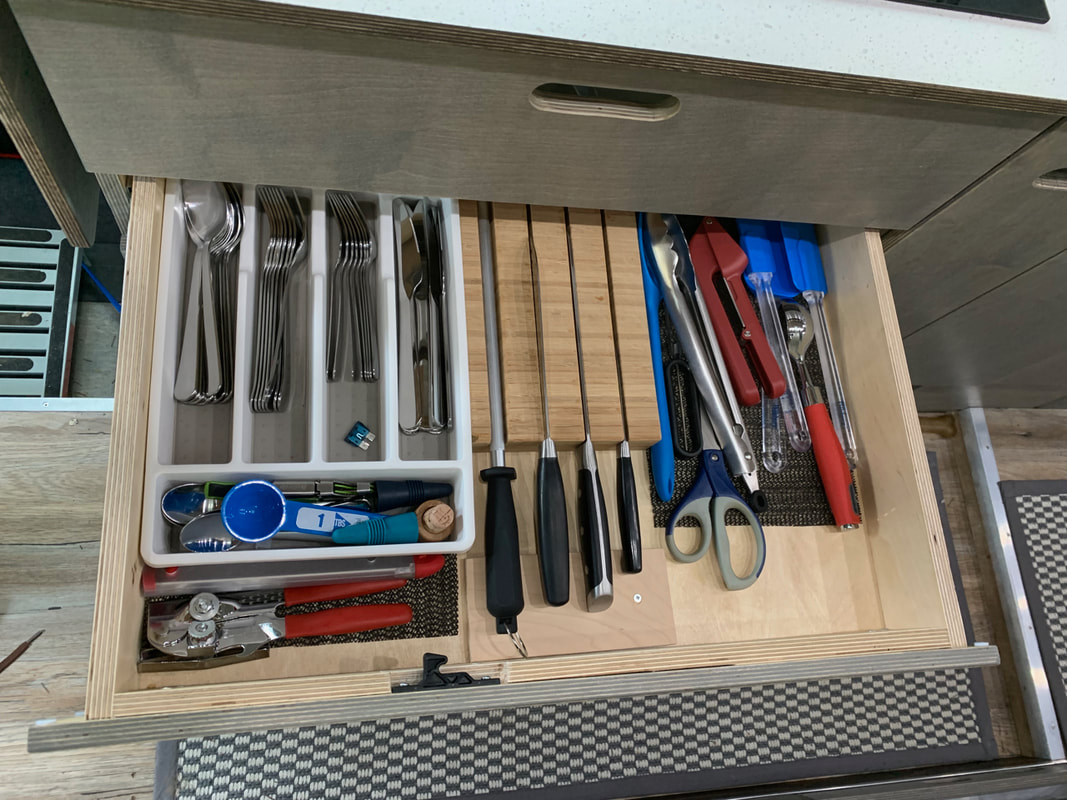
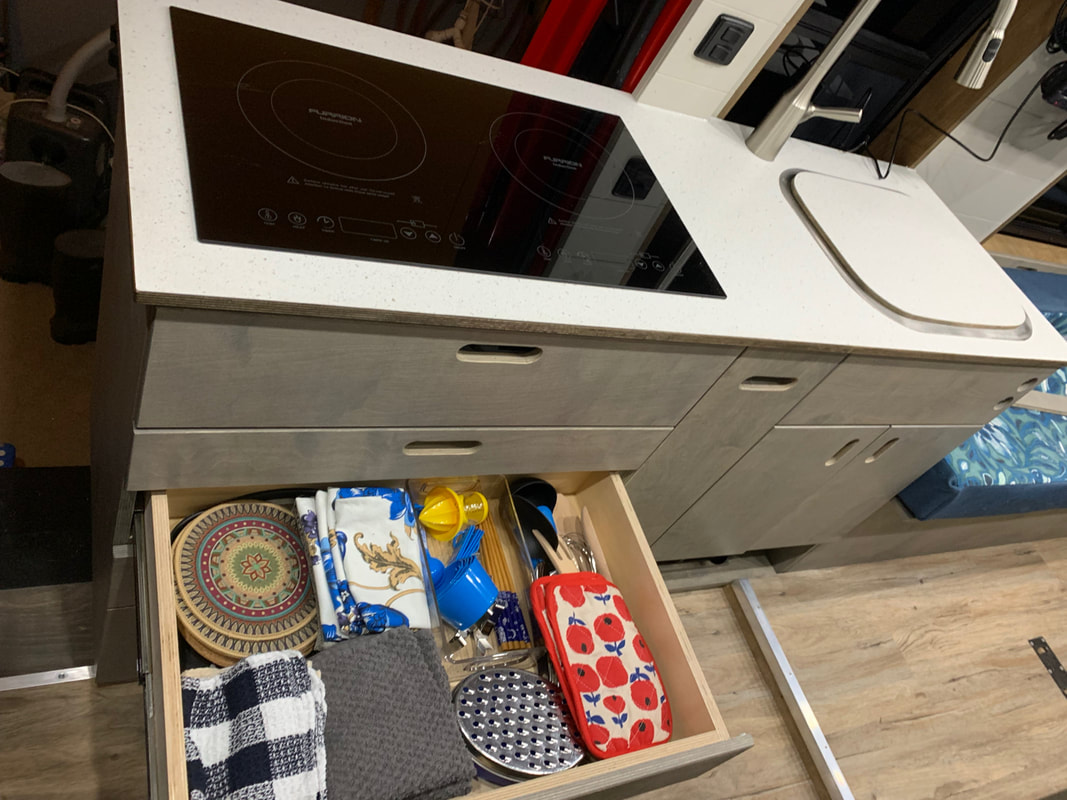
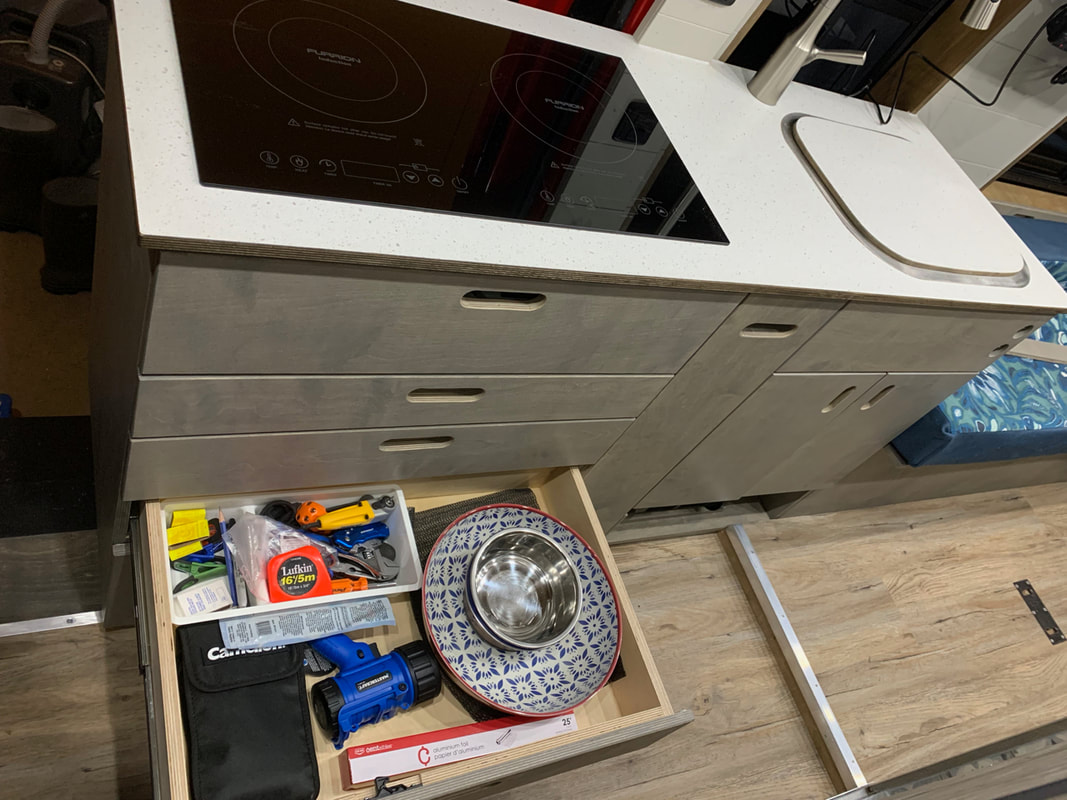
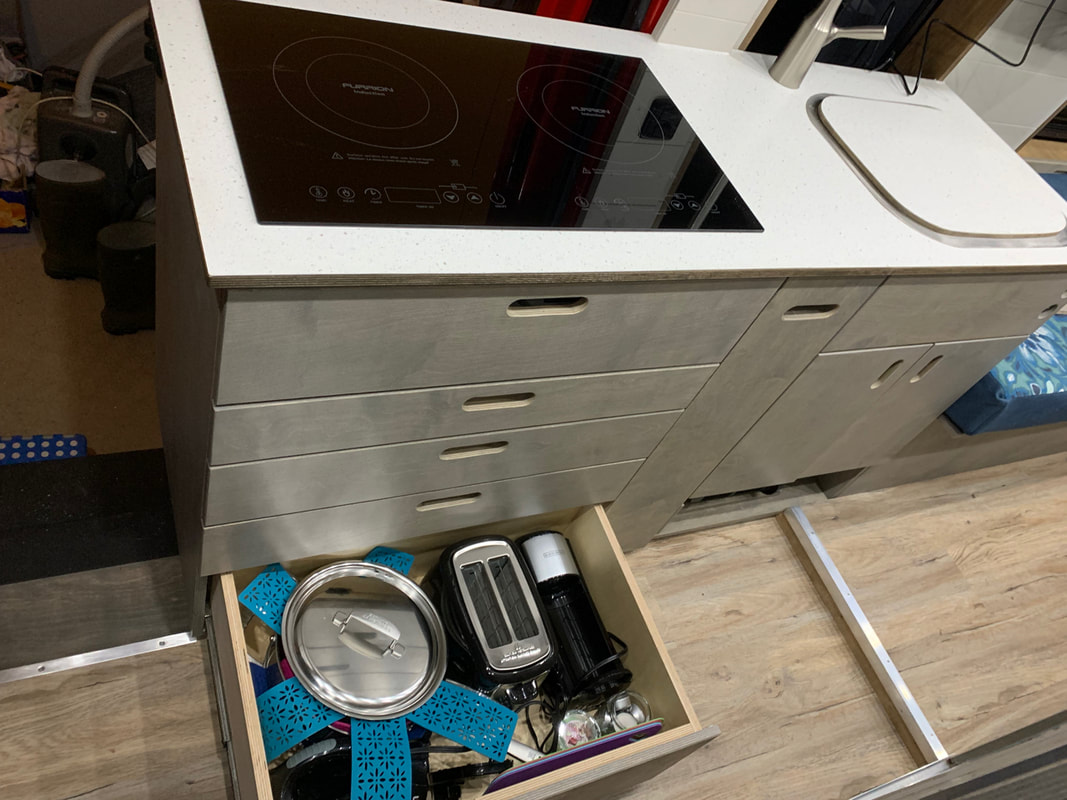
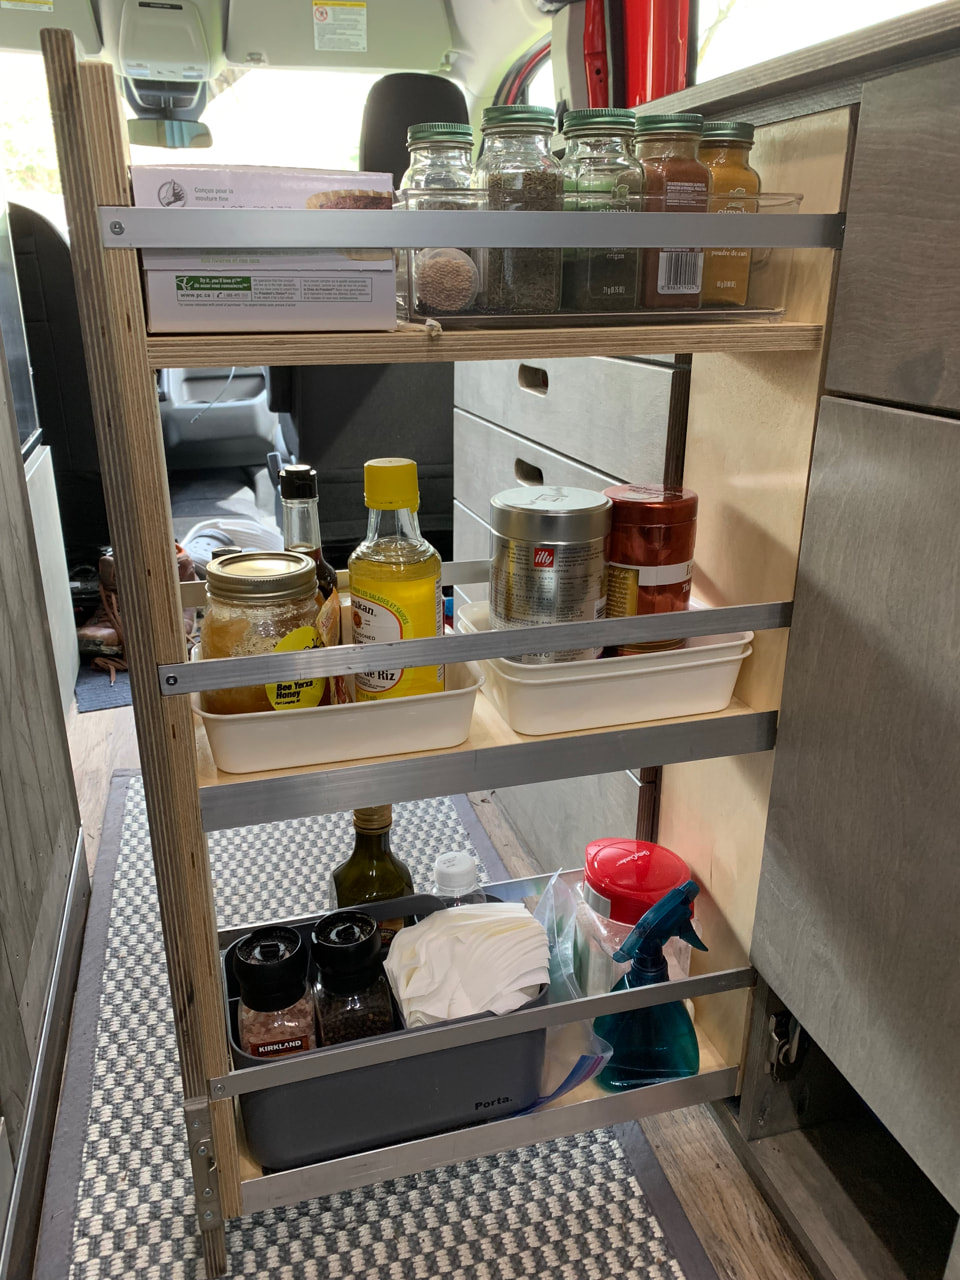
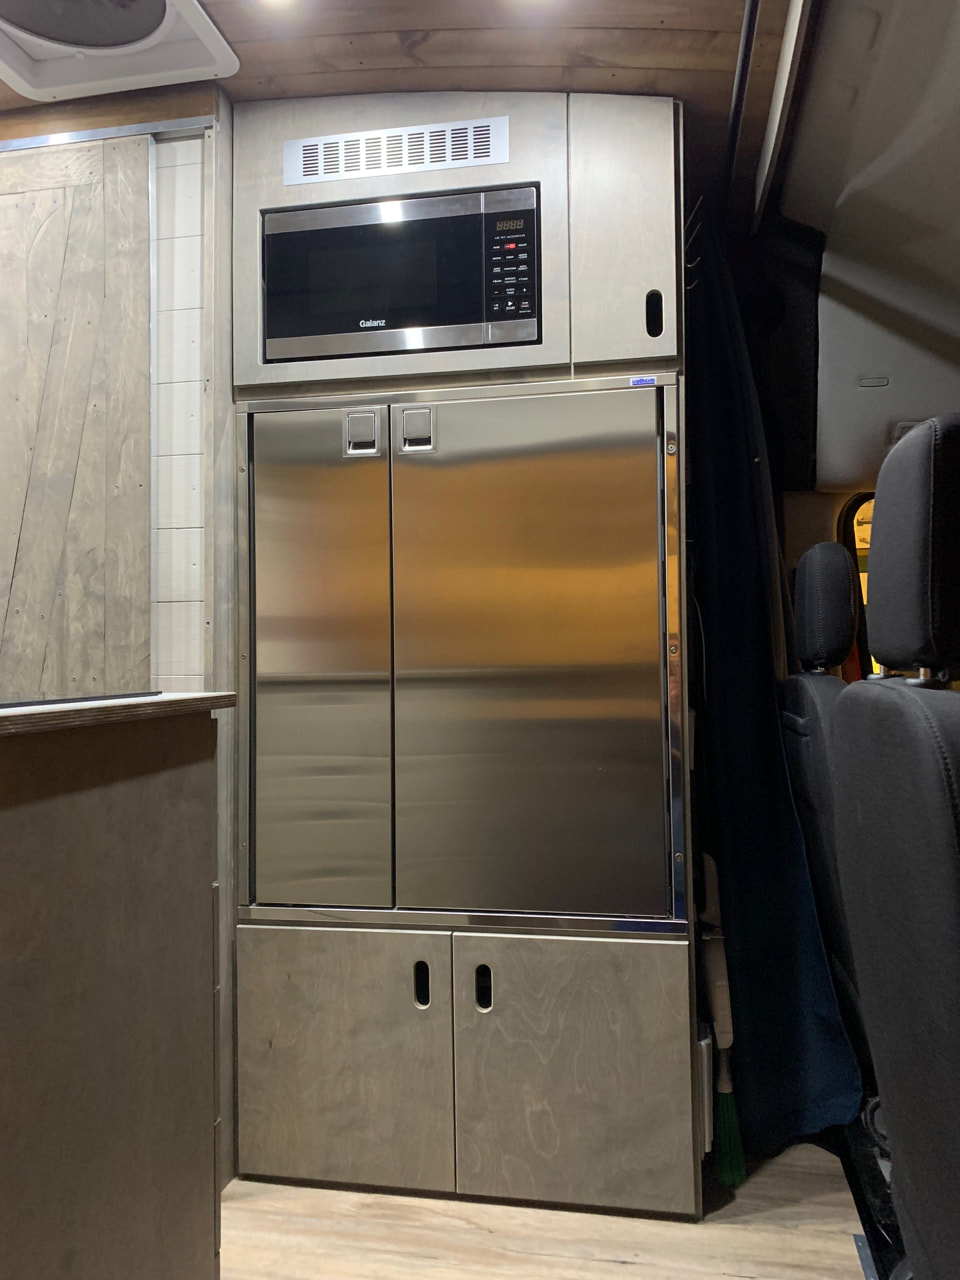
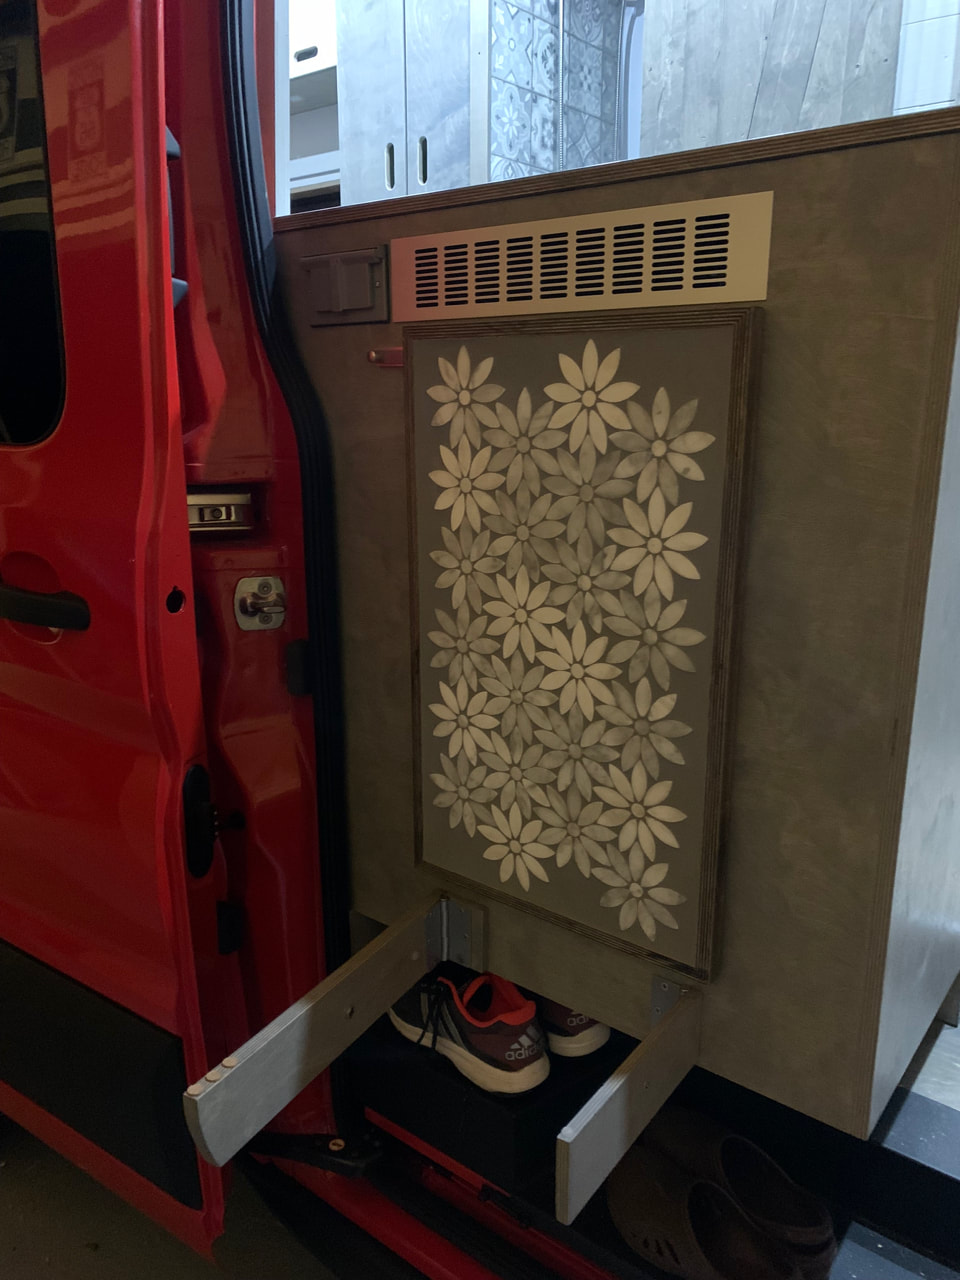
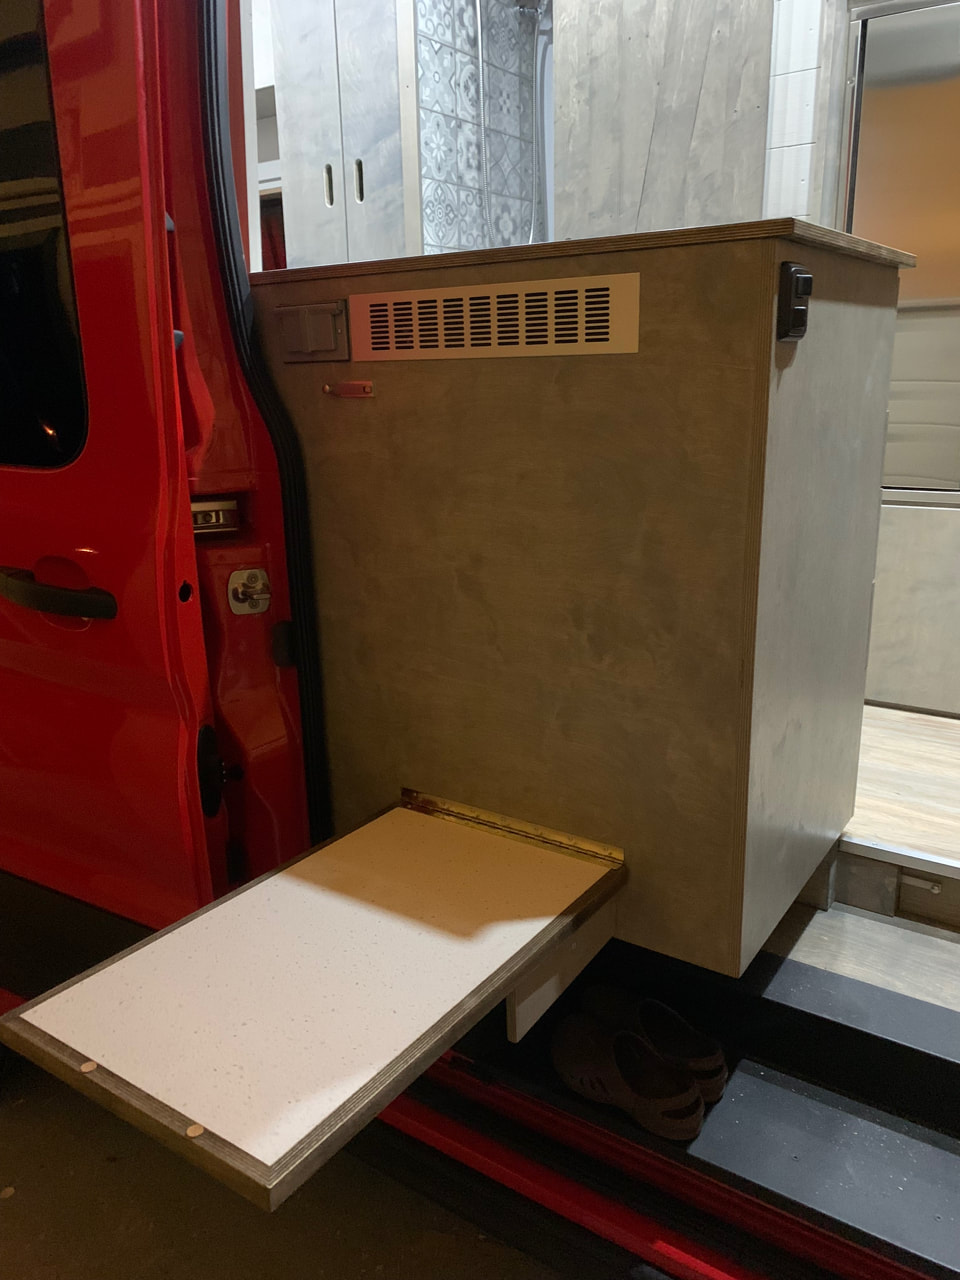
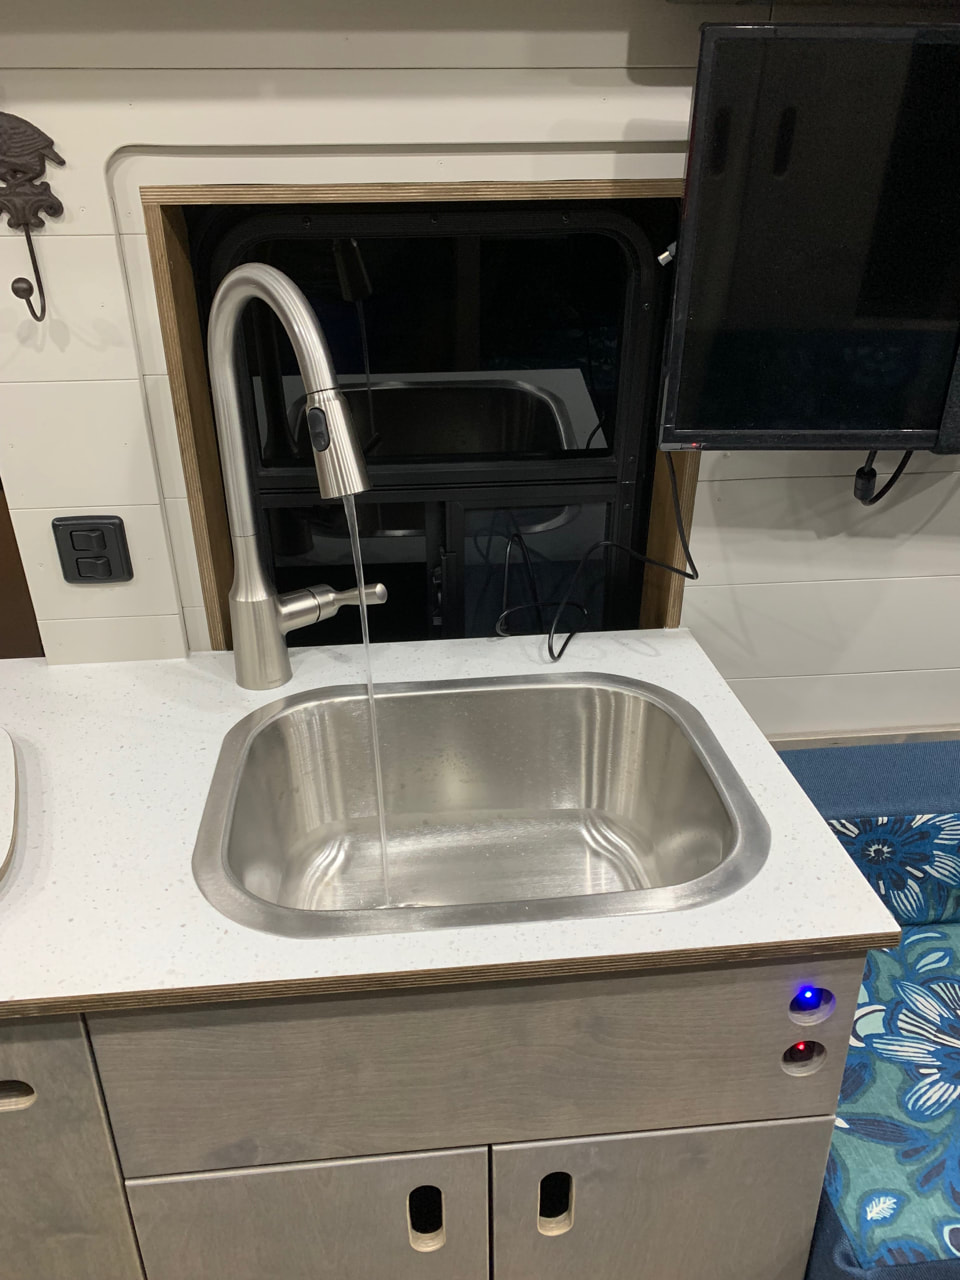
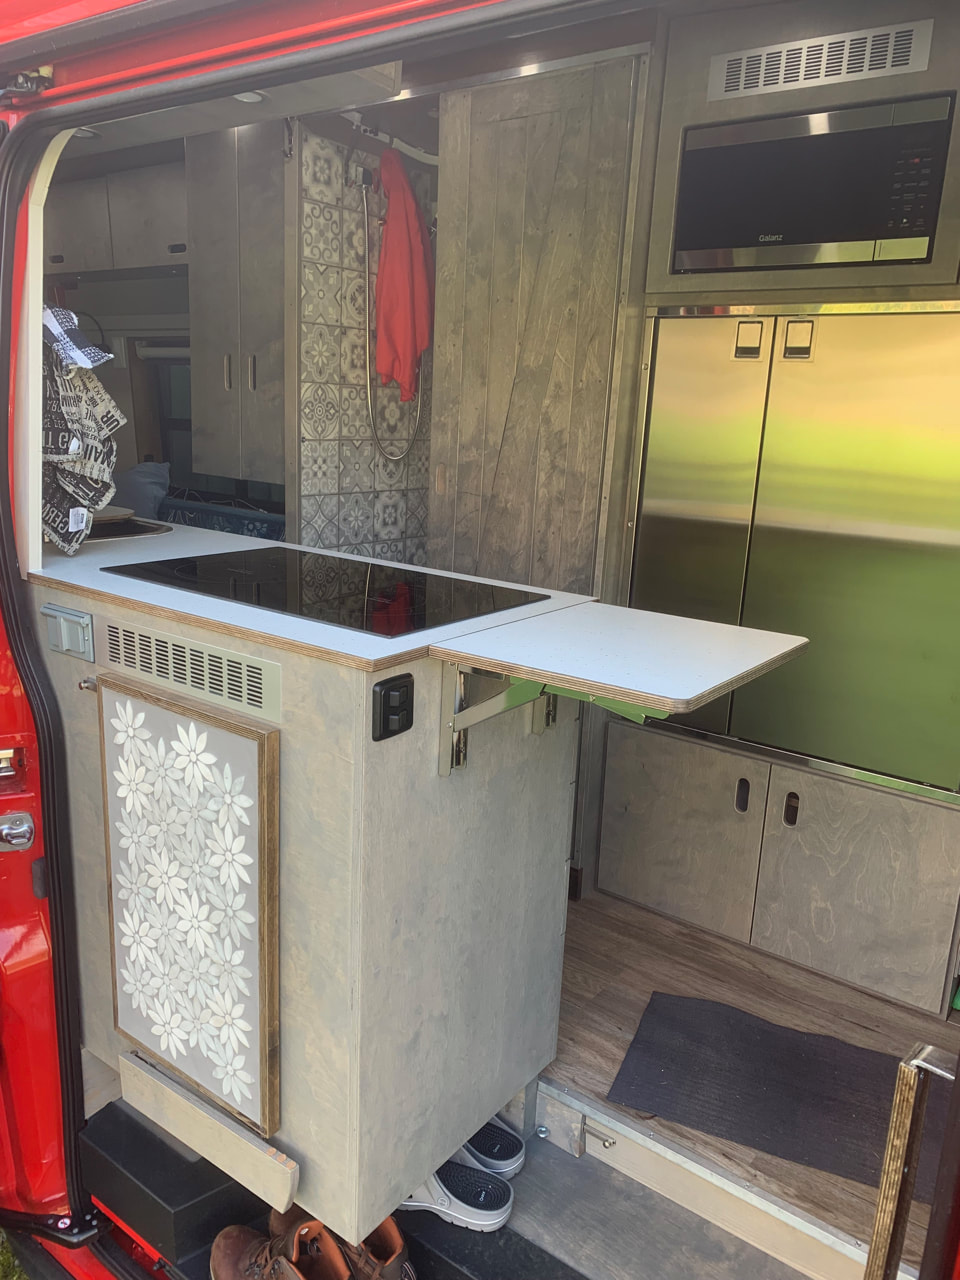
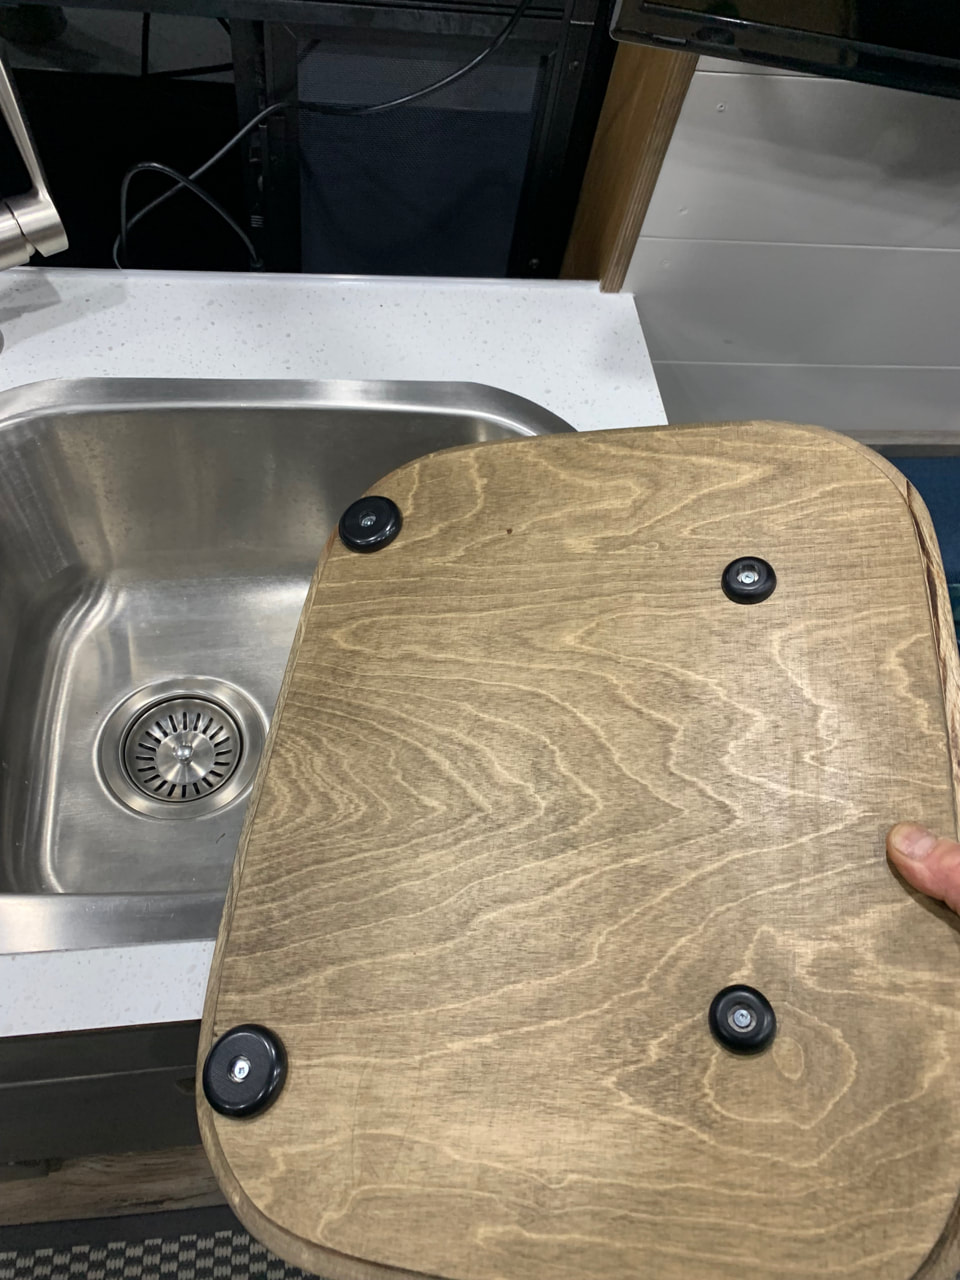
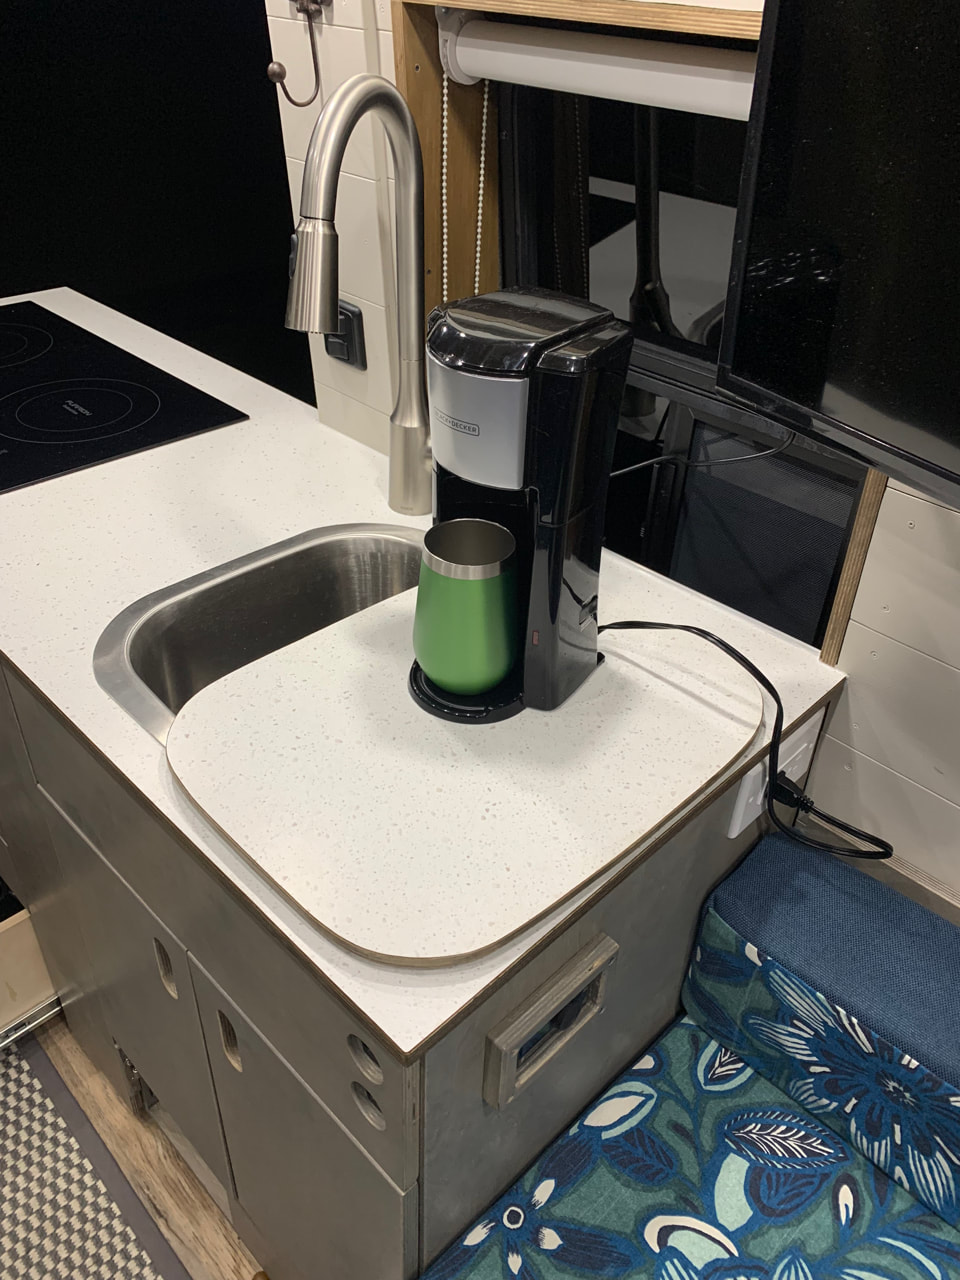
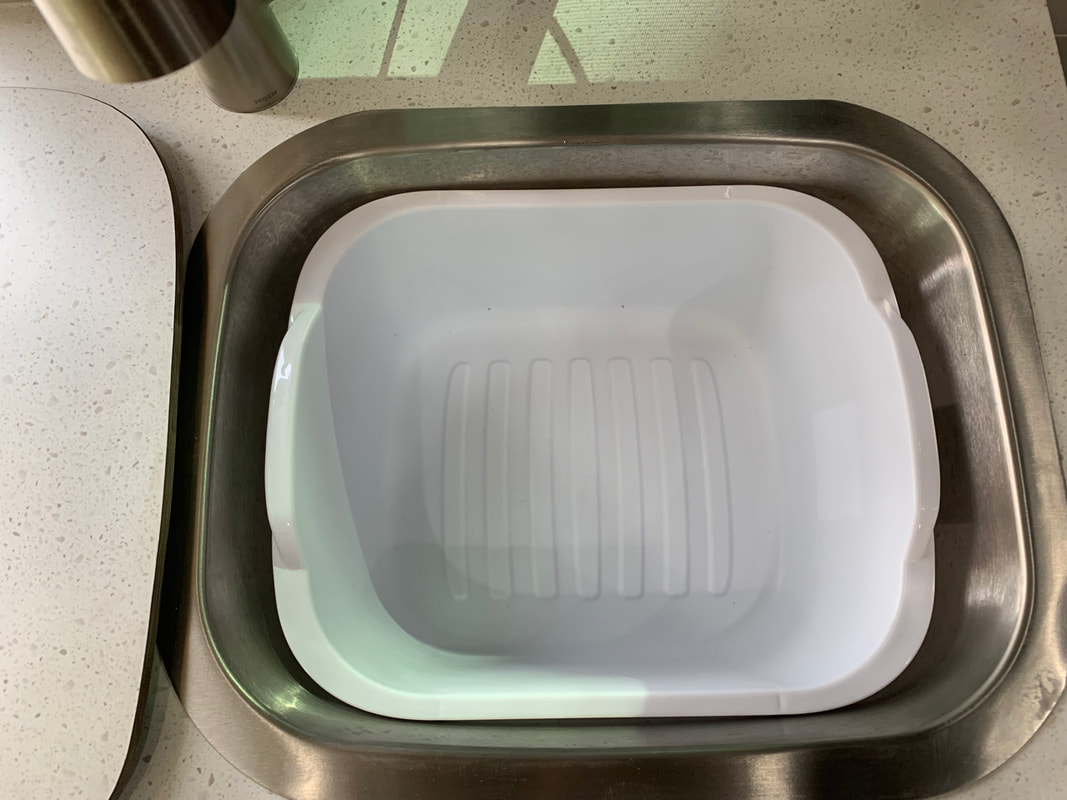
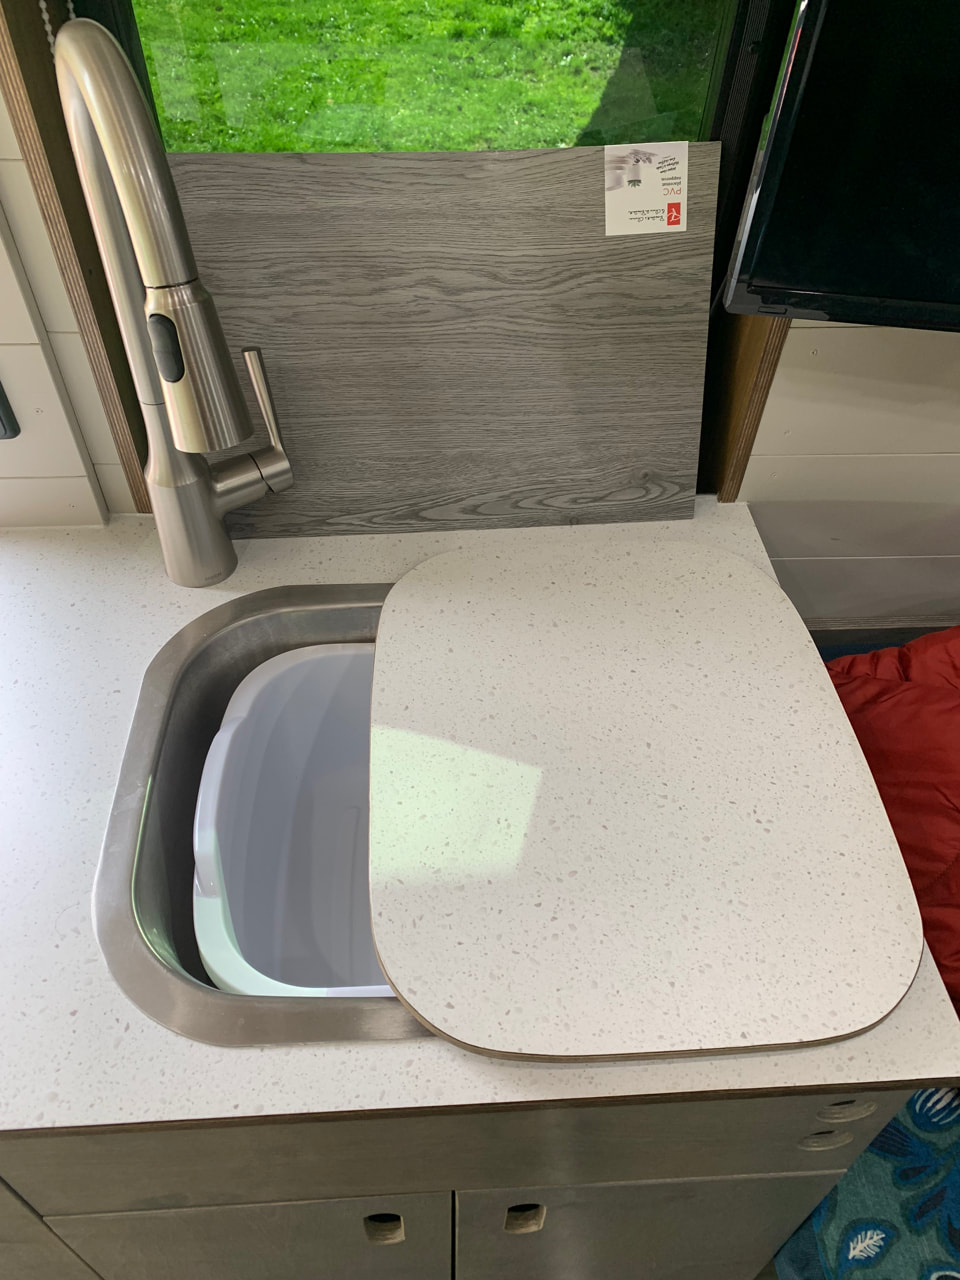
Kitchen Function
|
|


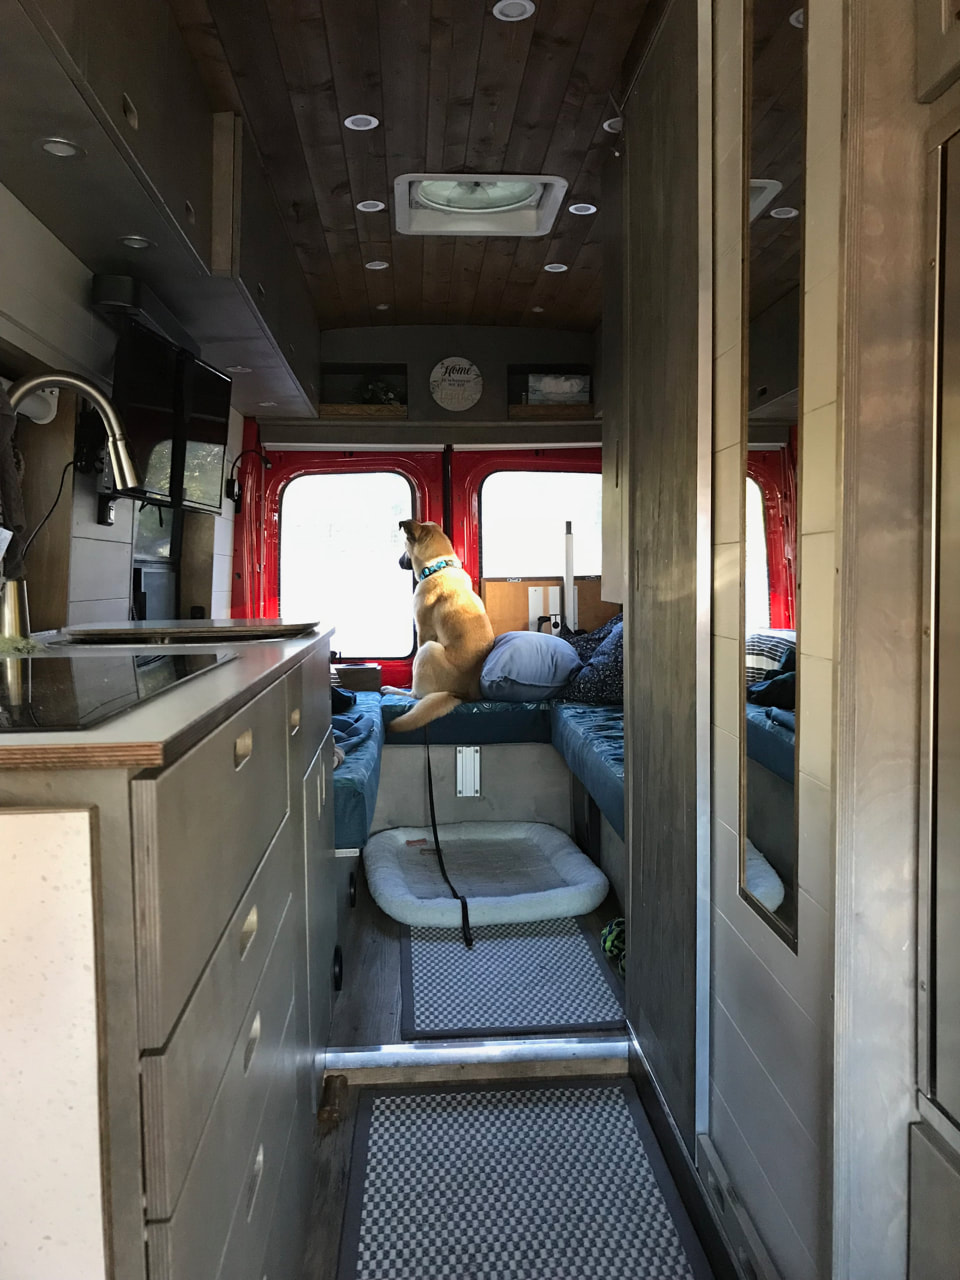
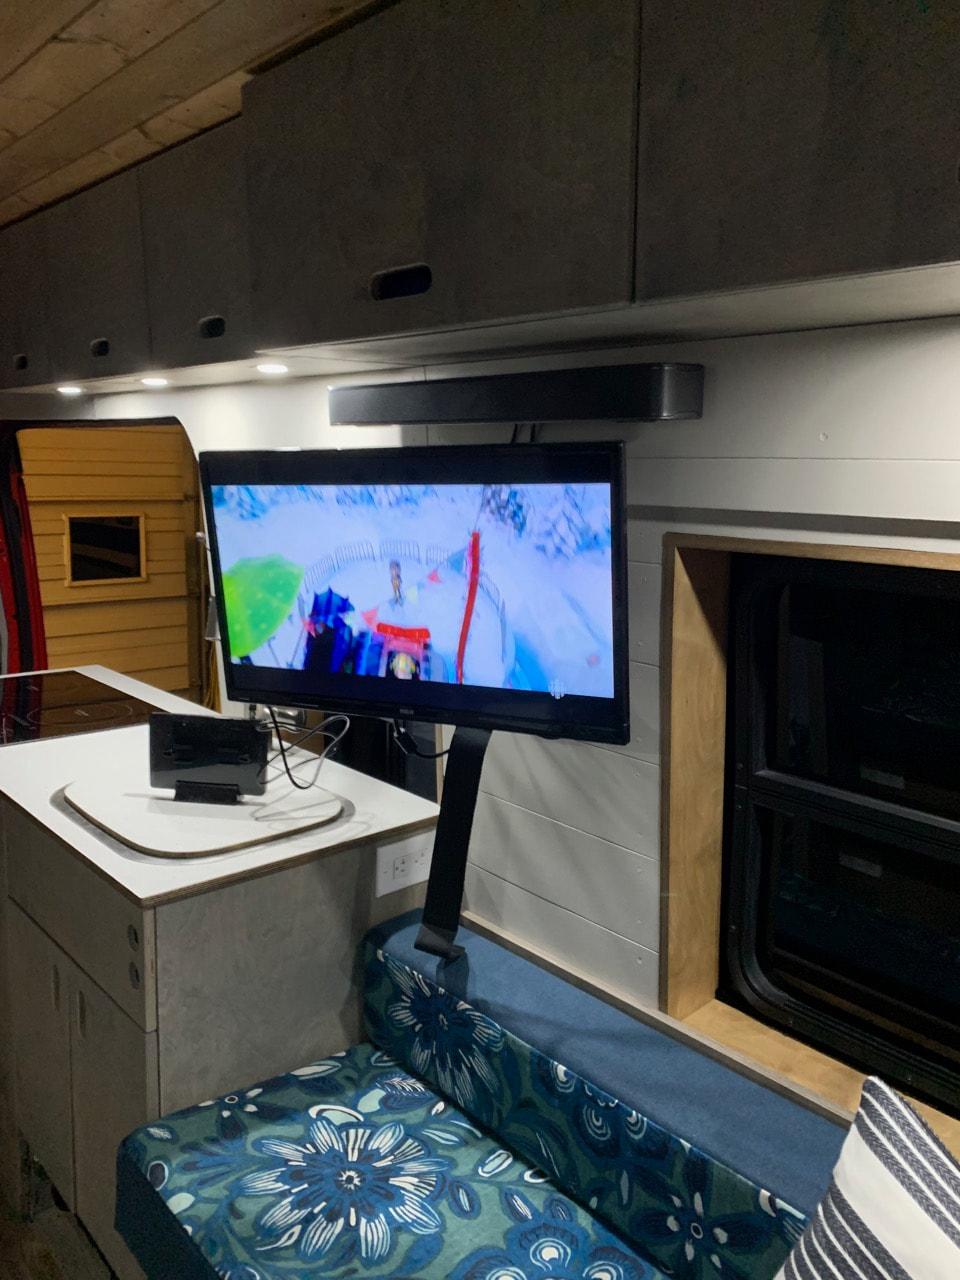
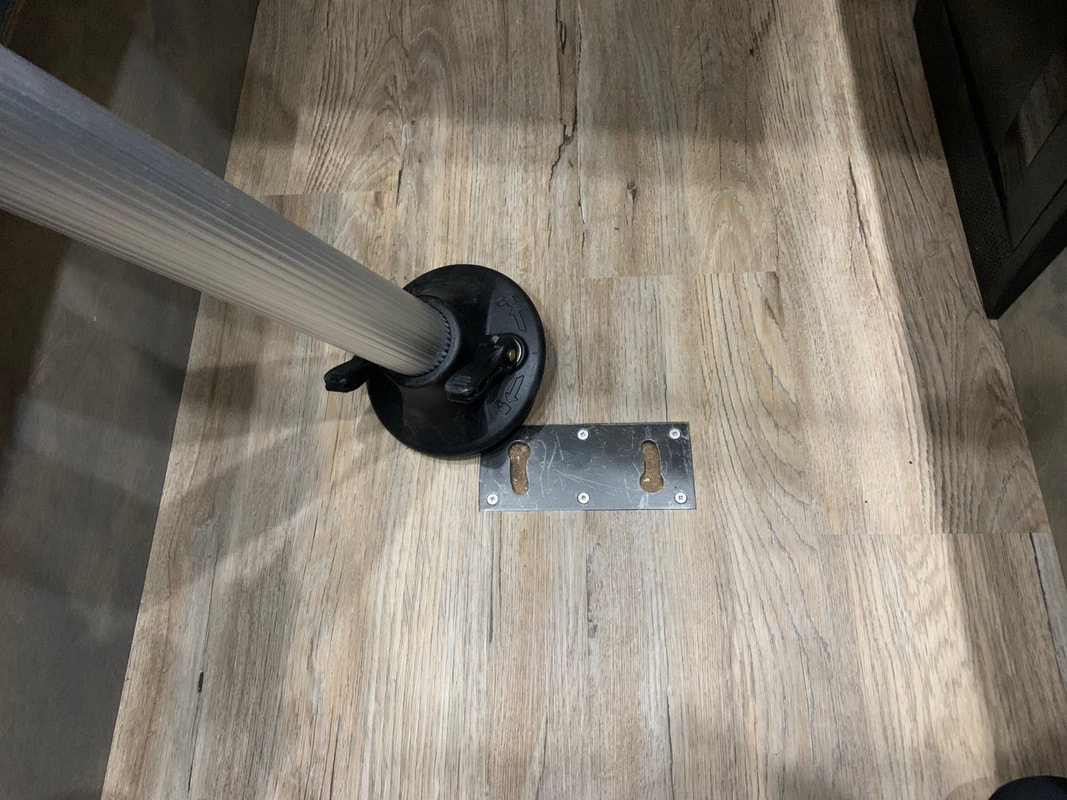
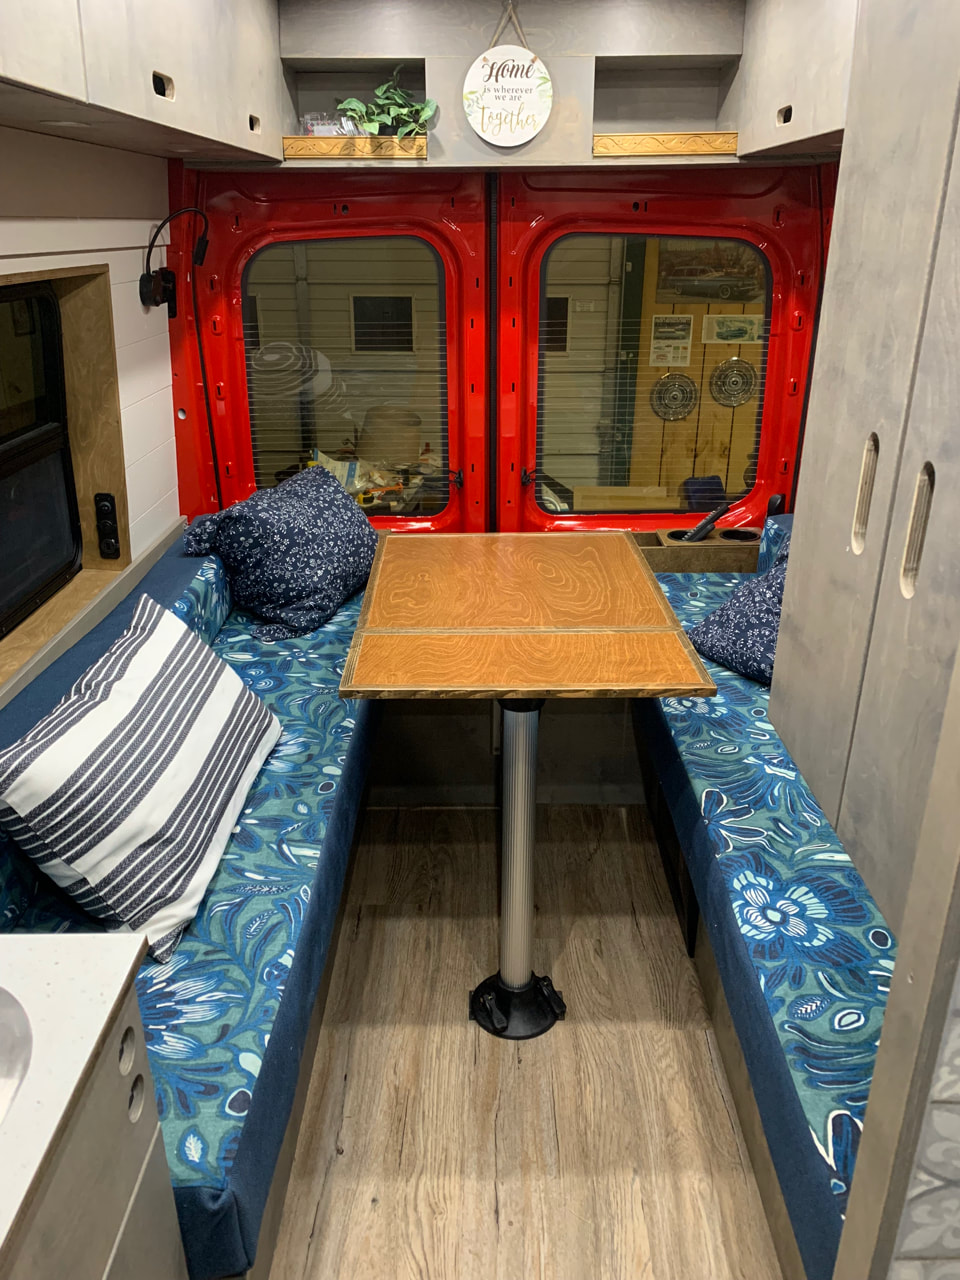
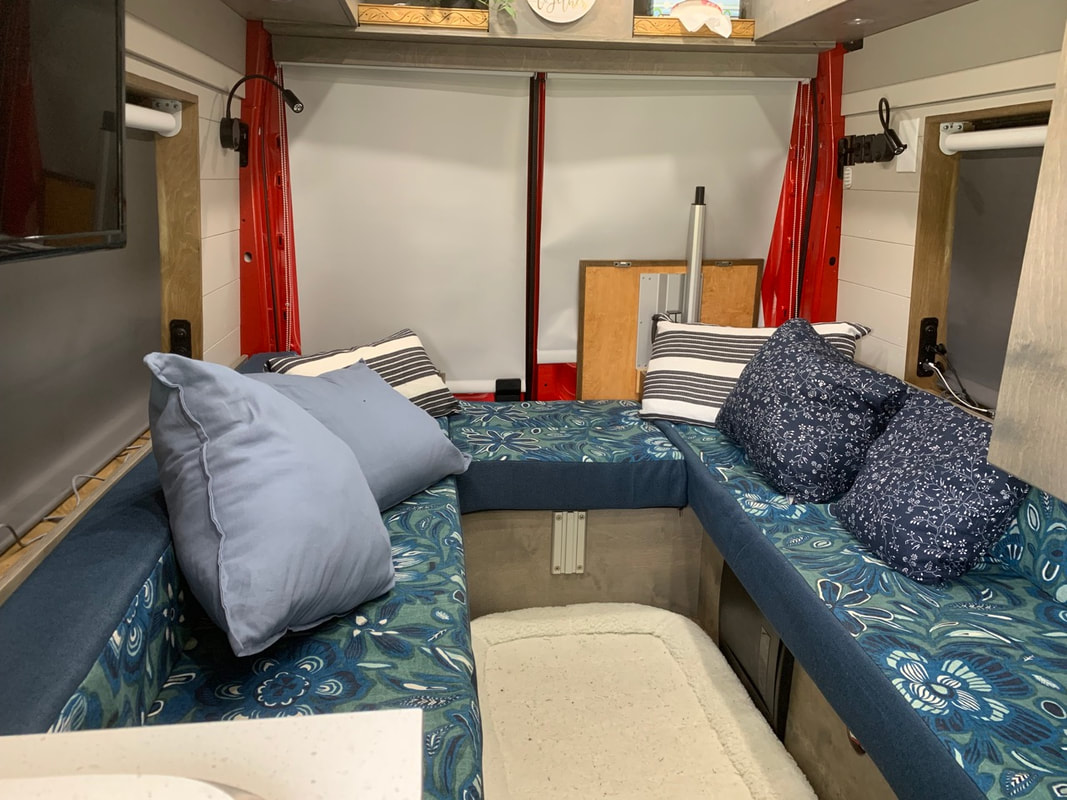
Living Space - the dining area
We thought about having a large garage with a higher fixed bed but that layout didn't work for a variety of reasons: 1) We didn't want to have to climb over each other or shimmy out of bed in the middle of the night to go to the washroom, 2) my knee locked up (due to torn cartilage) when we tested the fixed raised bed arrangement in another RV, and 3) we like space. Having a fixed bed meant the entire portion of the van was only usable for laying in during the day or sleeping at night. We wanted it to feel a bit more spacious than just he kitchen floor space. Having said that, the benches had to EASILY convert to beds for sleeping and back again in the morning.
|
|
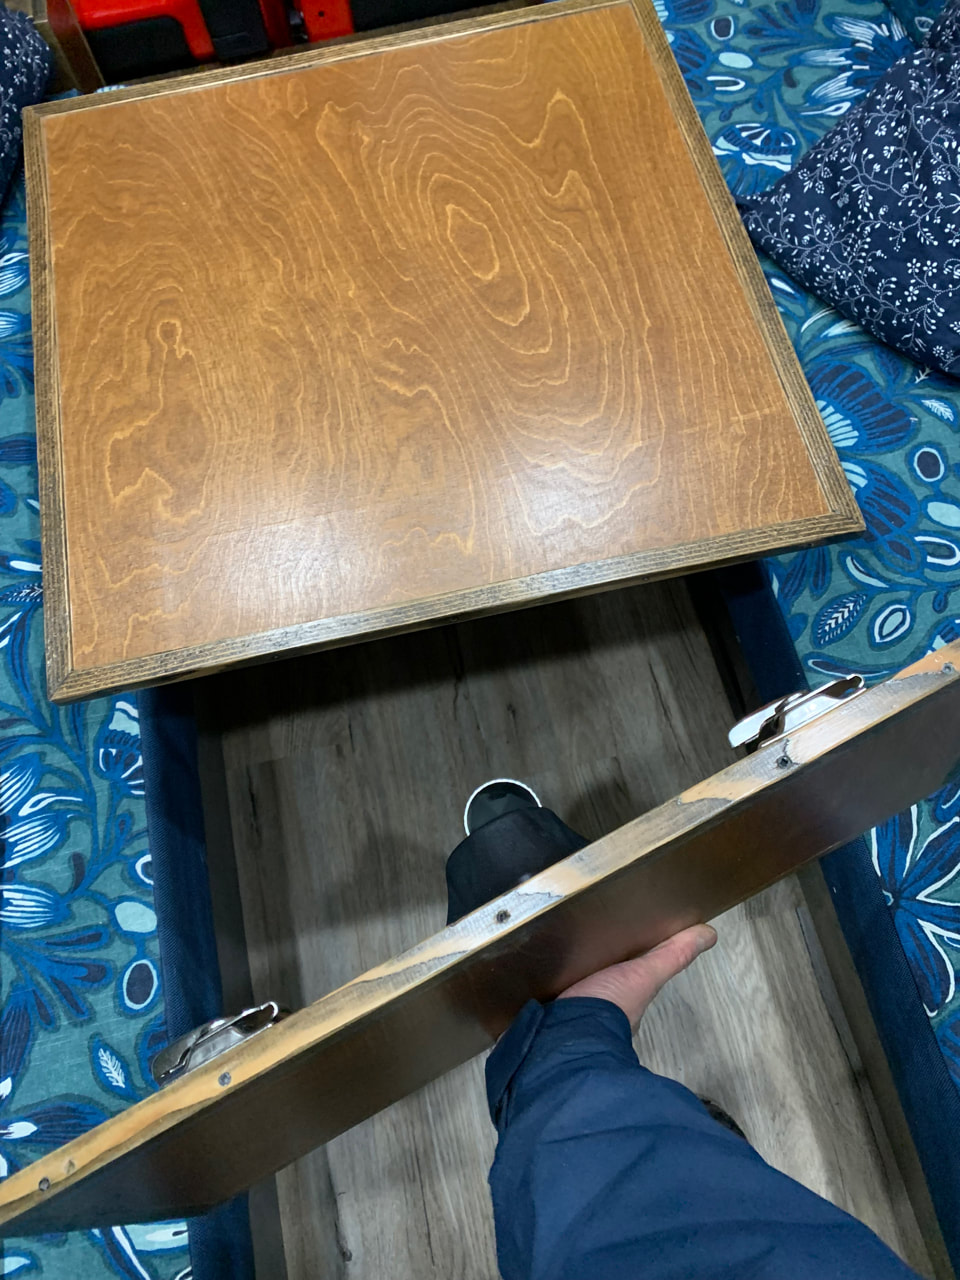

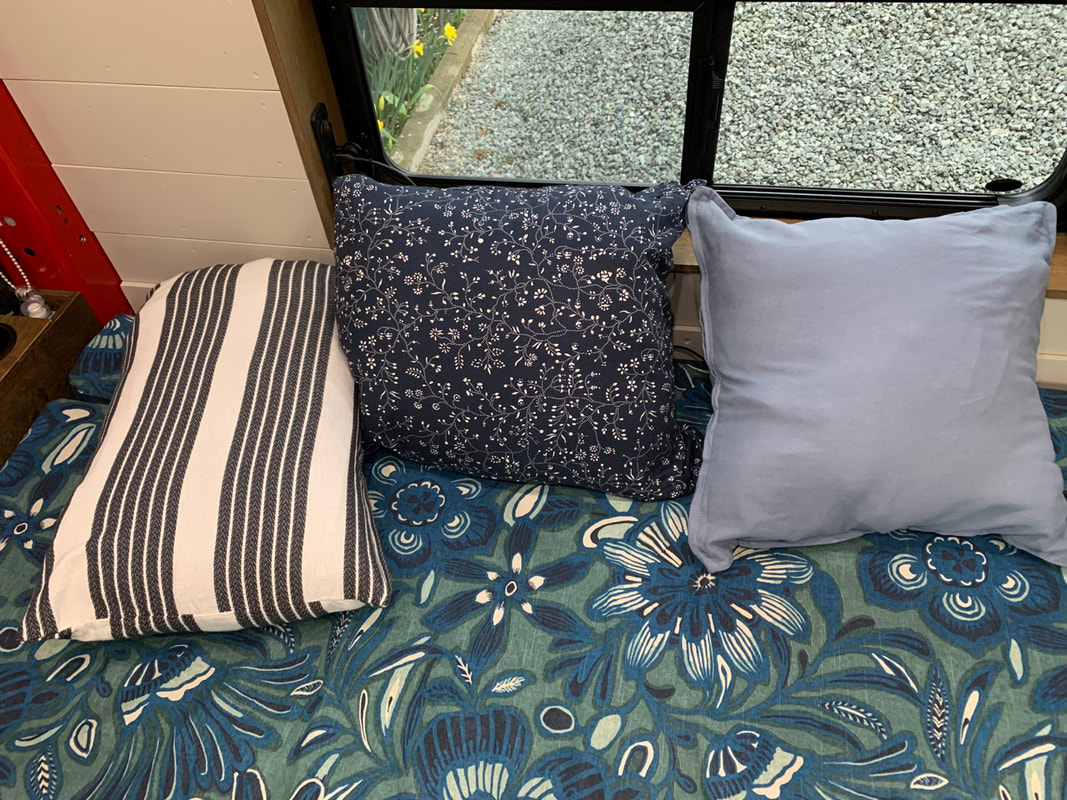
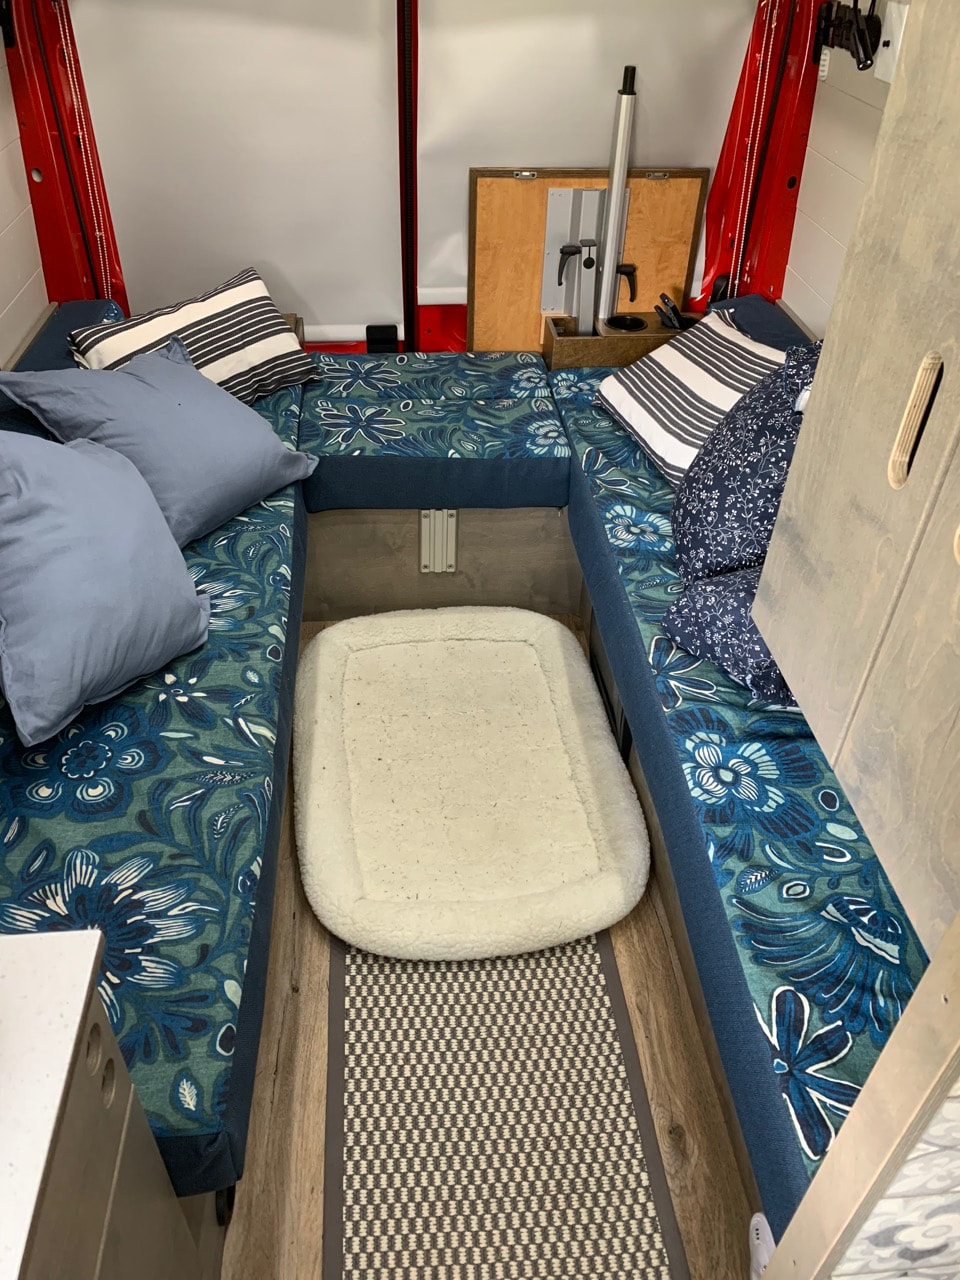
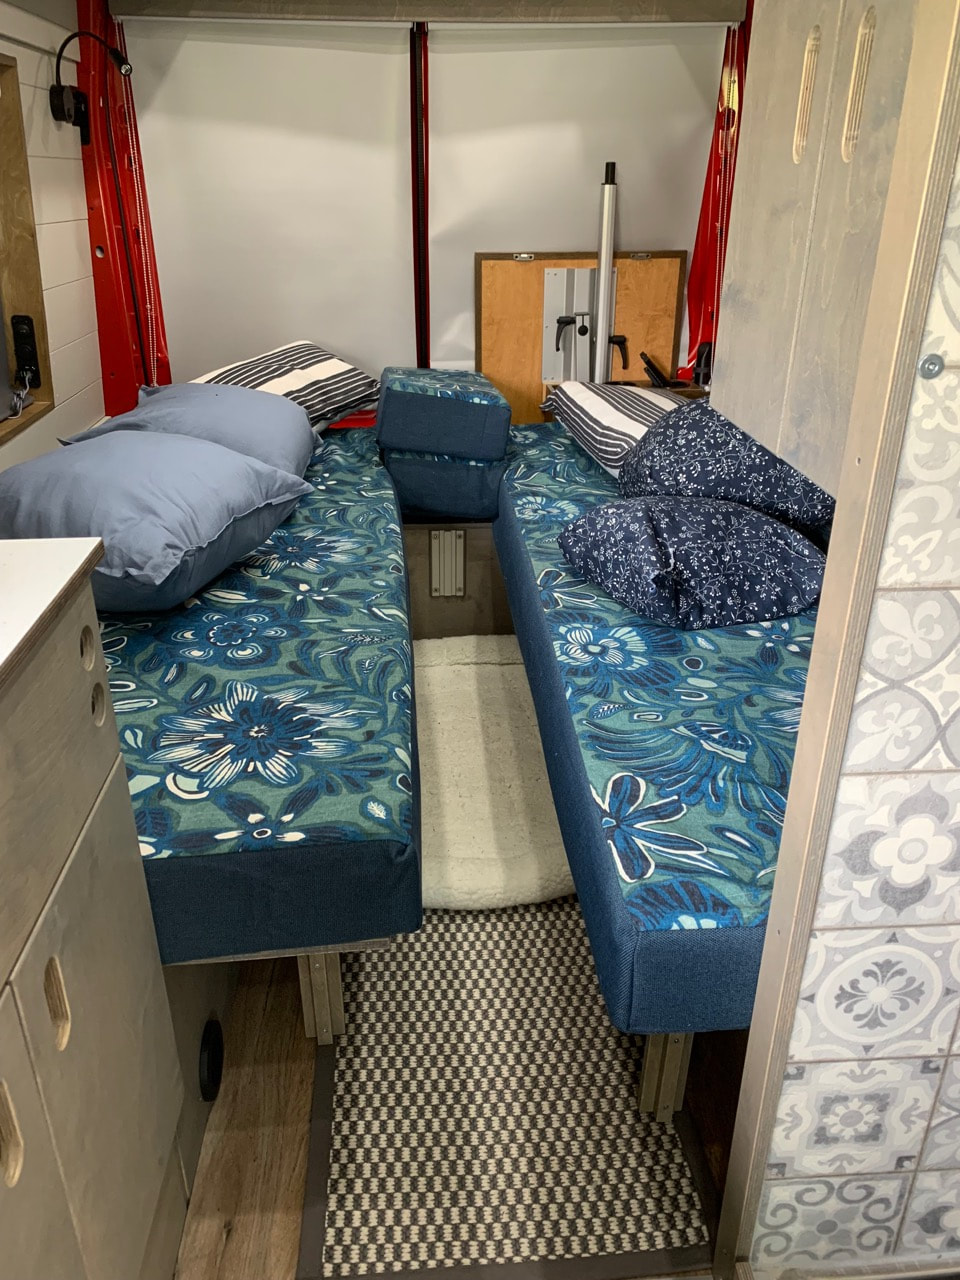
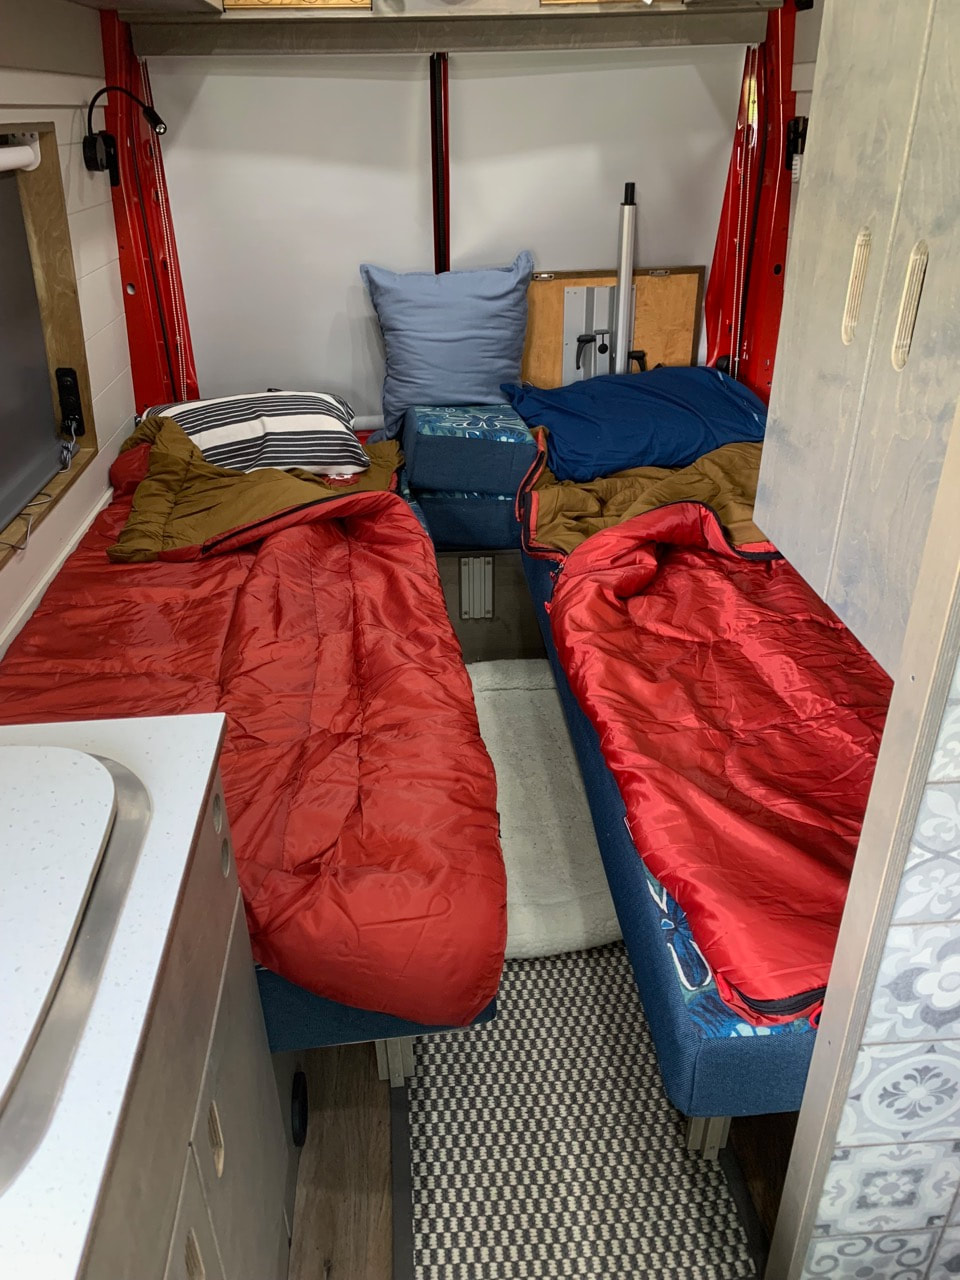
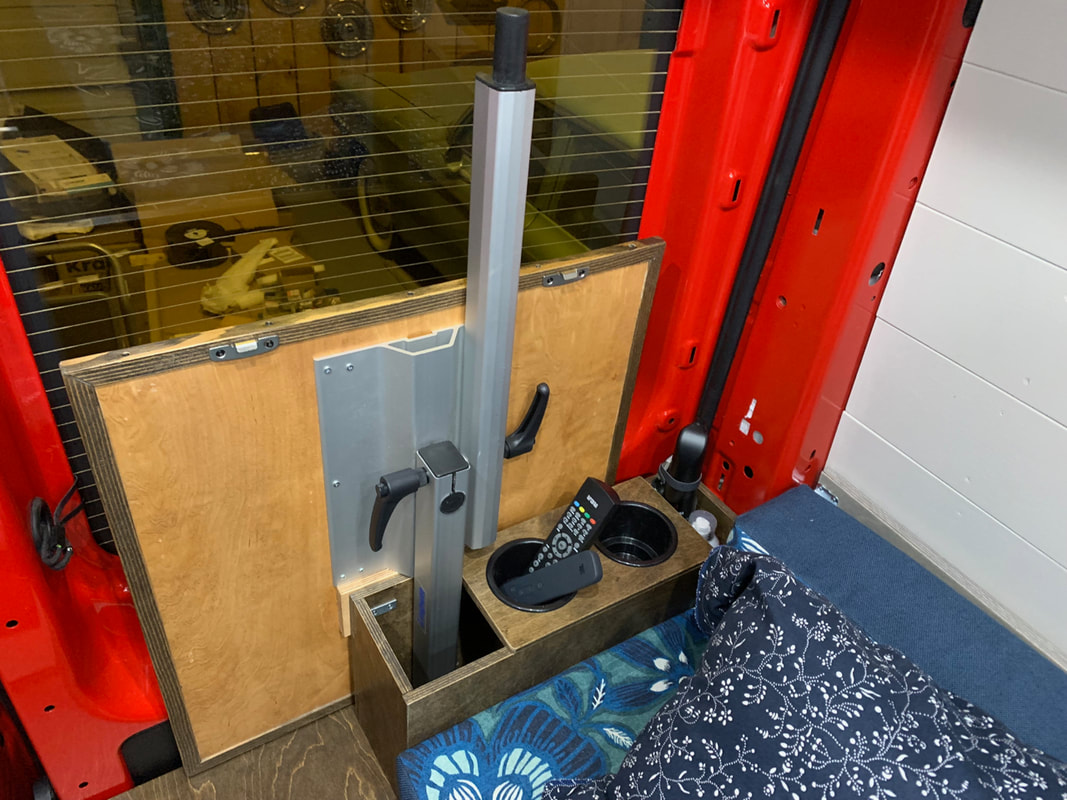
Living Space - the sleeping area
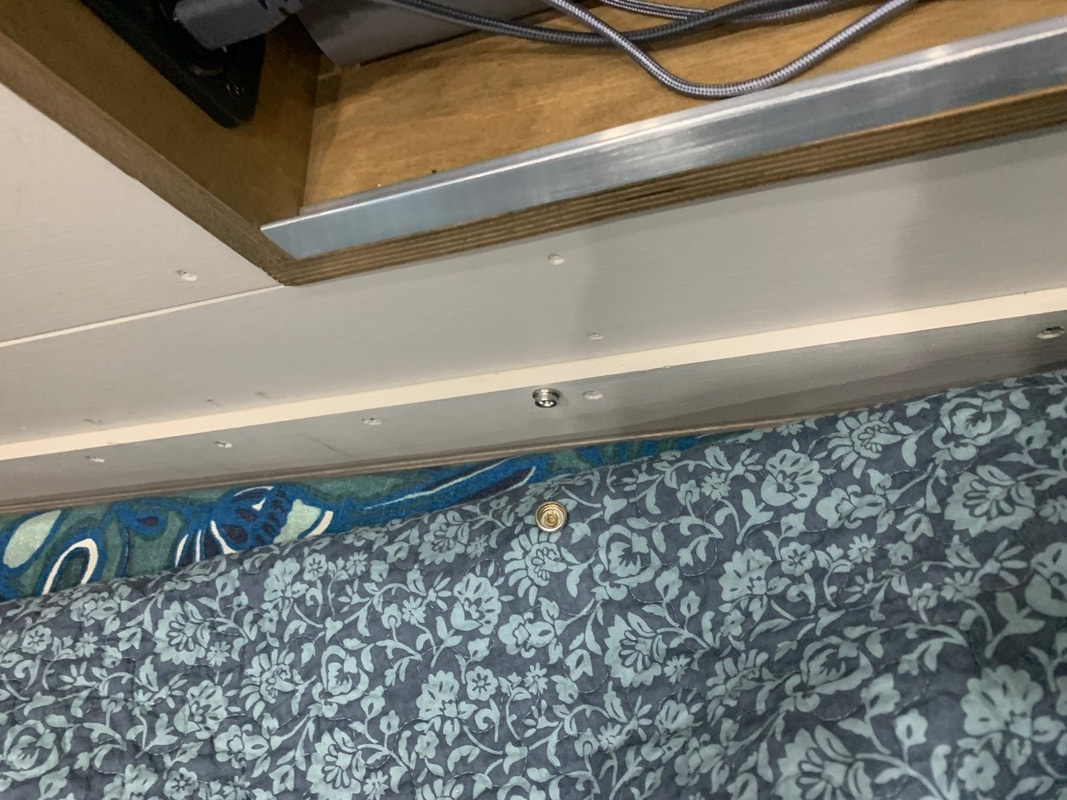
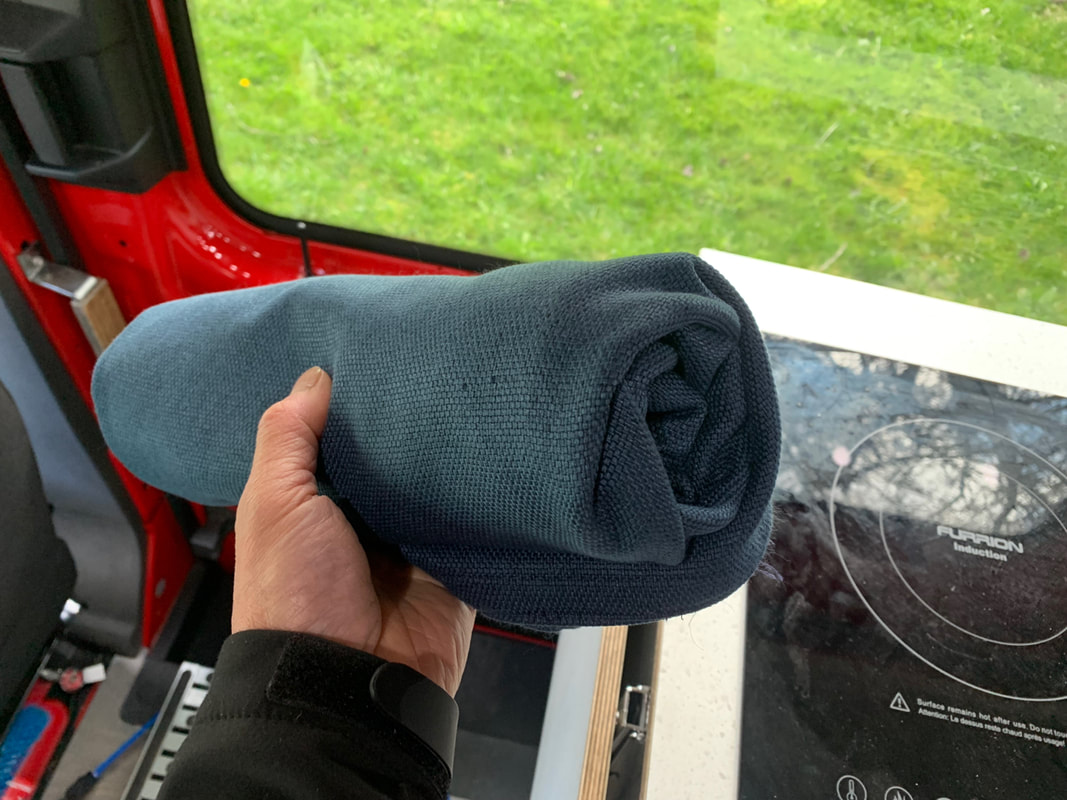
Each bench panel is clipped in place by two slide locks. 1) Undo the locks, lift the base panel to slide it out and drop down the hinged back panel, 2) flip down the support leg, 3) push the back cushion into the 7" wide slot to make the 28" wide bed, 4) pull the sleeping bag out of the cover and you're ready for bed.
|
|


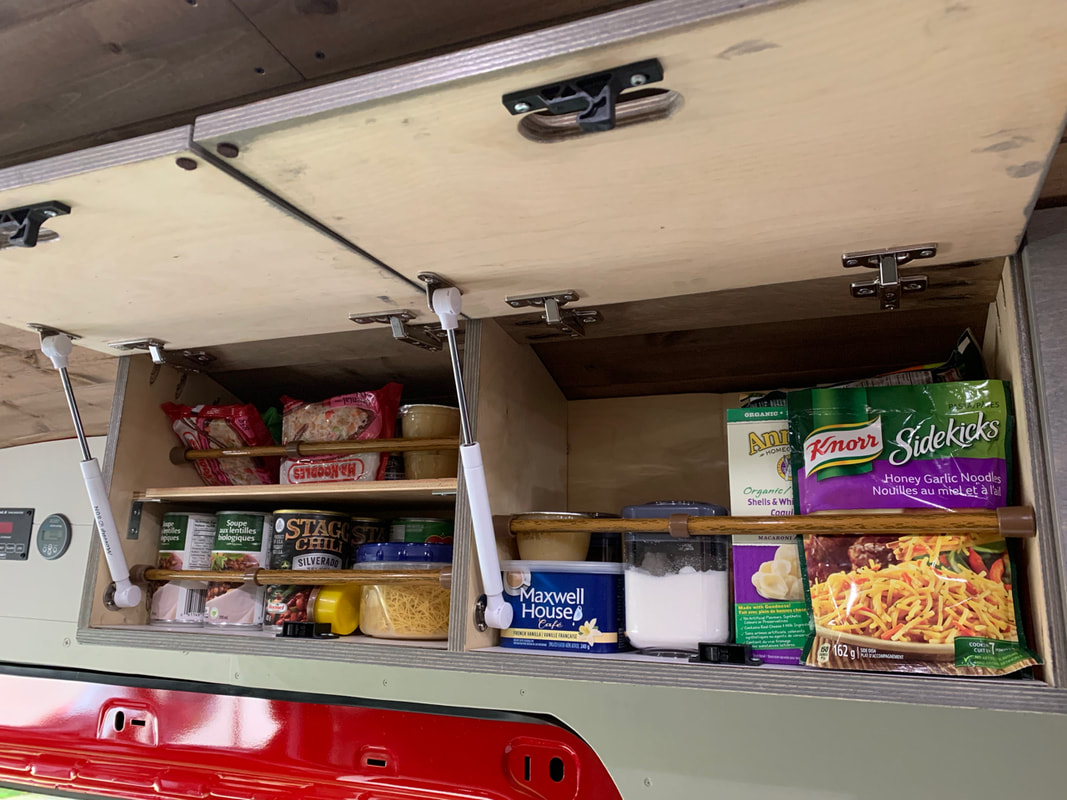
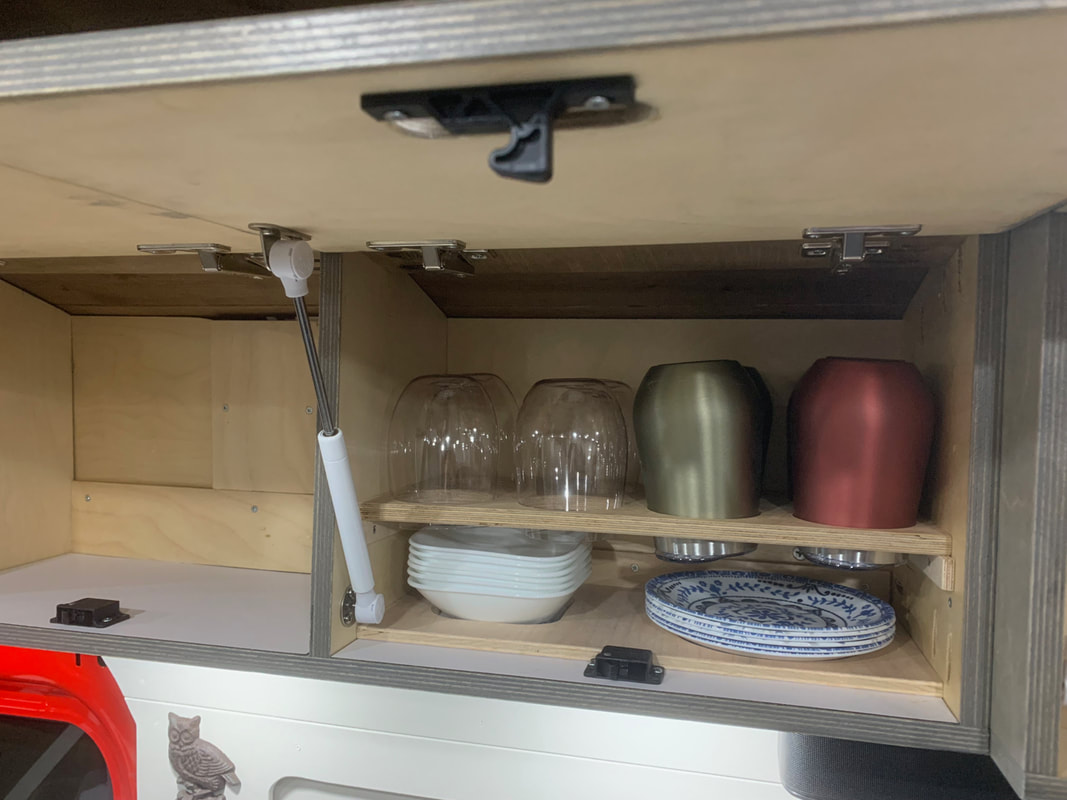
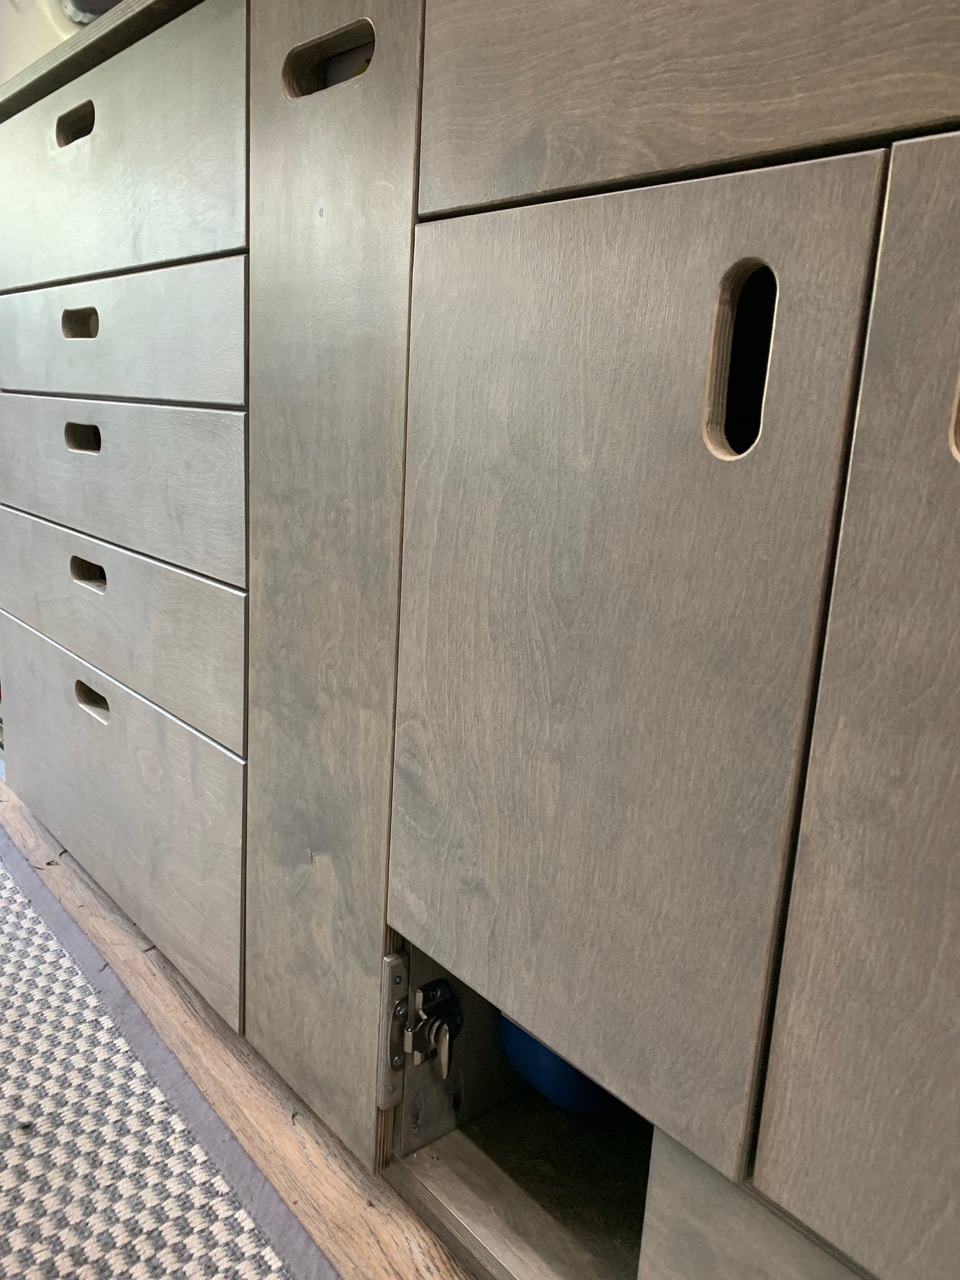
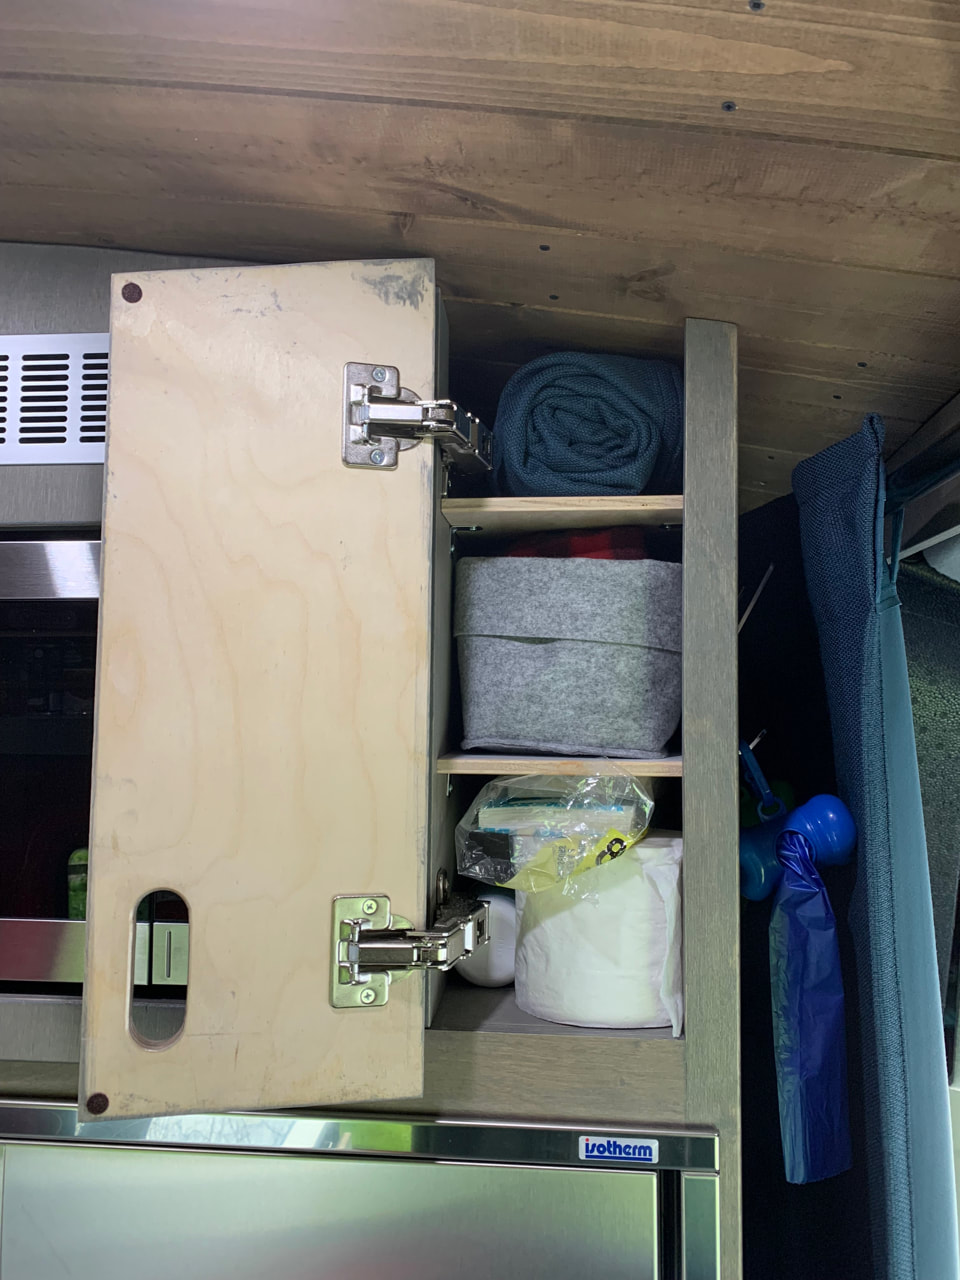
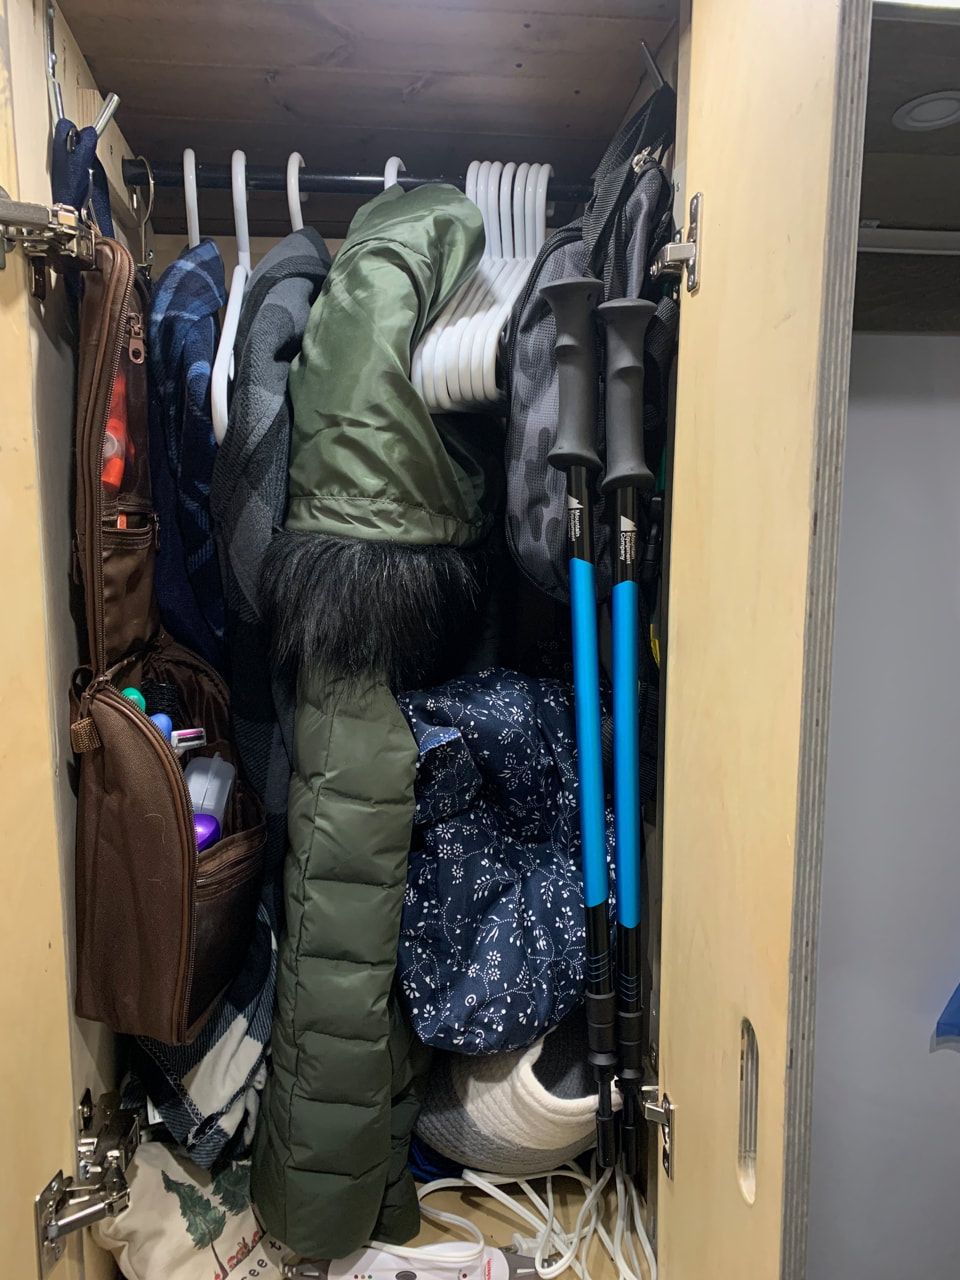
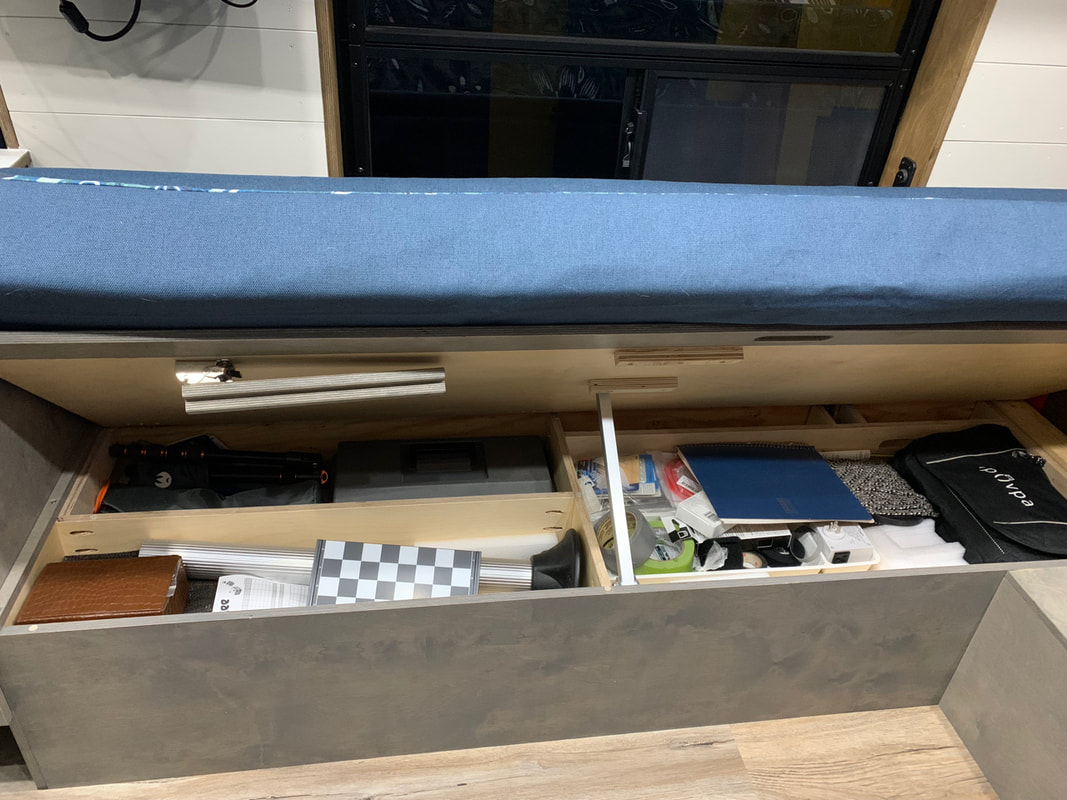
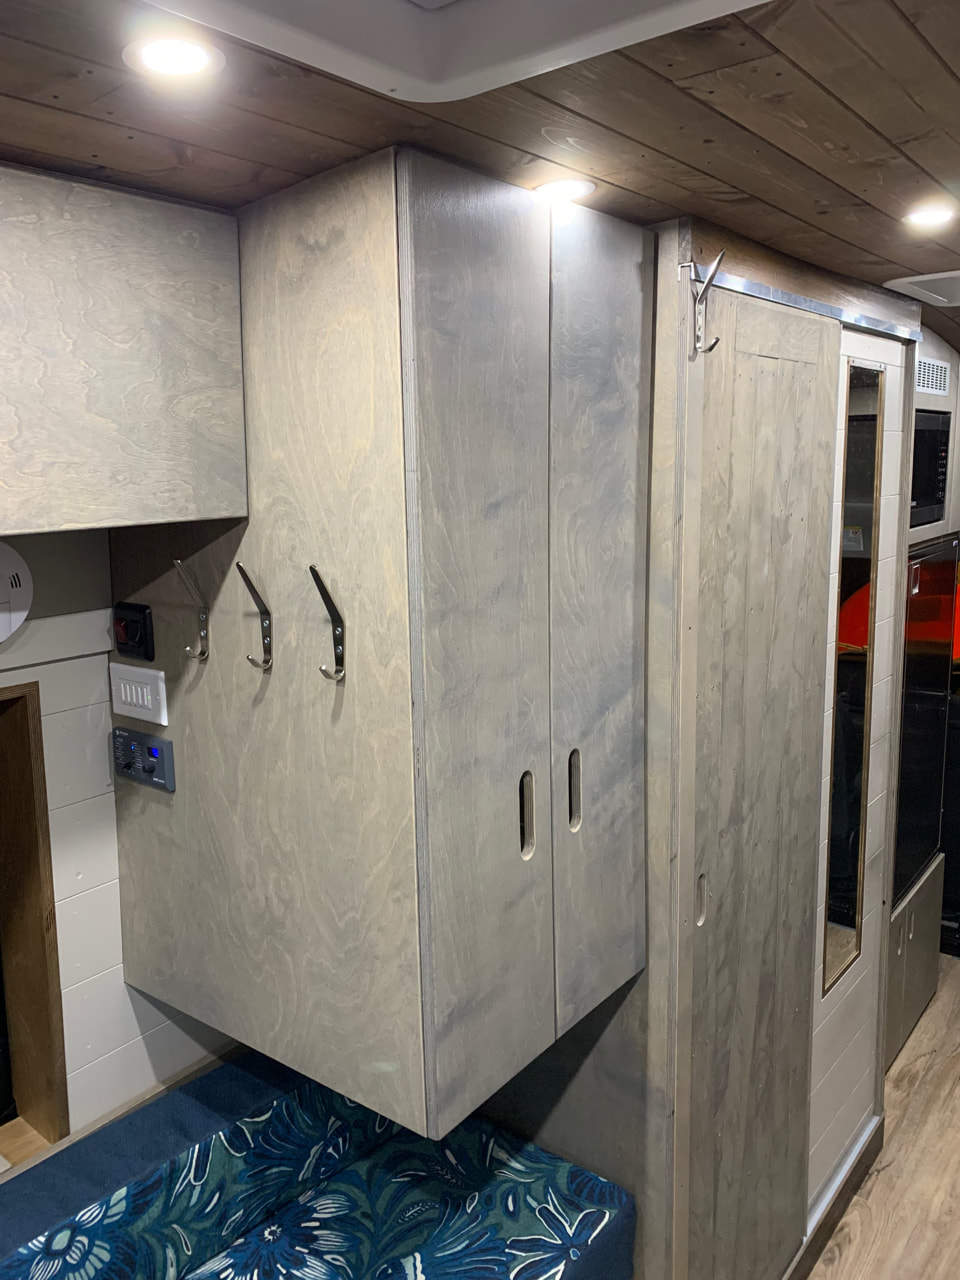
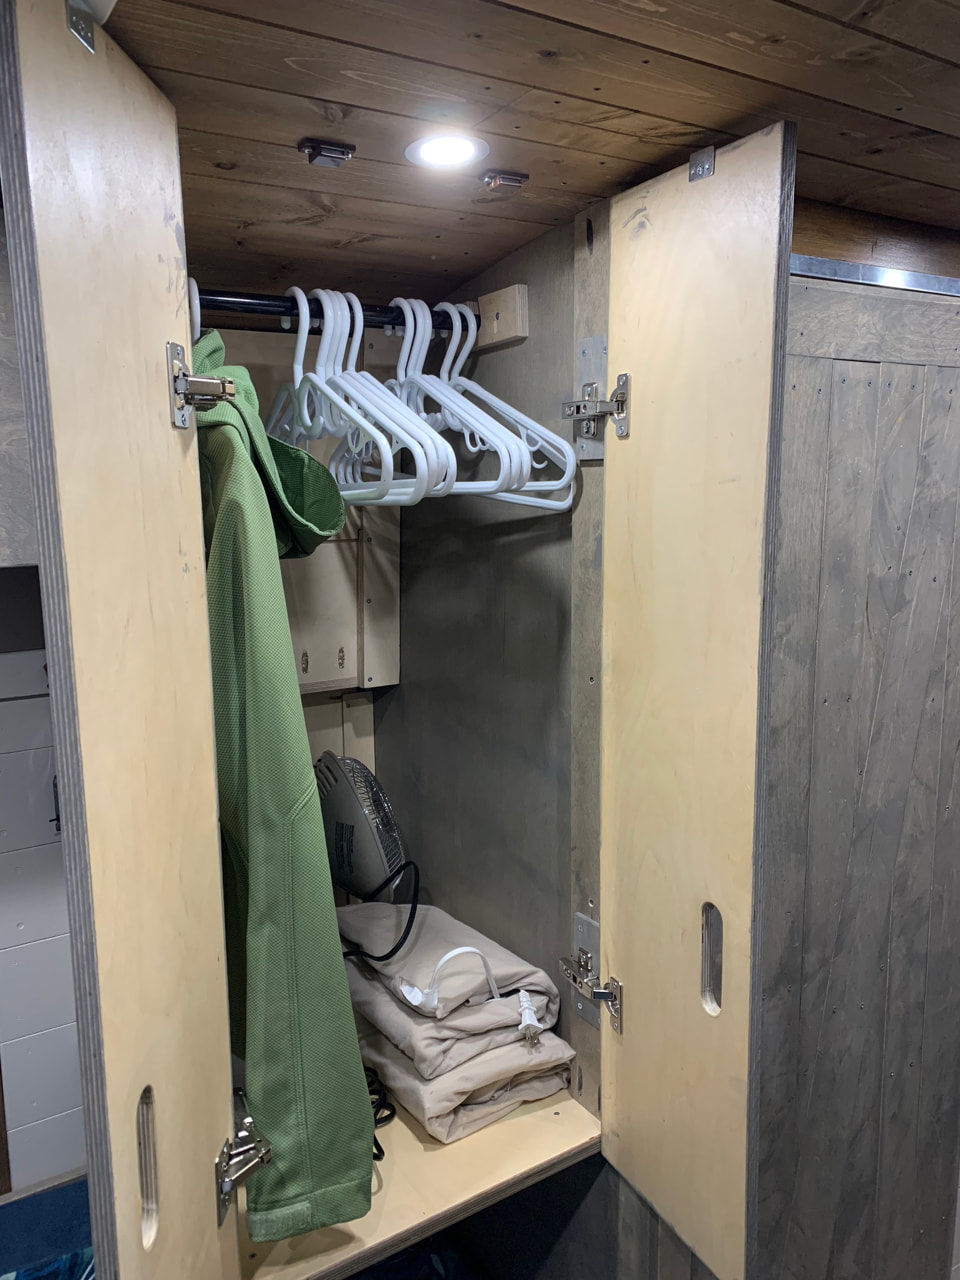
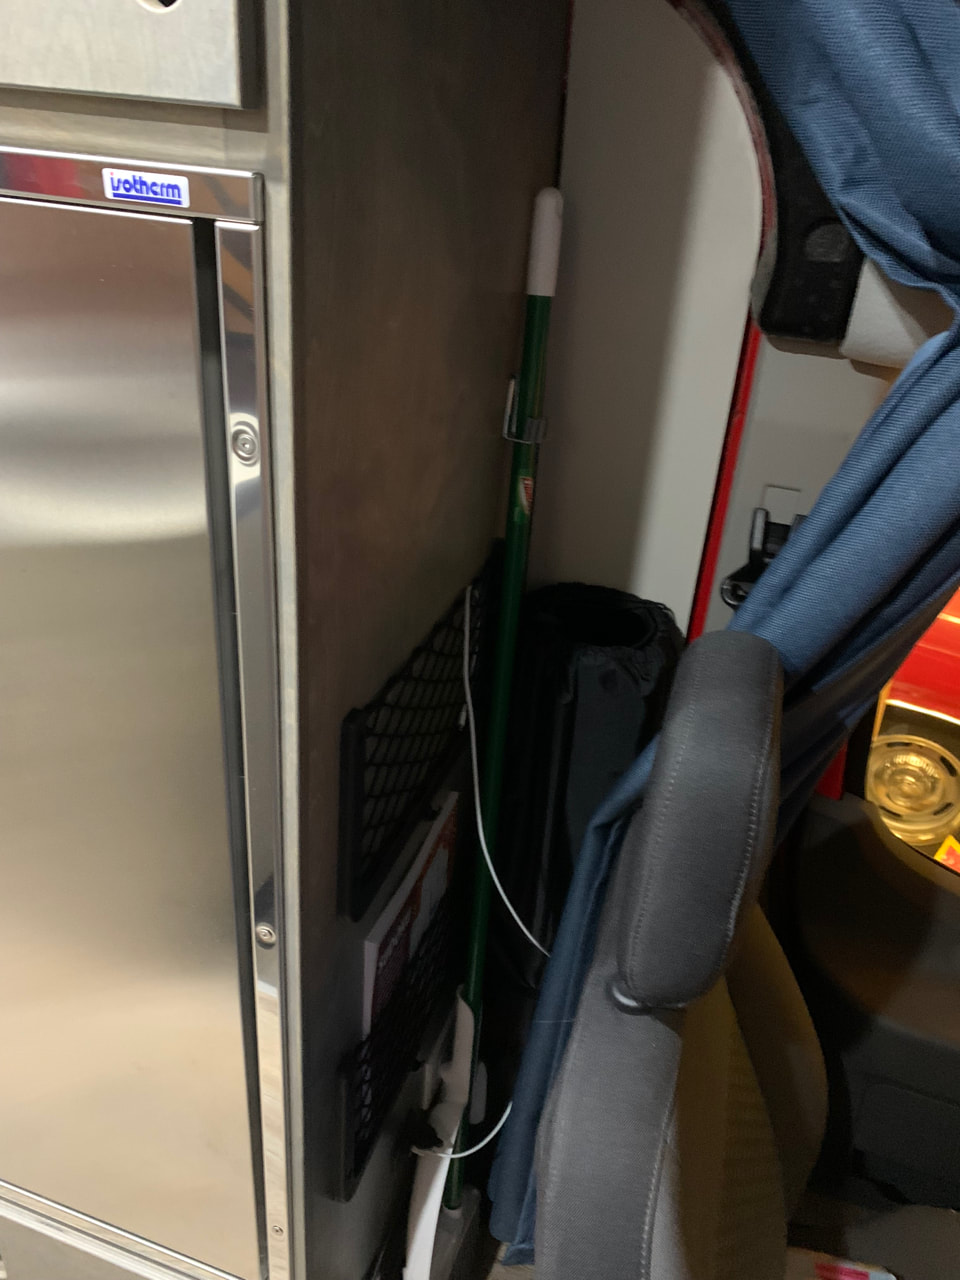
Interior Storage
|
Driver's side bench storage (accessed from inside the van):
|
Passenger's side bench storage (accessed from inside van):
Behind driver's seat:
|
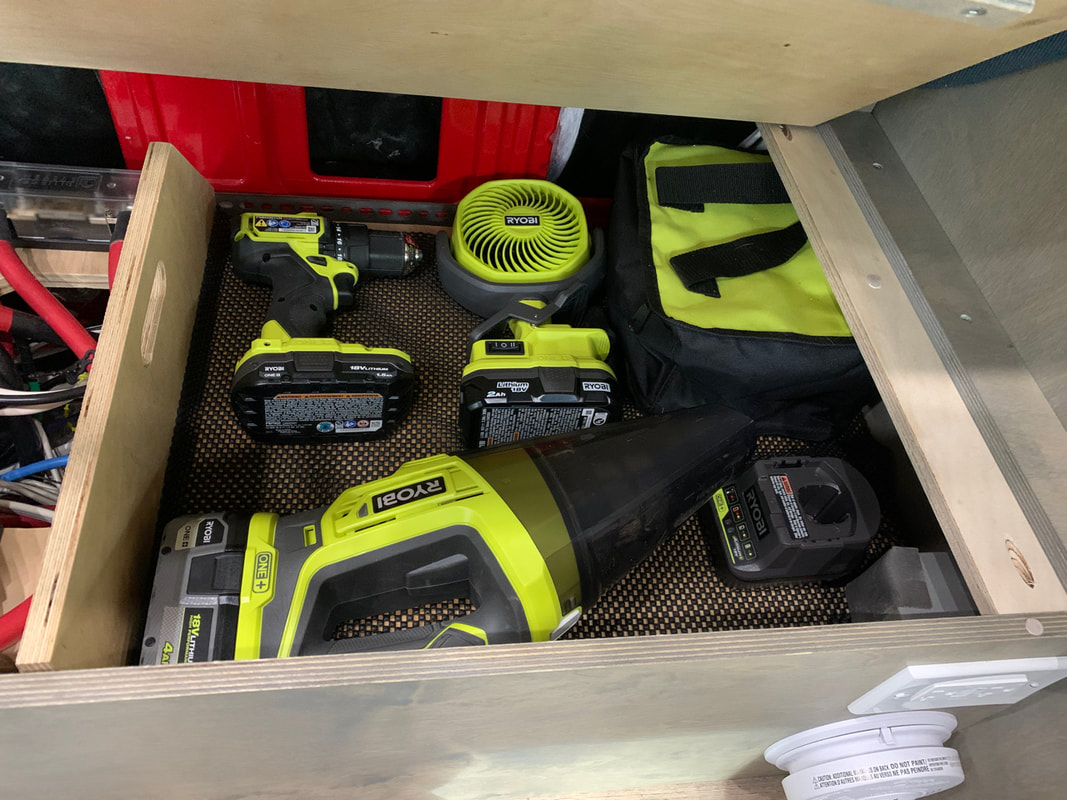


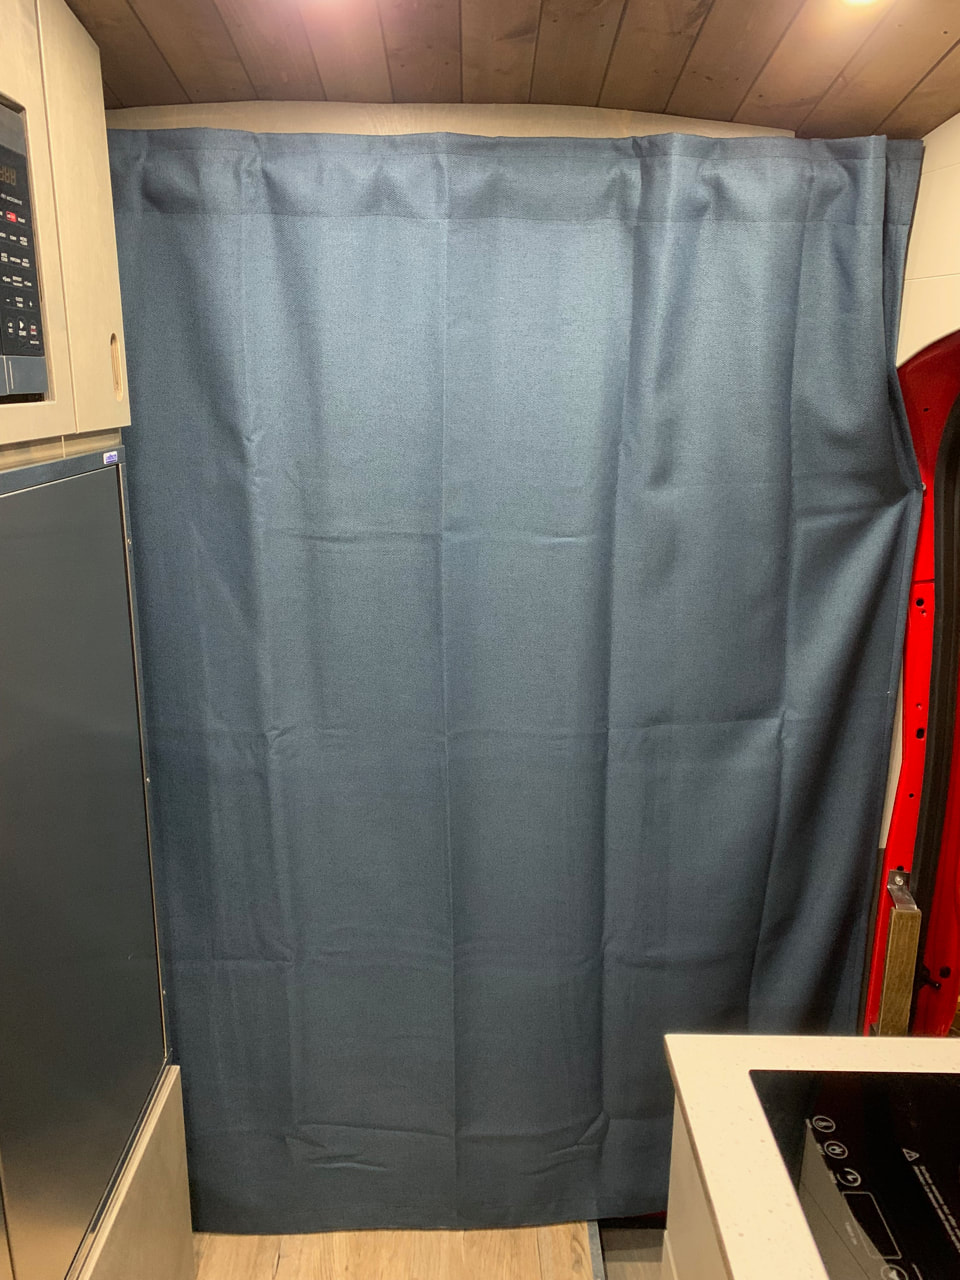

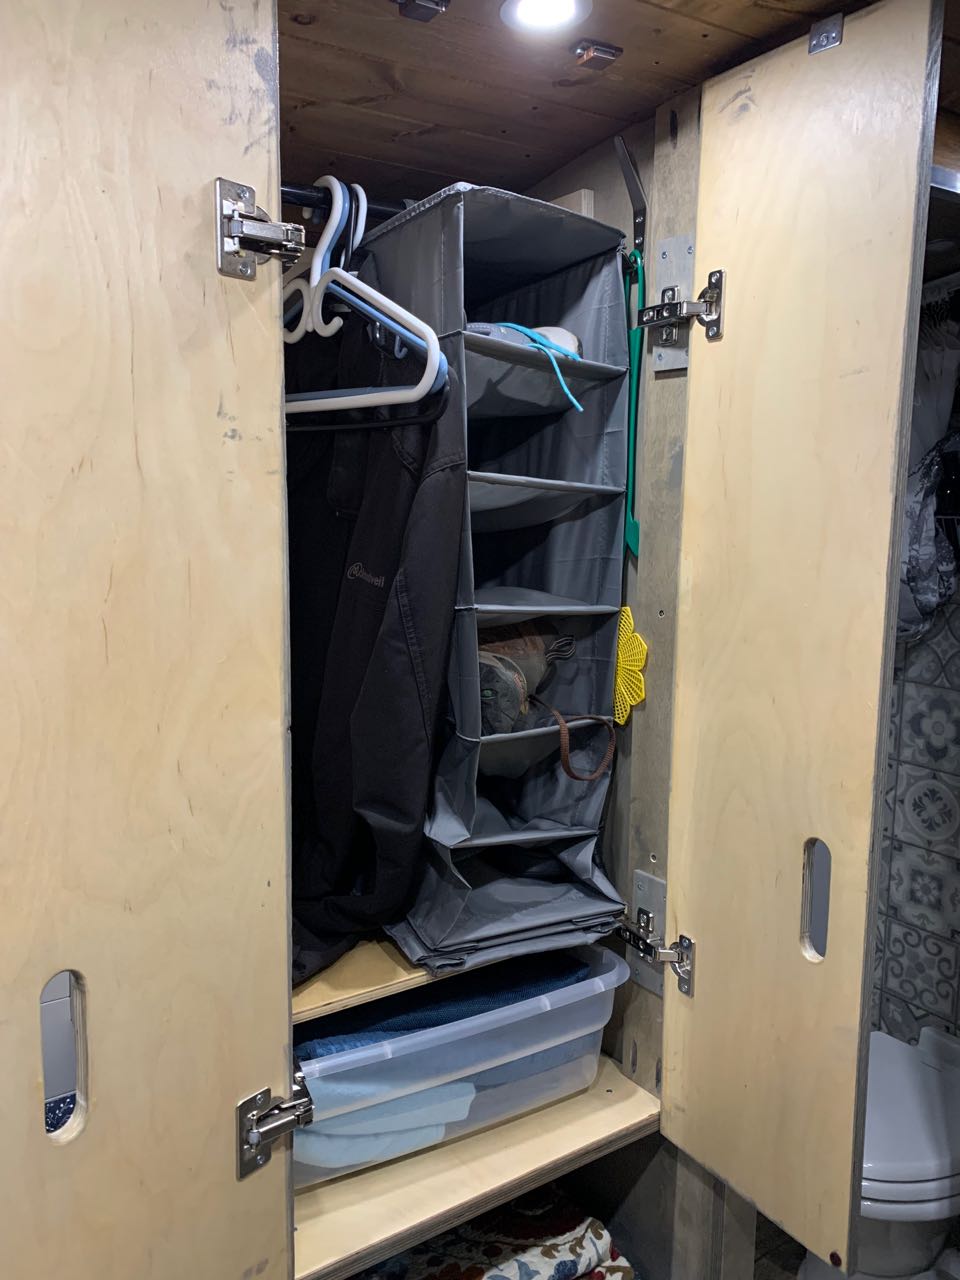
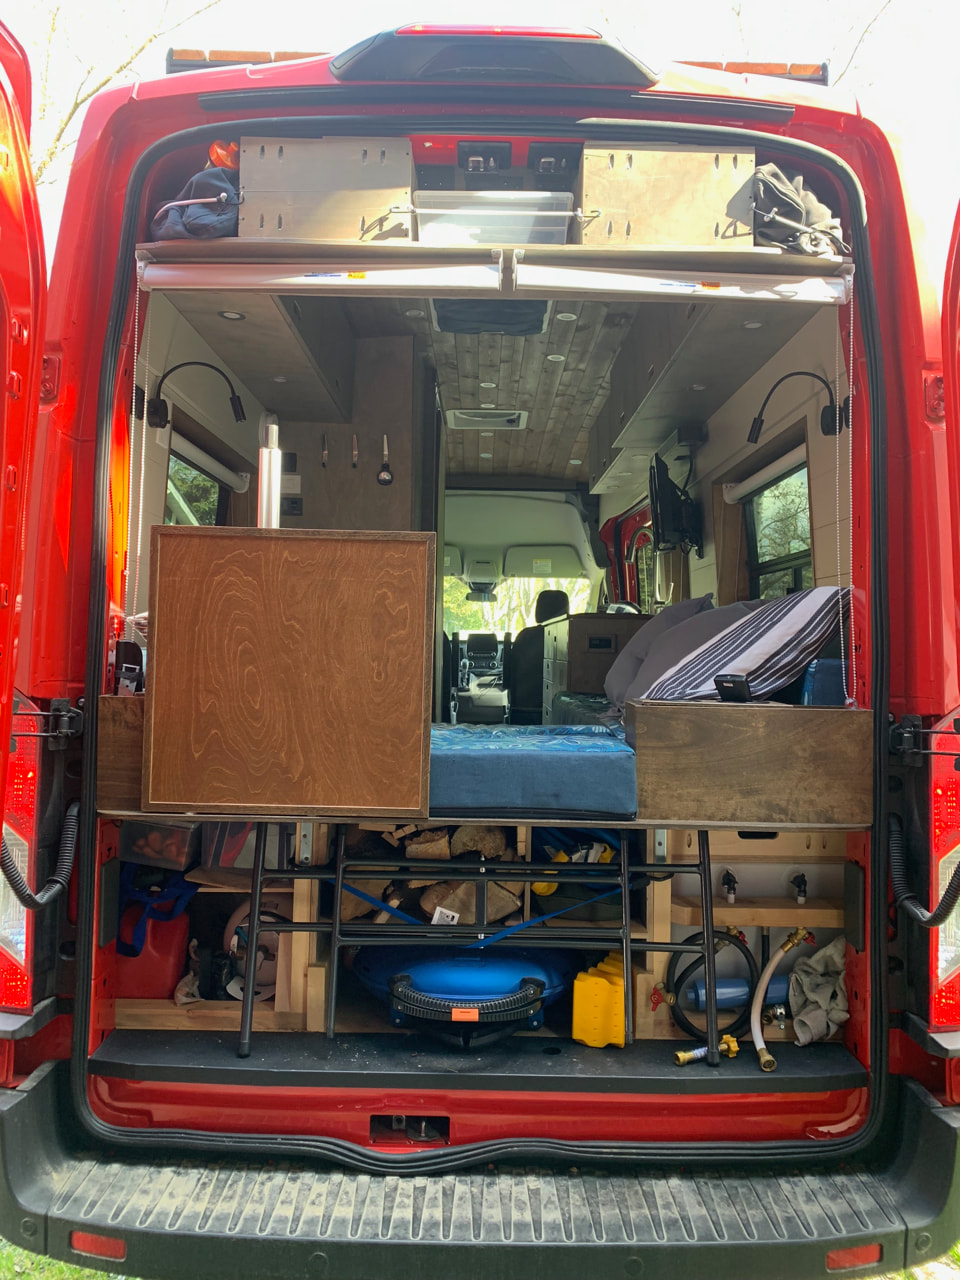
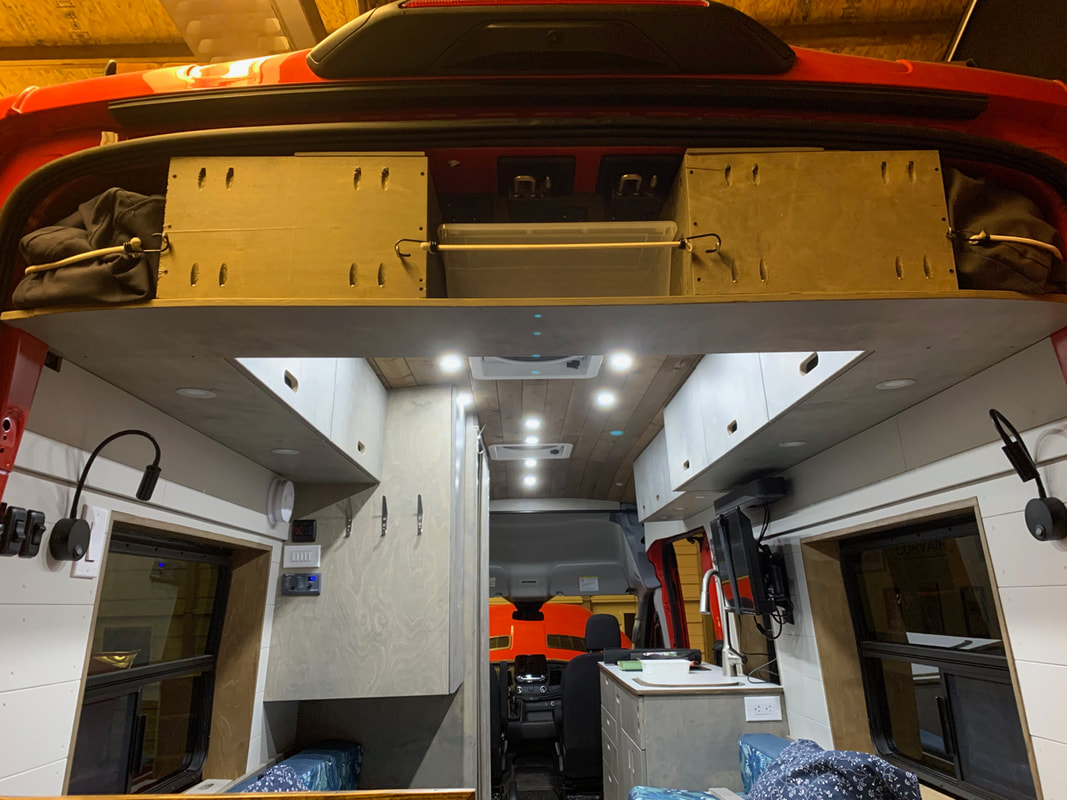
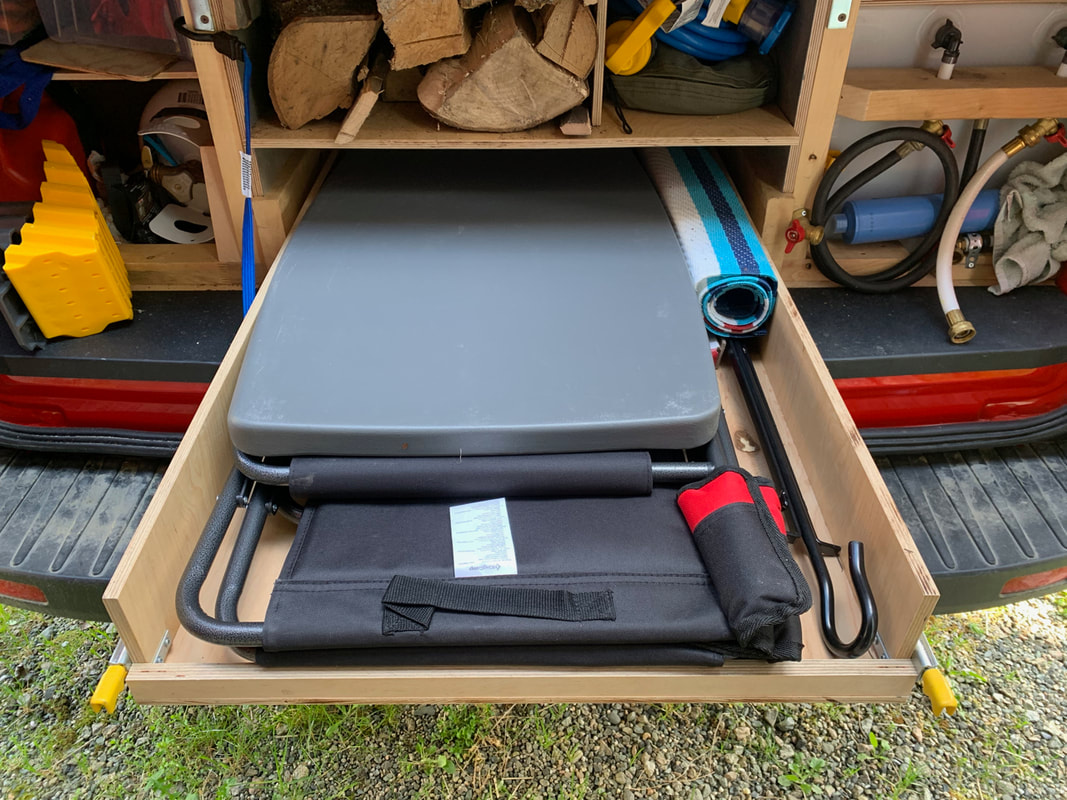
Garage and "Exterior" Storage
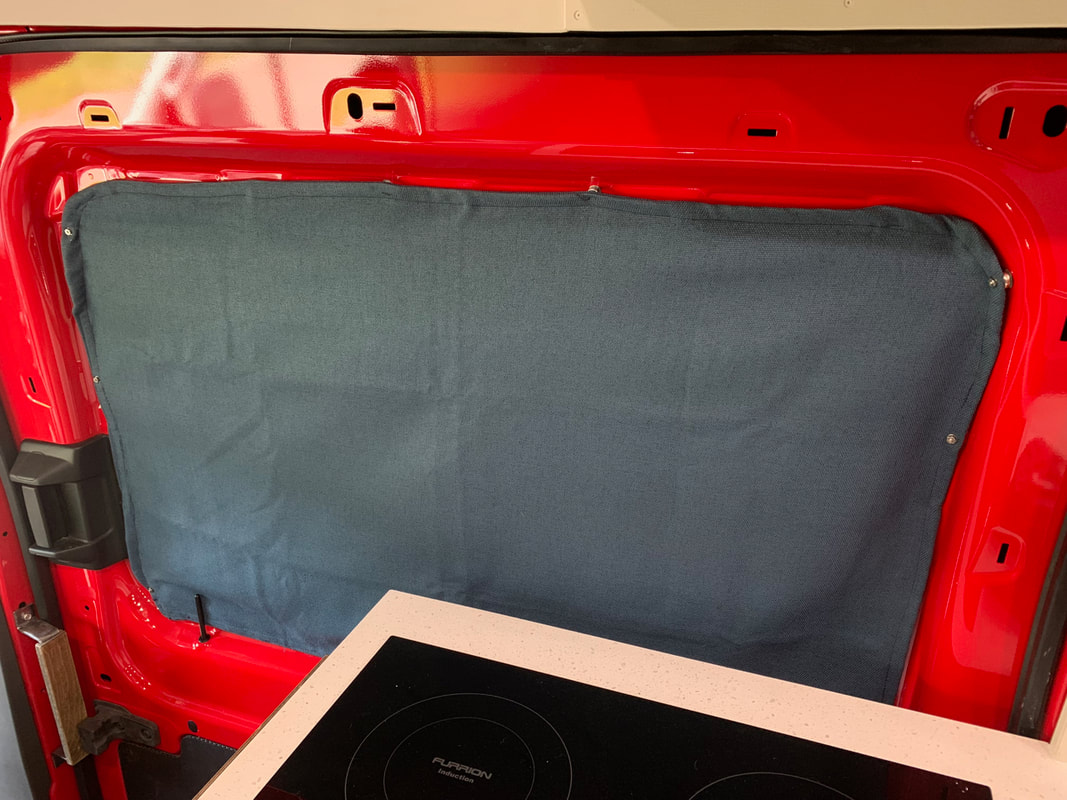
We "get it" that a class B with a large garage can store lots of gear. We felt the trick was to keep as much usable space inside the van while still maintaining storage space for camping gear at the same time. We're not big adventure thrill seekers so no mountain bikes, surf boards, SUP boards, etc. If we decide to do bikes we'll look into an exterior rack later on. Storage areas accessed from outside at the rear of the van:
|
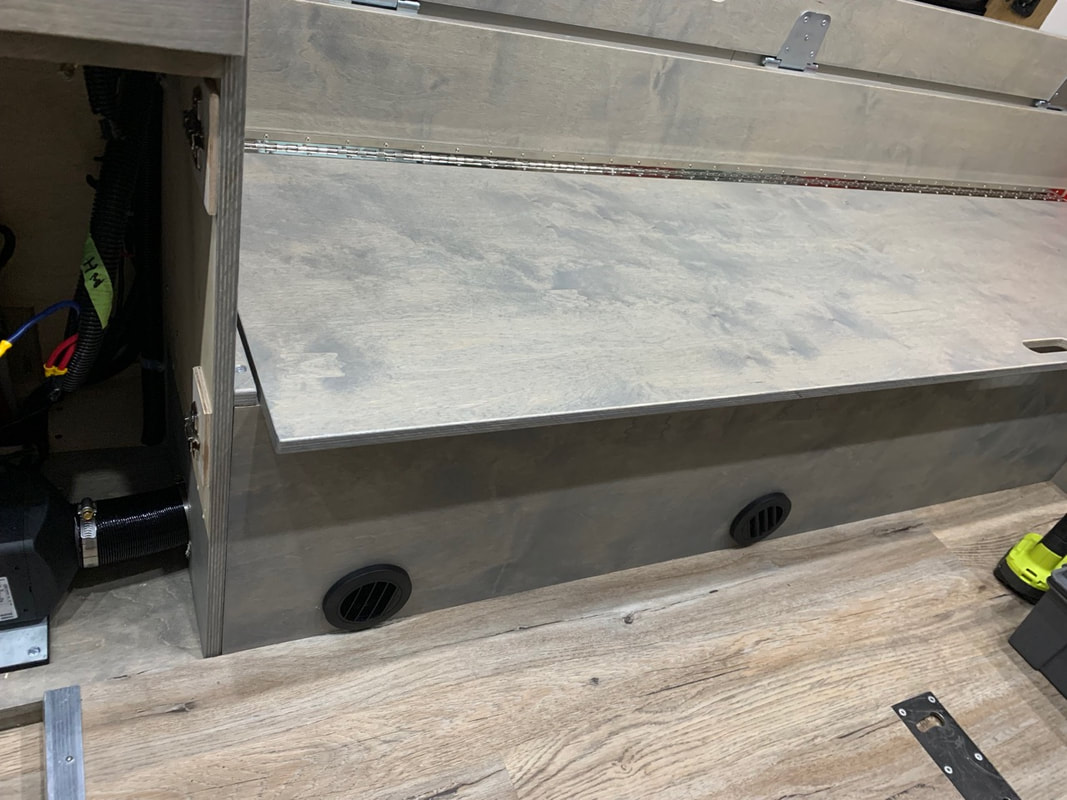
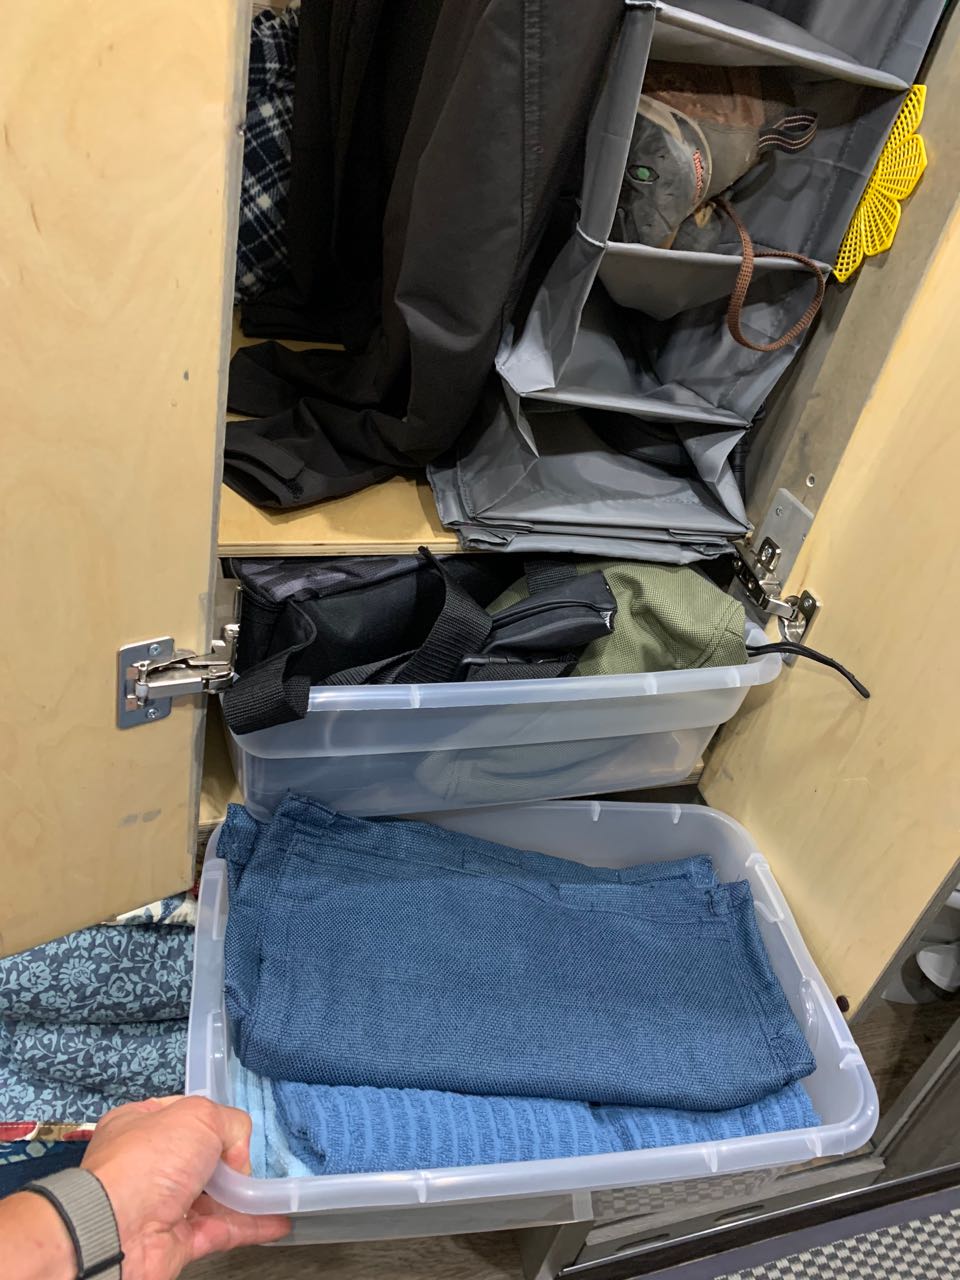
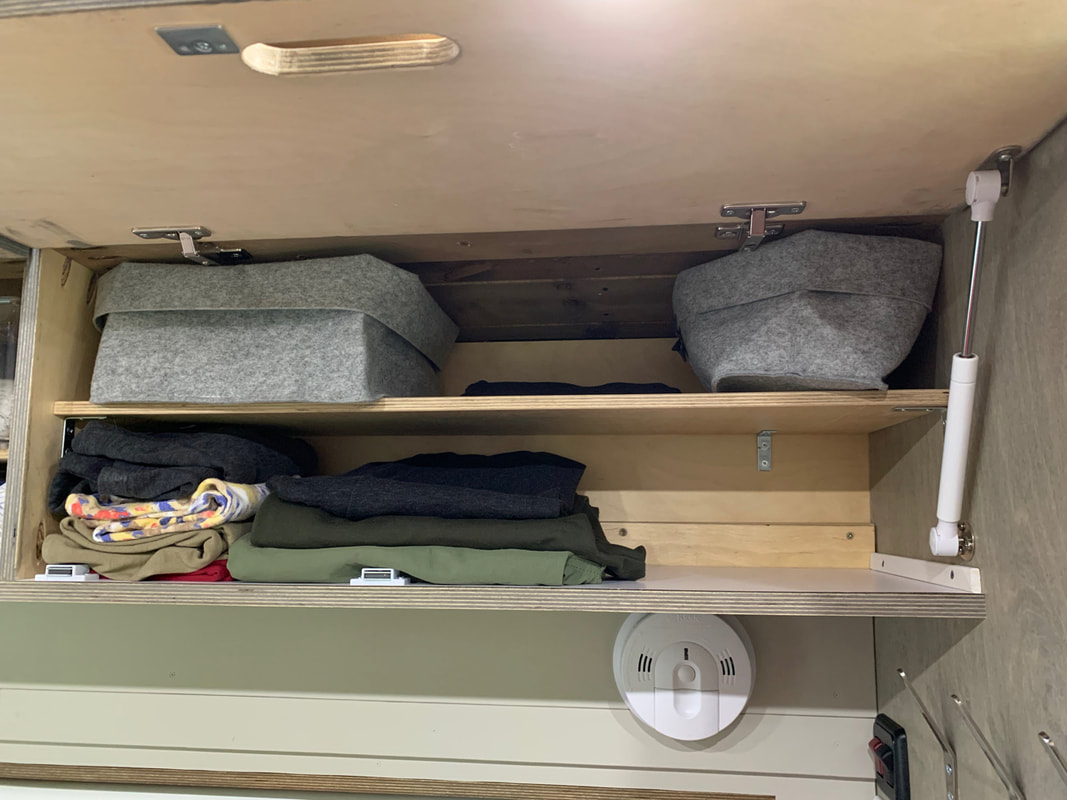
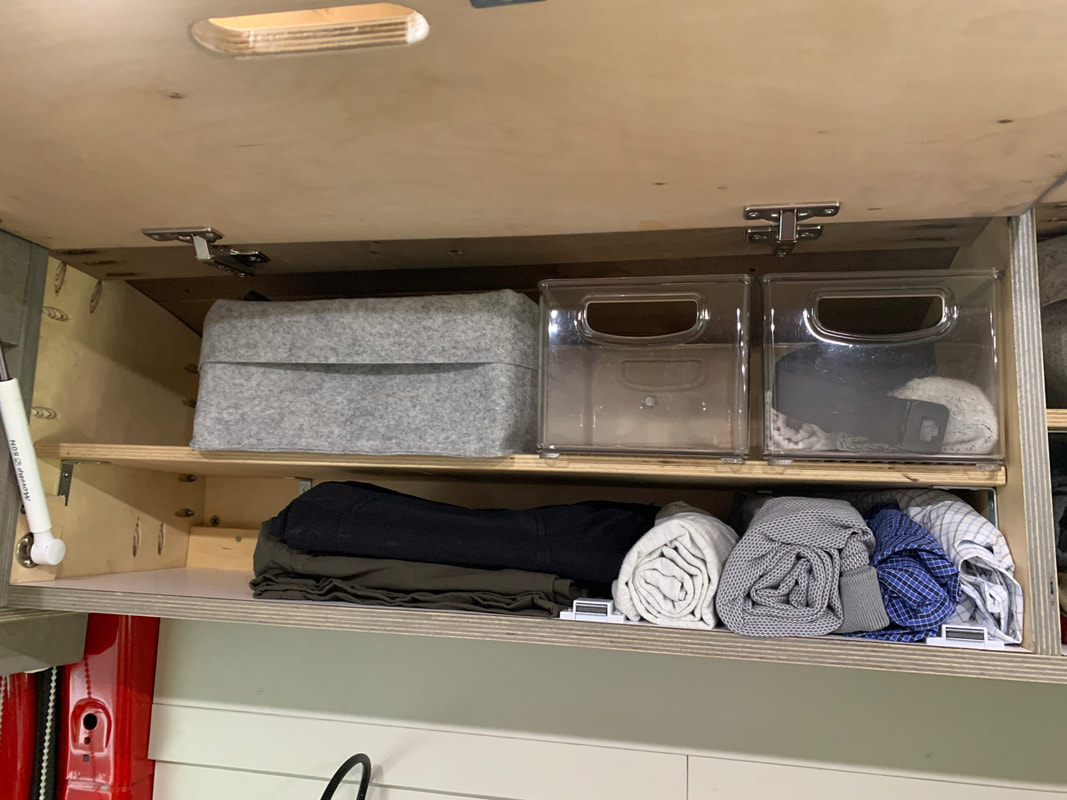
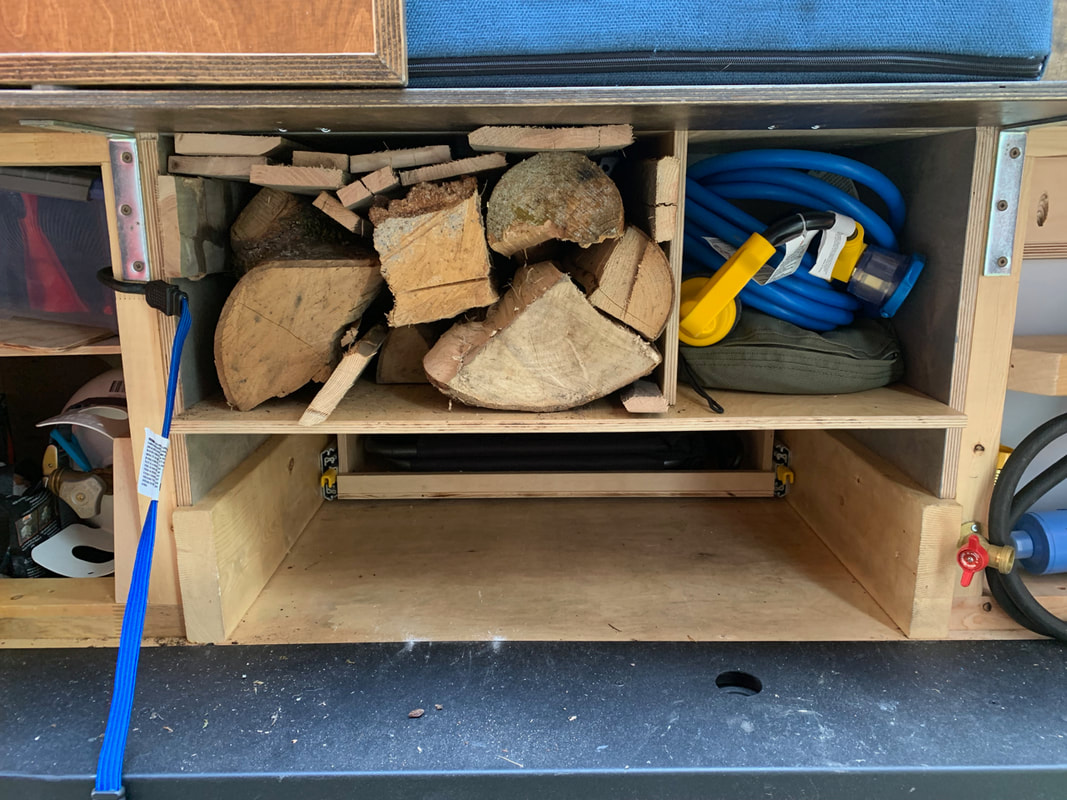
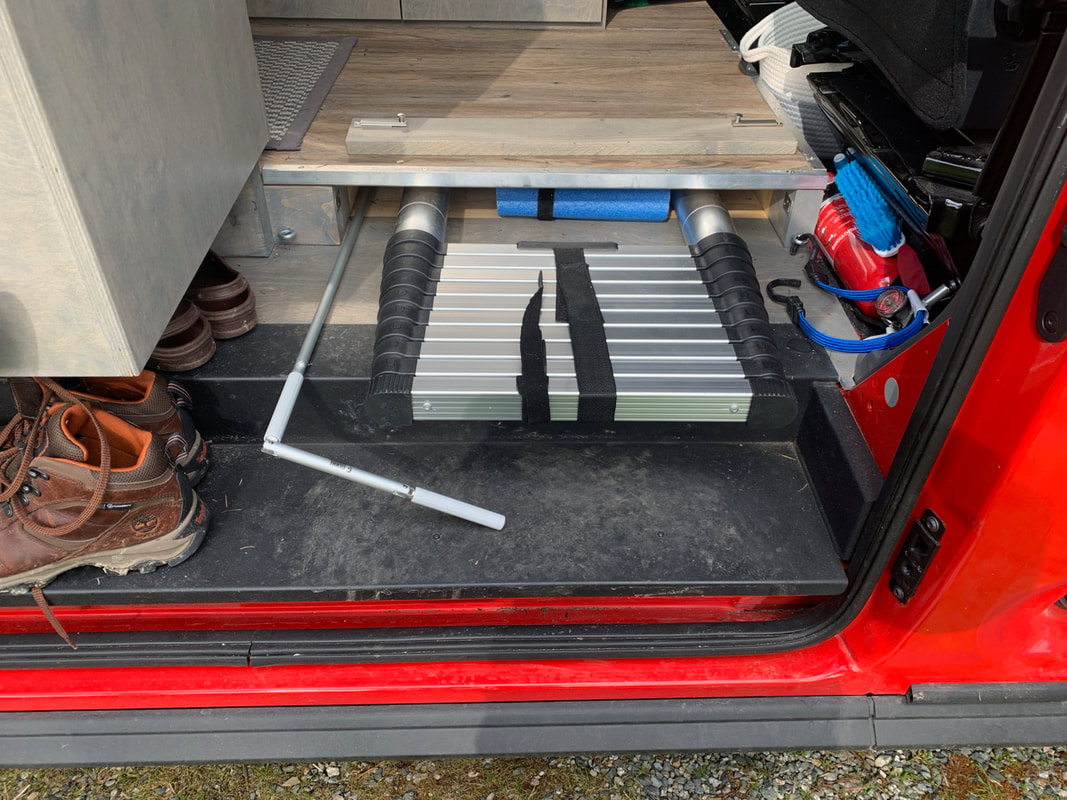
Below benches:
|
|


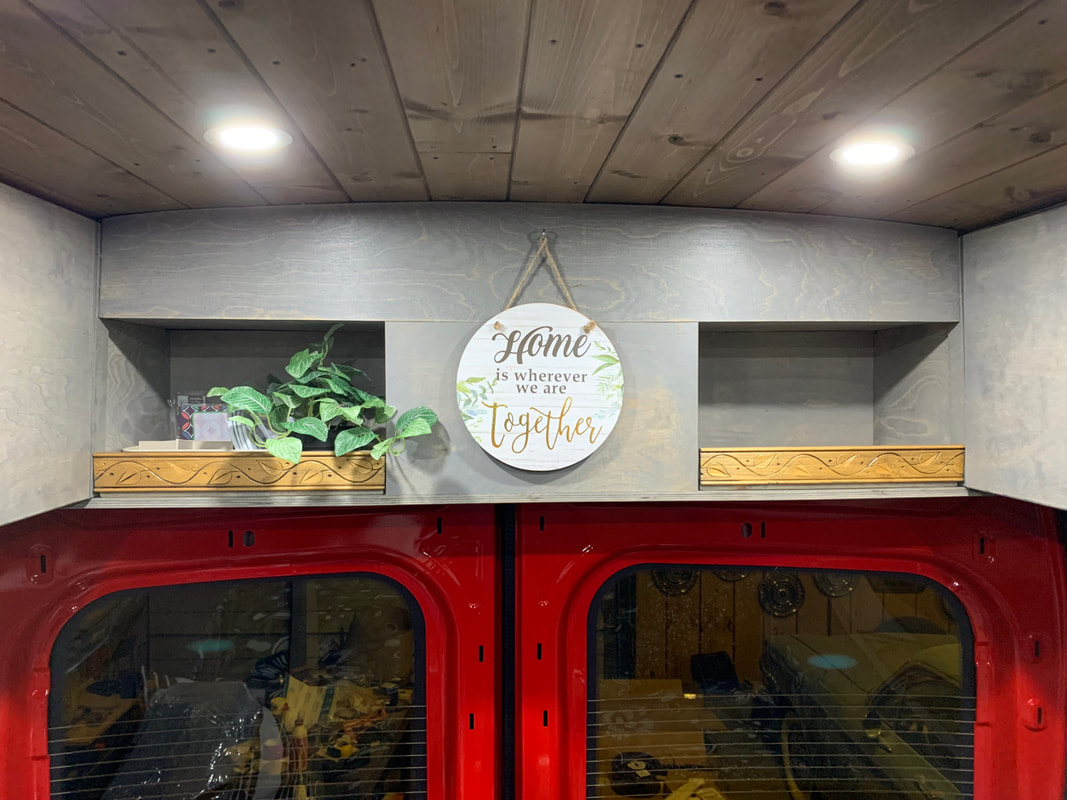
Other details
|
|
