|
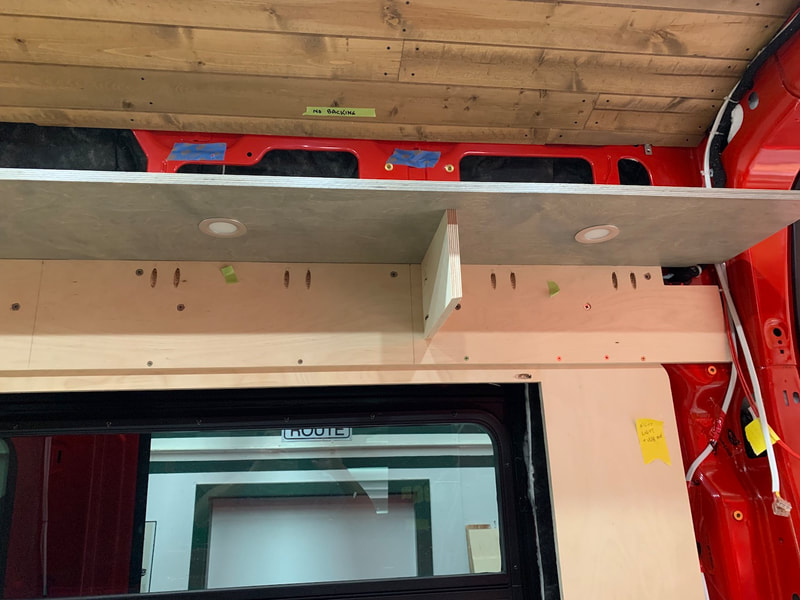
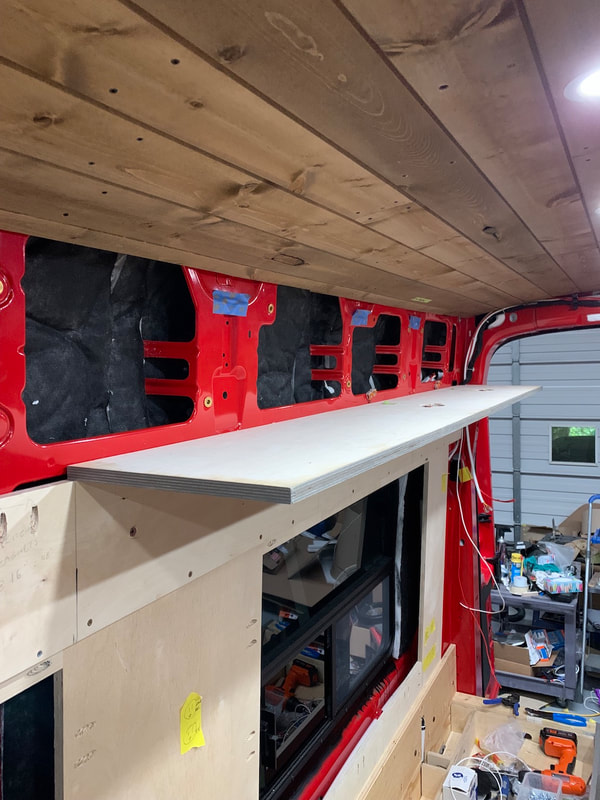
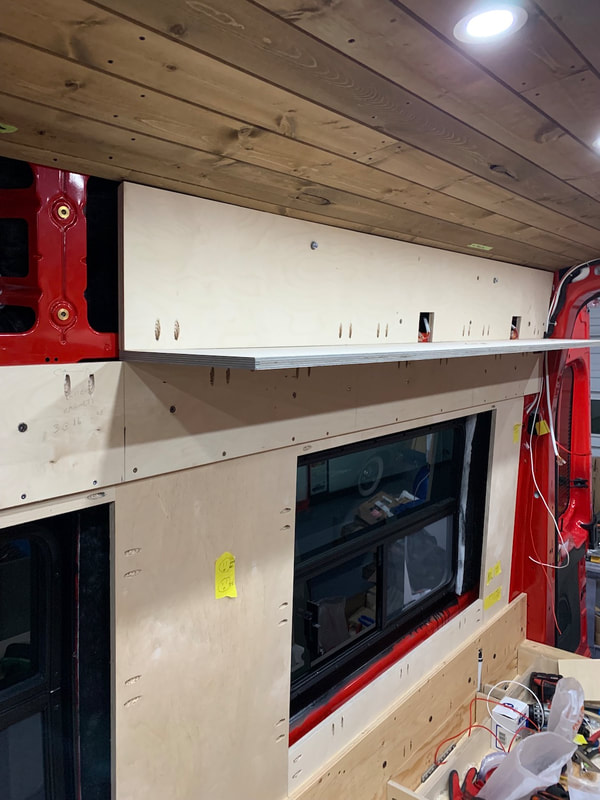
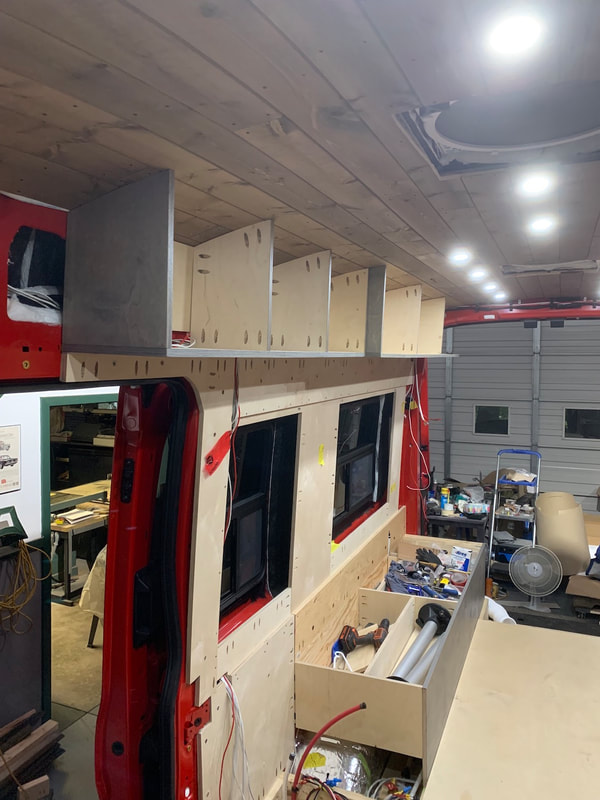
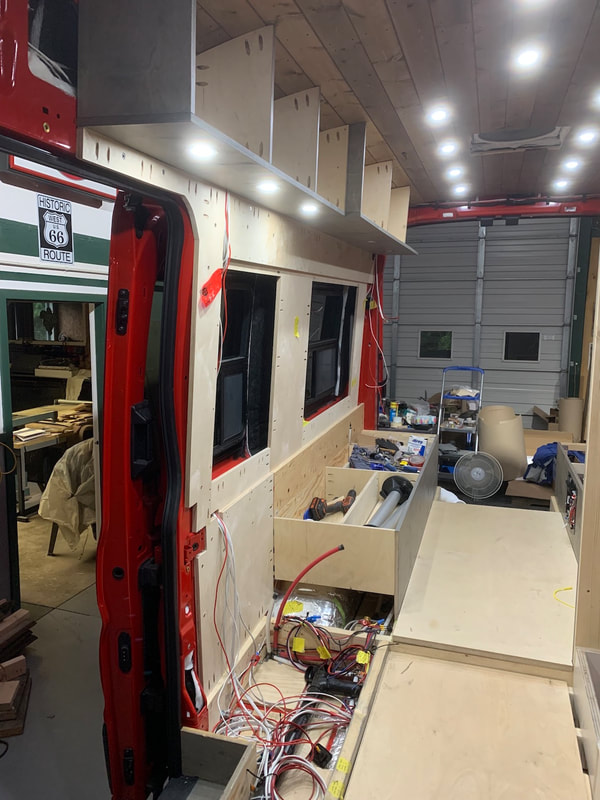
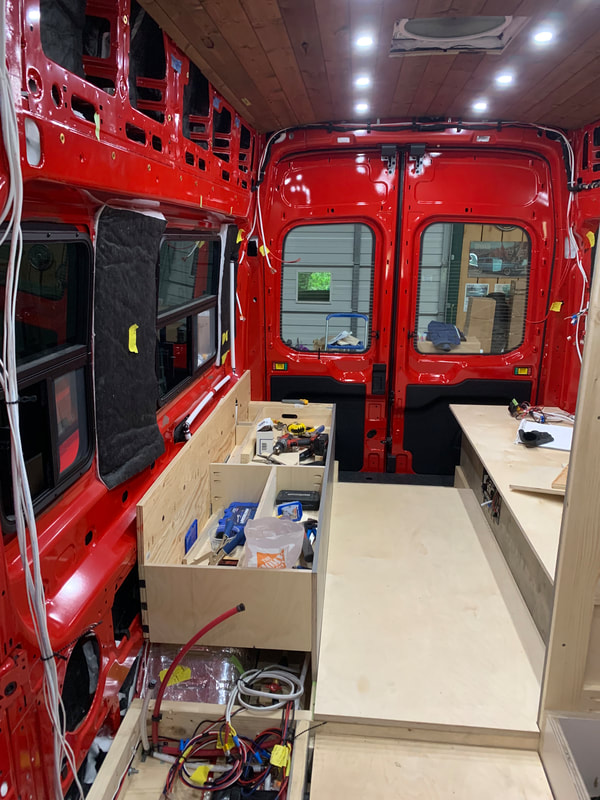
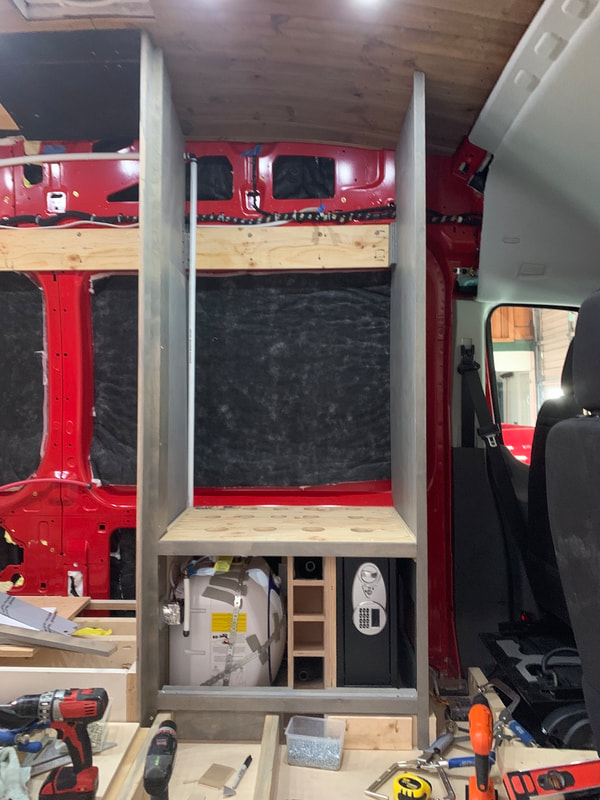
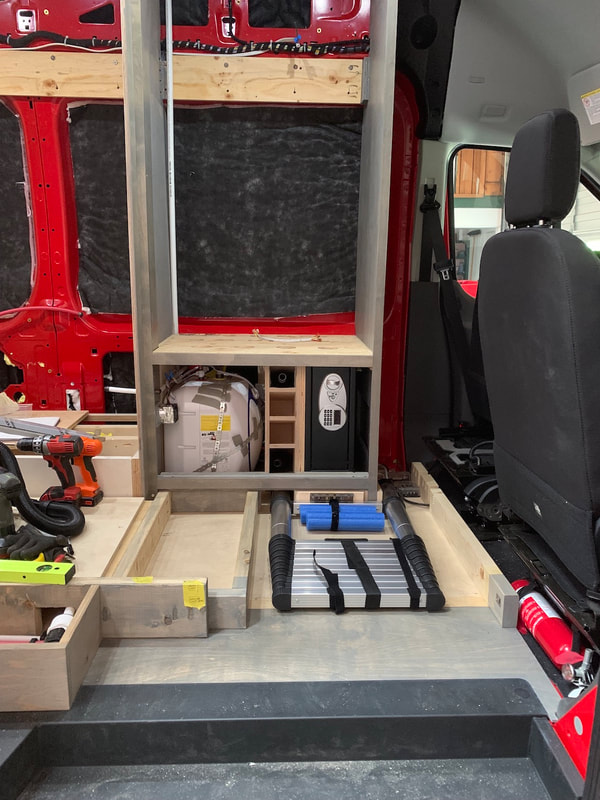
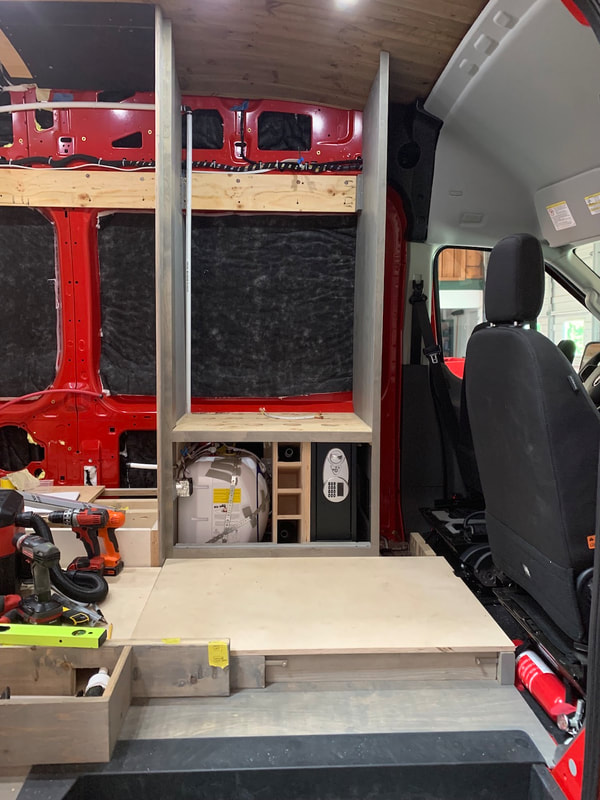
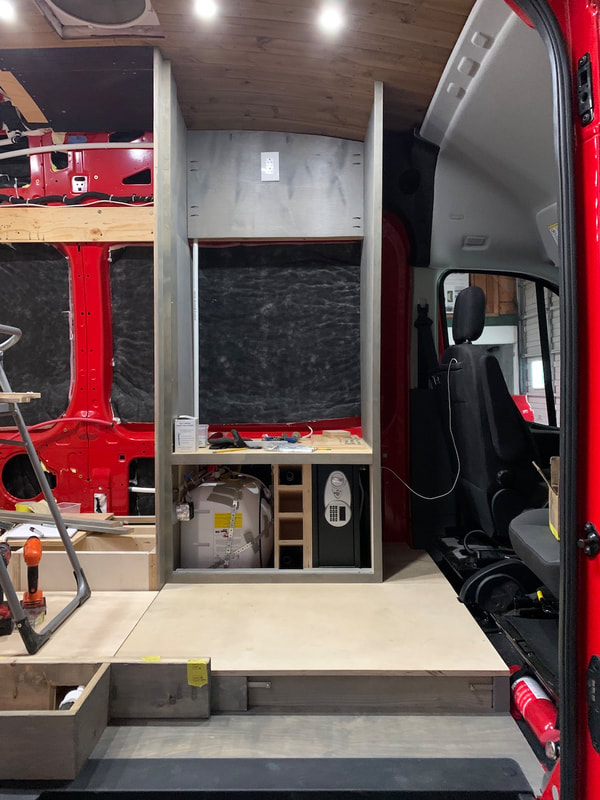
Really getting into the nitty gritty of finer interior details at this point. I'm not a cabinet maker by trade so my goal is not to make finely finished furniture or kitchen cabinets. I want the cabinets to be very functional and look nice but I'm not aiming for super smooth finishes and perfect joinery. So far so good! The upper cabinet structures (minus the doors) are almost complete on the passenger side. I still have to cover the wiring with some thin protective material but the cabinets have been built in place.
1 Comment
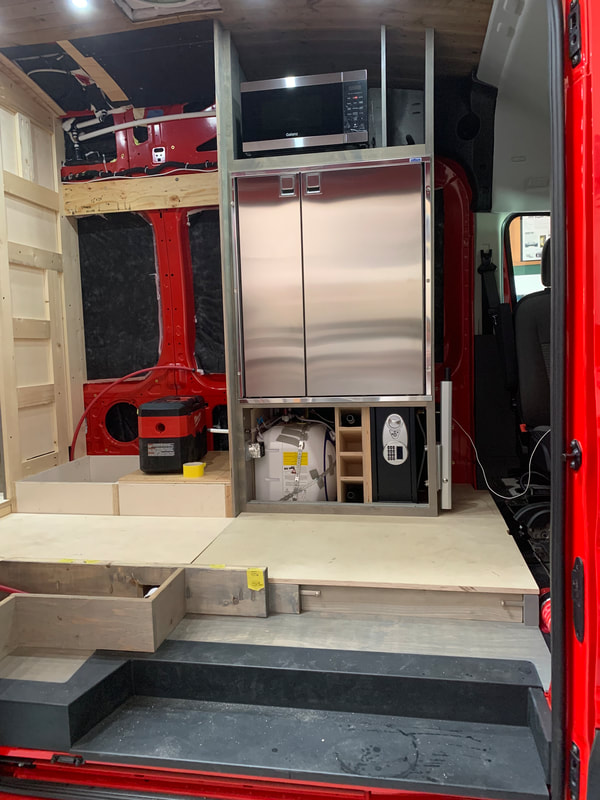
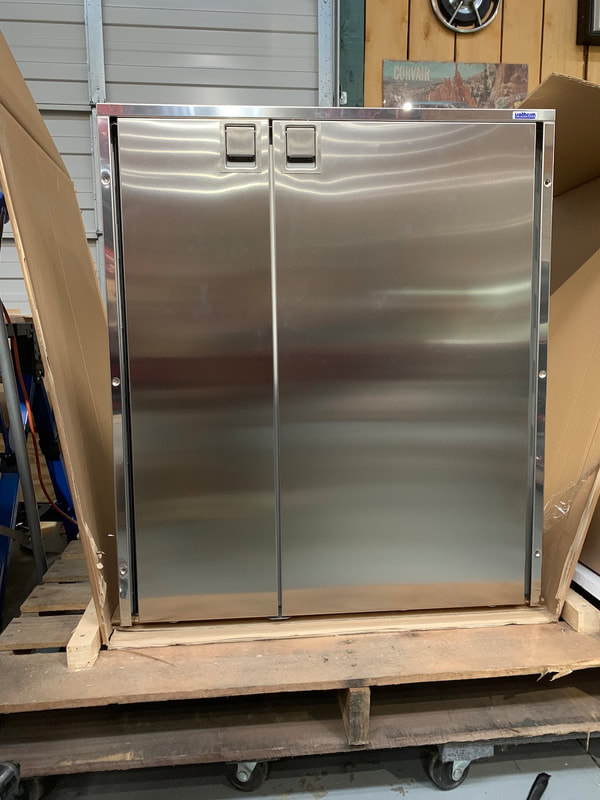
The cabinet was all prepped a few days ago and waiting for some extra hands to install the fridge. Today cousin Tony stopped by for a visit and I got him to help lift the fridge into Redford and into place. We lifted it in the sliding door, connected the 12V wires and passed the 110V cord through the shelf and the fridge went into place. Overall the fit is great and I got some stainless steel screws to secure it into cabinet.
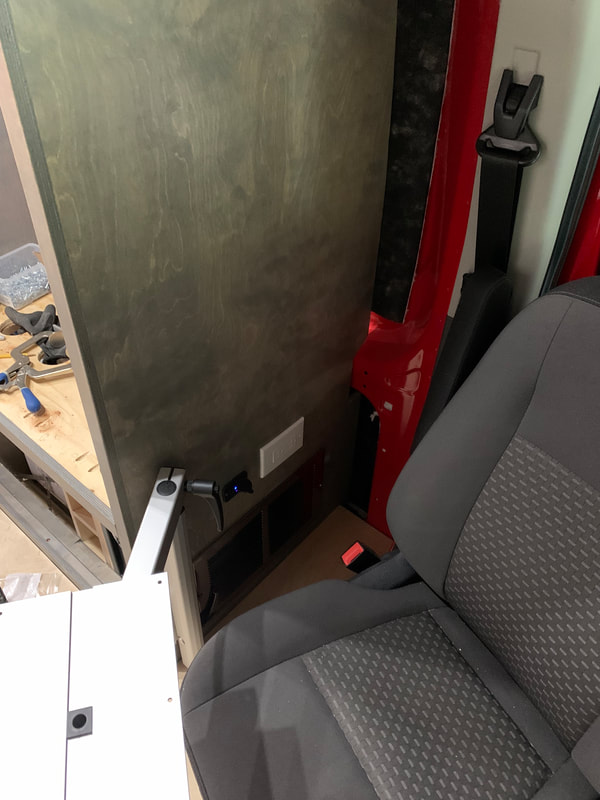
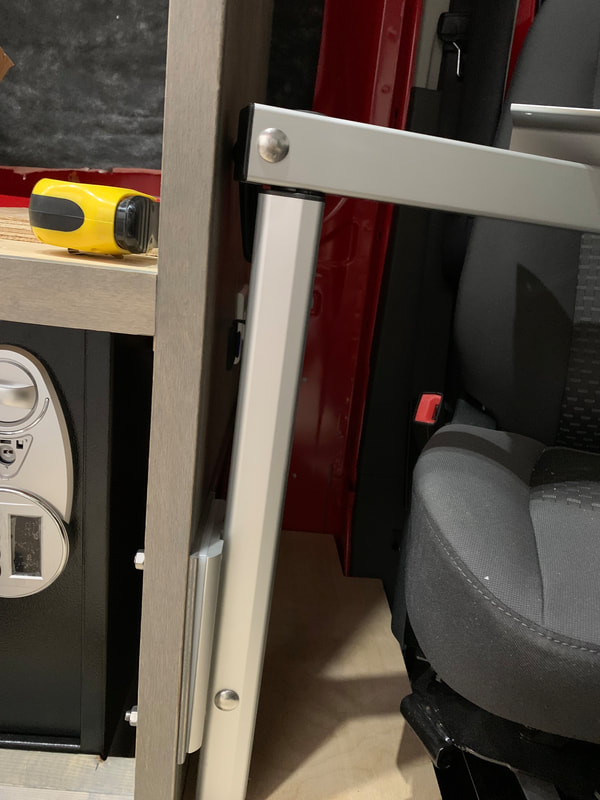
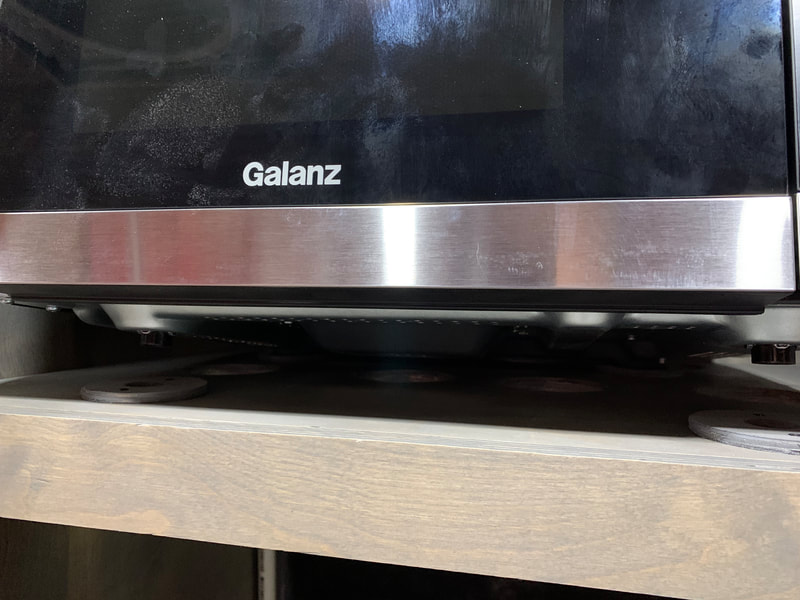
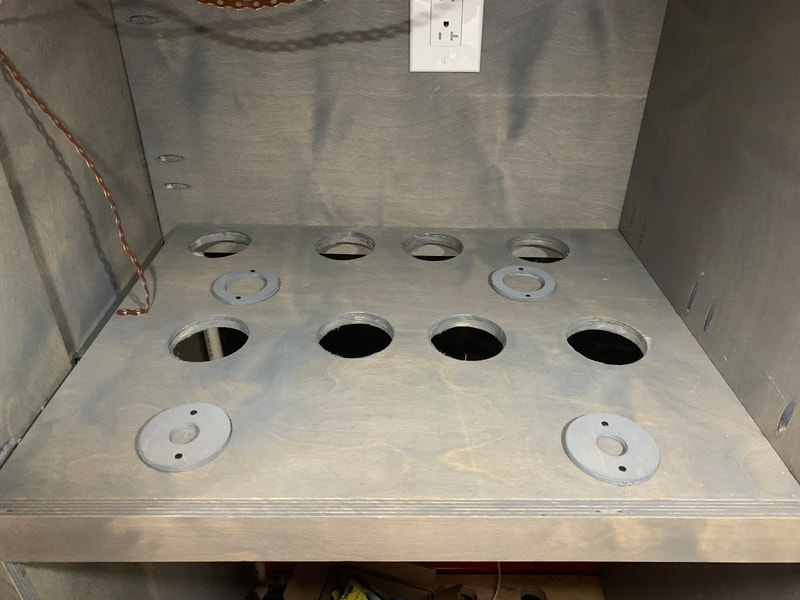
Other work that has been accomplished includes completing the wood linings for inside the passenger side dining bench (sleeping area) and planning out how I'm going to construct the walls and window frames. In the appliance cabinet the microwave/convection oven got secured and the Lagun table mount was attached to the panel. The cabinet for the fridge and microwave is very complex. Lots of things going on in terms of what goes into the cabinet, install dimensions and trim pieces, items under the fridge, ventilation, etc. All of these aspects have an affect on the cabinet design and construction. Most of them I've been able to keep on top of but there have been a few times I got to a stage and thought, for example, "Hmmm... I didn't anticipate that problem. How am I going to get those pocket screws into that face rail when there's no room in behind for me to get a drill or screw driver in there?" Thankfully I've been able to problem solve each of the difficulties encountered and thus far things have gone well. I was going to install the fridge and then work on the upper cabinet for the microwave/convection oven but decided it would be better to complete the entire cabinet and then install the fridge. I do not want to damage or ding the fridge while trying to work around it. I'll just have to be really careful with the instal dimensions on the cavity.
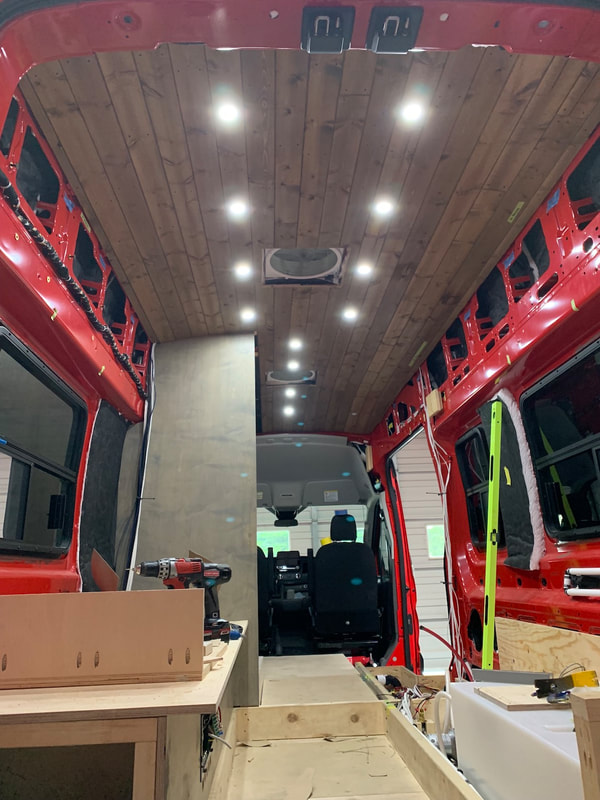
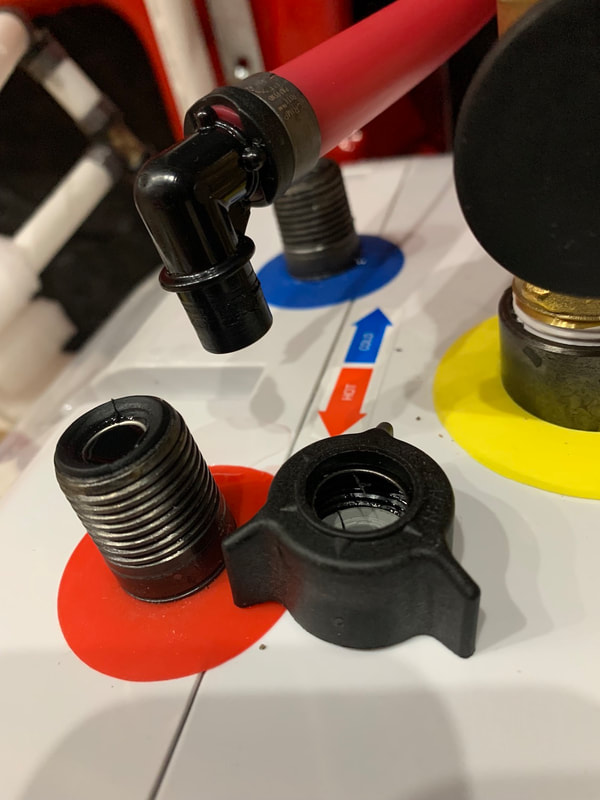
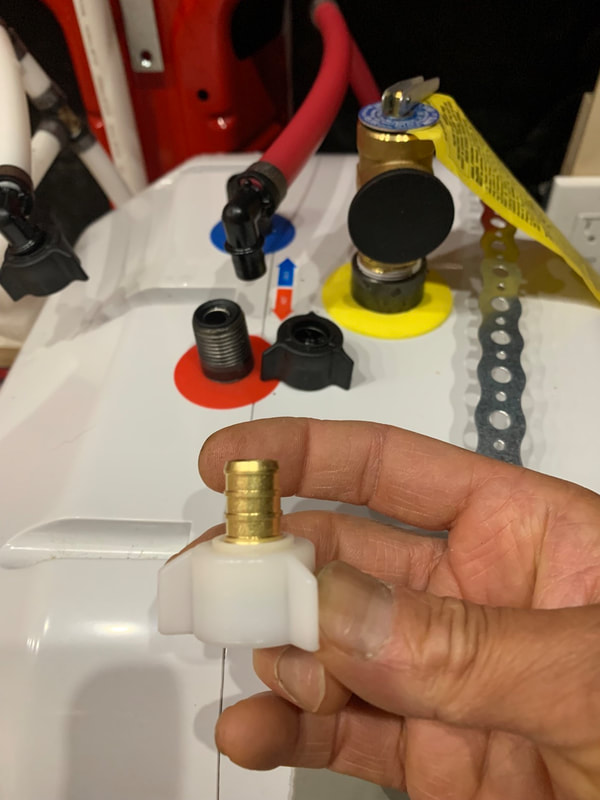
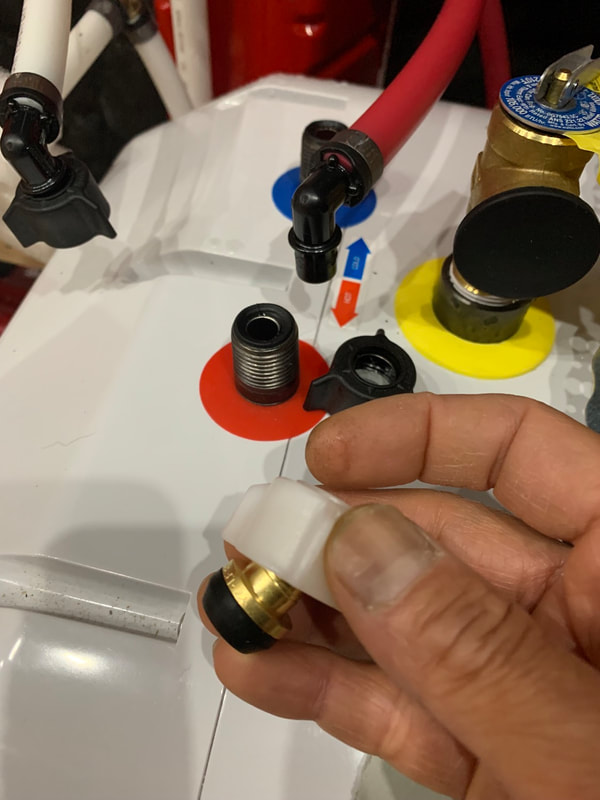
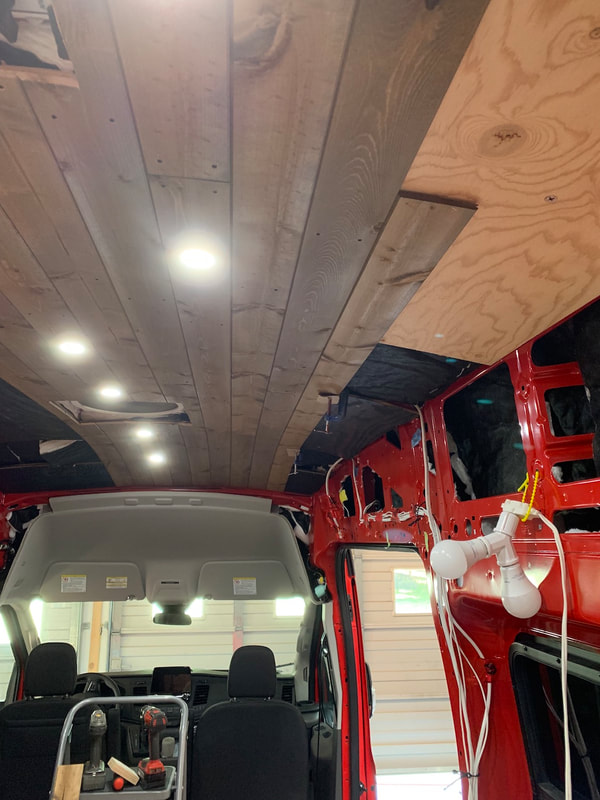
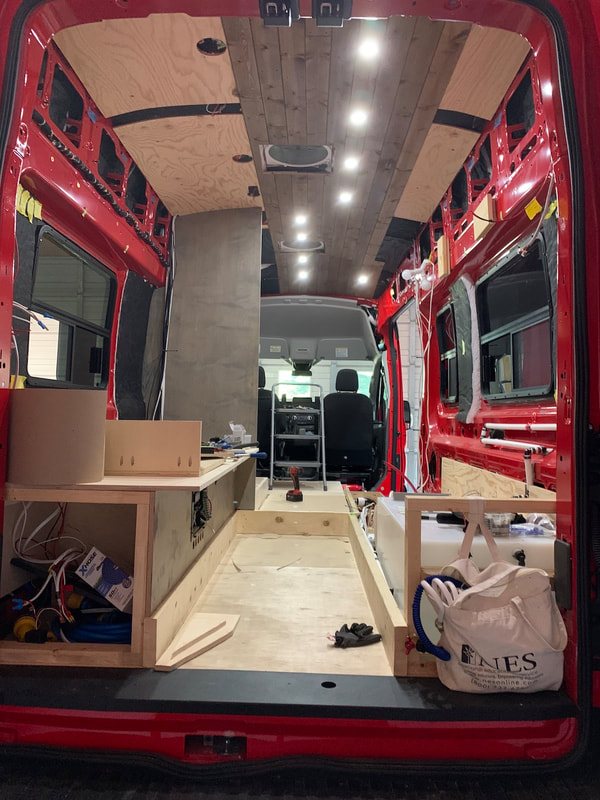
Tackling an aspect of cabinet construction that is new to me was interesting. I've never installed cabinet doors and hinges before. Before proceeding with the cabinet I had to make some mini mockups of doors and hinges to check out the door overlaps on the face rail to see how they would align with the fridge trim. I hope I got it right! The Kreg cabinet hinge kit is amazing. It makes it really easy to consistently and accurately drill the holes (and mounting screws) for the hinges. My only long term niggle is about access to the water heater. One day it will need a repair or replacement. In order to do that the fridge and shelf will have to come out. Not a super difficult task but I'm already not looking forward to it! The main part of the ceiling is finished:) Only the section in the bathroom and refrigerator area still to do. In the process of doing this I getting ready to make a template for the section of wall between the bathroom and the refrigerator. I noticed that the plastic 90° female threaded elbows looked a bit weird. One of the elbows was protruding out of the plastic collar ring further than the other elbow and they were both a bit on an angle coming out of the collars. Long story short - the elbow came right out of the collar and water sprayed to the ceiling! Good thing I was prepared and set up to test it just in case it did this so there was a very small amount of water that came out. Thank goodness that didn't happen after I had built the cabinets and we were out camping!
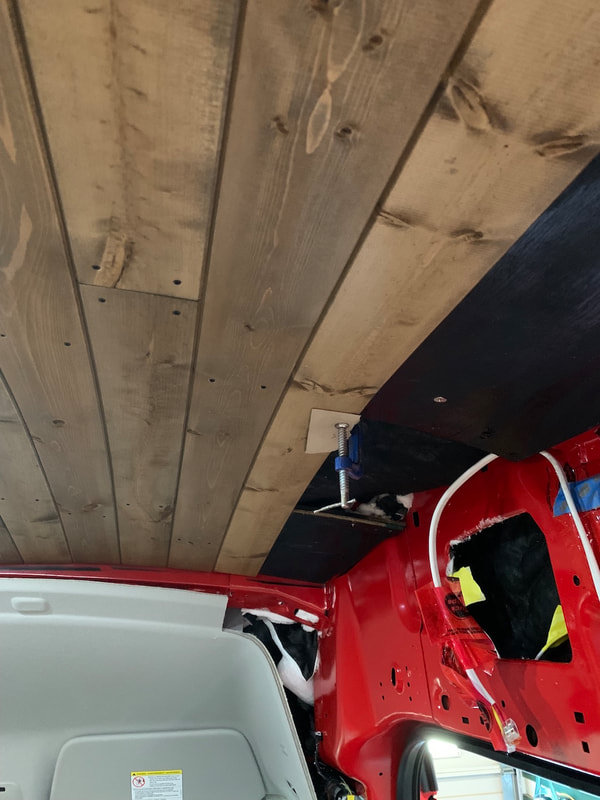
In any event, disaster avoided and I know how to easily fix the problem - but I can't believe how stupid the design is on those threaded elbows. We're very happy with how the ceiling looks! The work on the ceiling tongue and groove continued today. I realized that small C clamps make the work much easier. I use them to loosely clamp each plank in place. Then I tighten each clamp until I get the plank to the correct bend to match the adjacent plank that is already screwed into the ceiling. Then it's much easier to use a block and hammer to tap the tongue into the groove. once I get it there, then I tighten each clamp and then screw the plank in place.
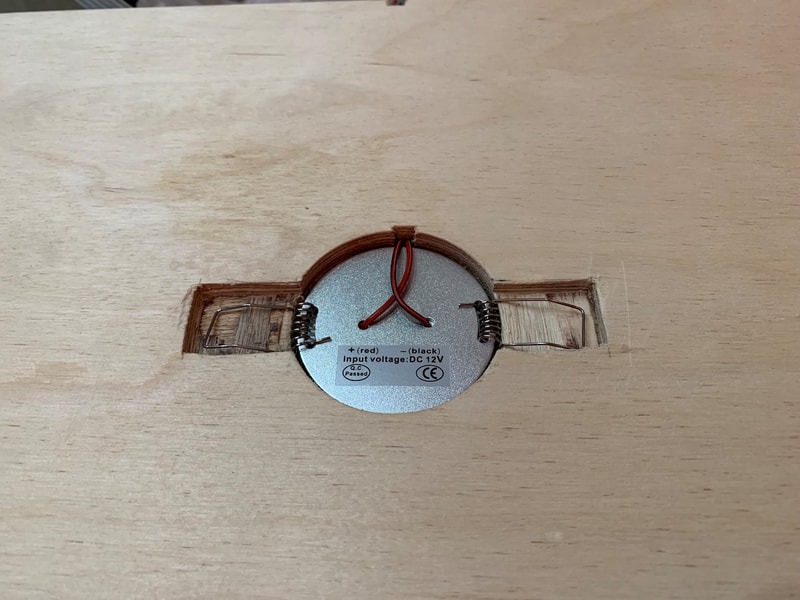
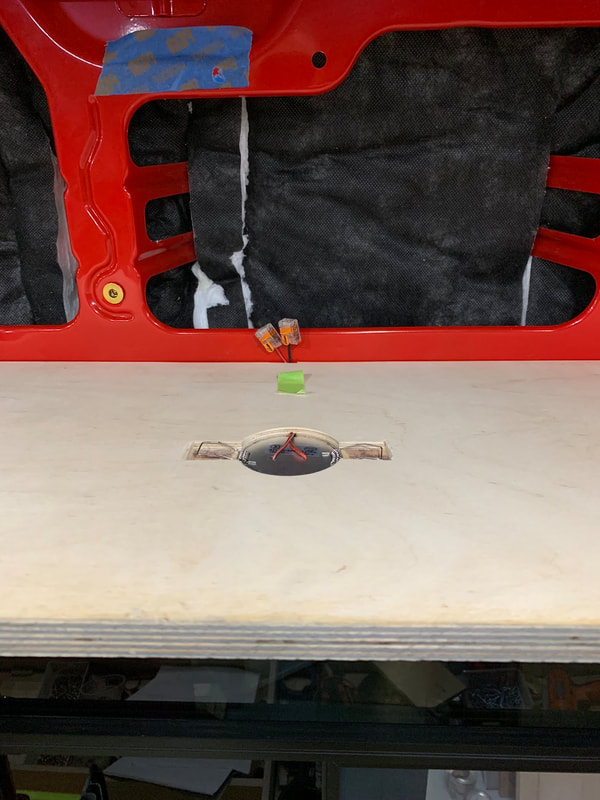
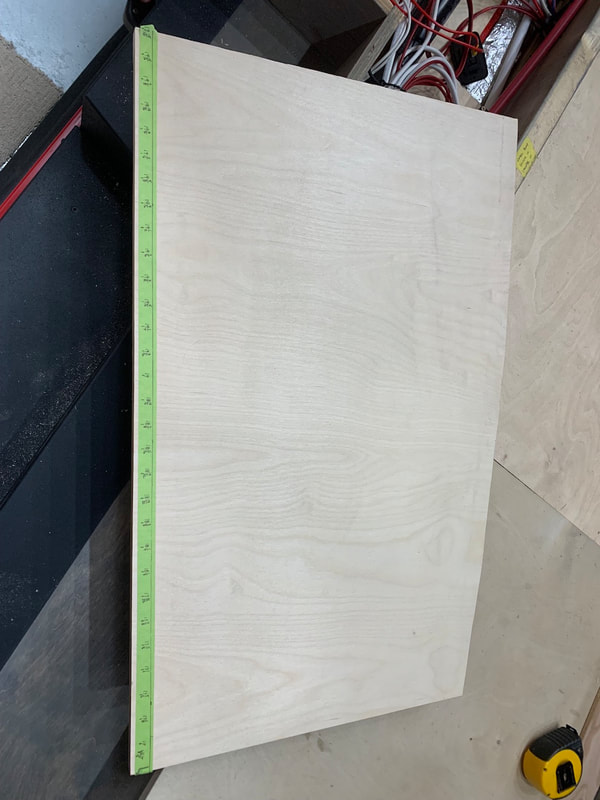
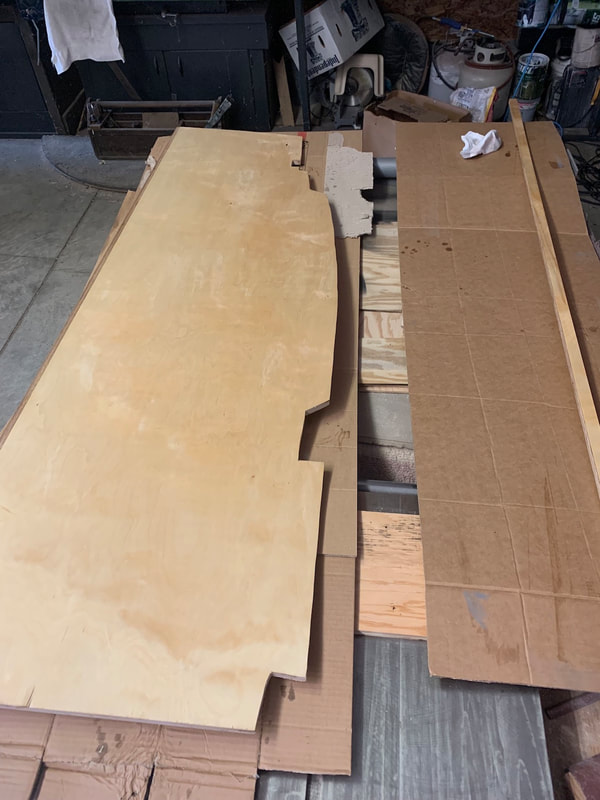
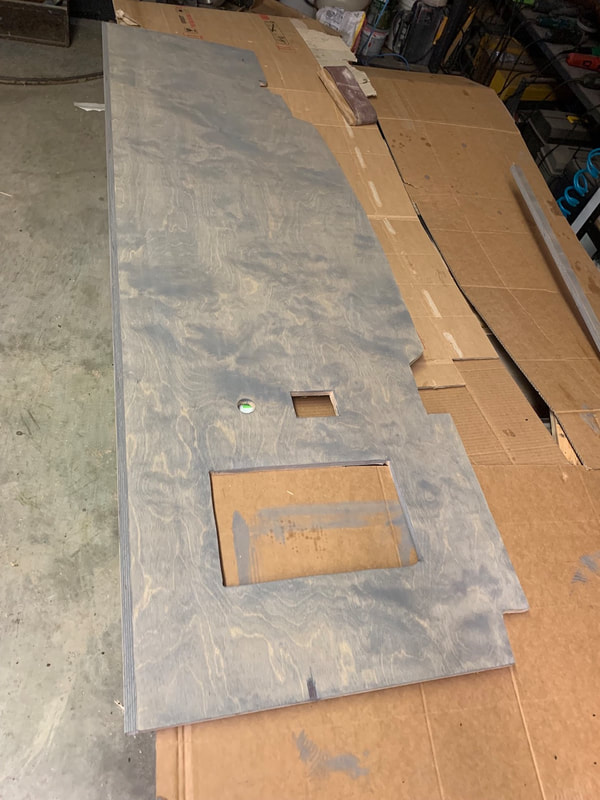
I also stained and put Varathane onto the 5/8" Baltic birch plywood panel that closes in the rear side of the washroom. A few more screws tomorrow will finish the installation of that panel. After that I can continue with the T&G on the ceiling and the four LED lights on the driver's side aft of the washroom. |
Details
AuthorCalvin here - after spending almost 33 years in education as a high school teacher, elementary teacher, and elementary administrator, it was time to retire! I did so happily and with no regrets; it was a terrific and fulfilling career. I do enjoy building projects as the design and building process is very therapeutic and you see a completed functional product in the end. Now to combine the build with another of Angela's and my passions - travel - is something we're really looking forward to. Archives
September 2022
Categories |

 RSS Feed
