|
When I didn't think there was enough foam sealant tape for the window install I emailed Motion windows last night. A rep called me first thing this morning and said it sounded like the right amount was sent and offered to send more to but suggested I try it and see what happened. Well... there was enough with a little bit left over! Given how fast the tape roll diminished on the first small window I just didn't think there was enough for the two big windows - my mistake!
0 Comments
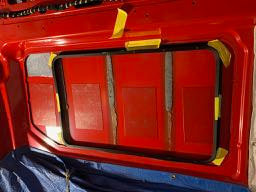
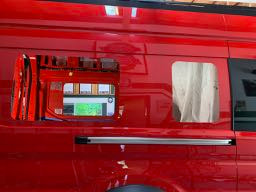
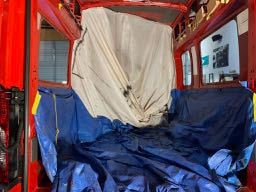
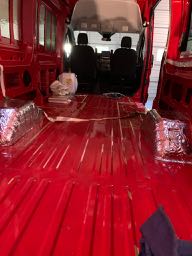
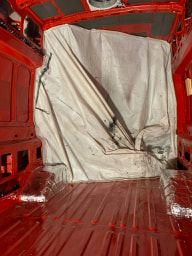
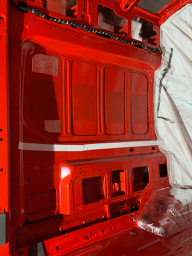
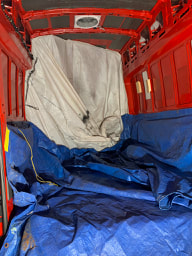
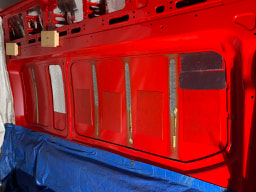
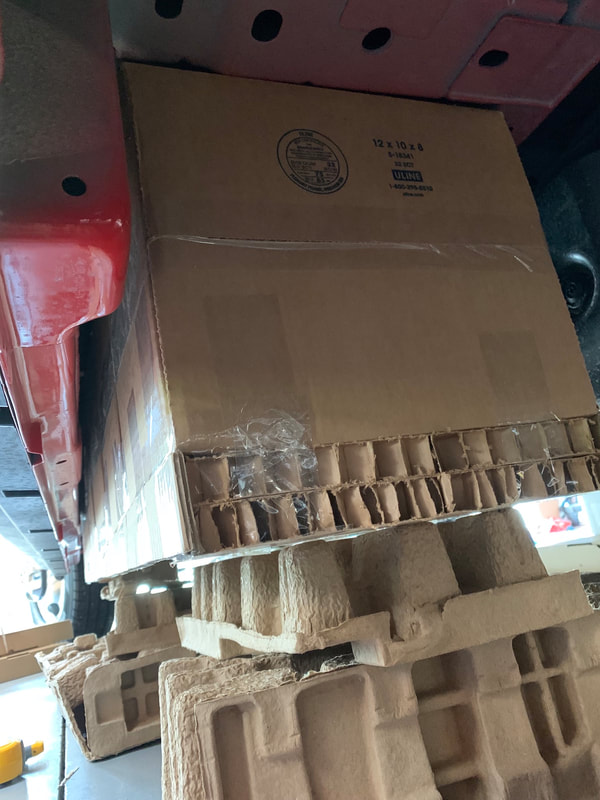
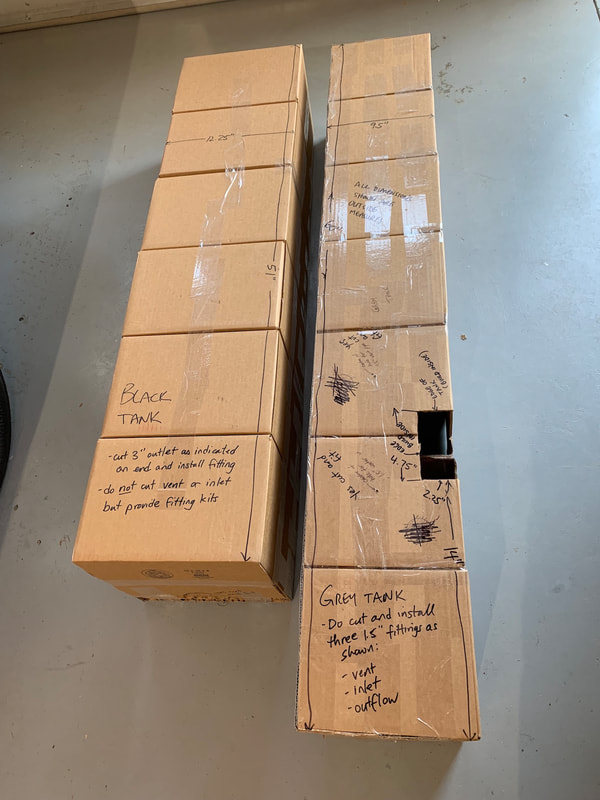
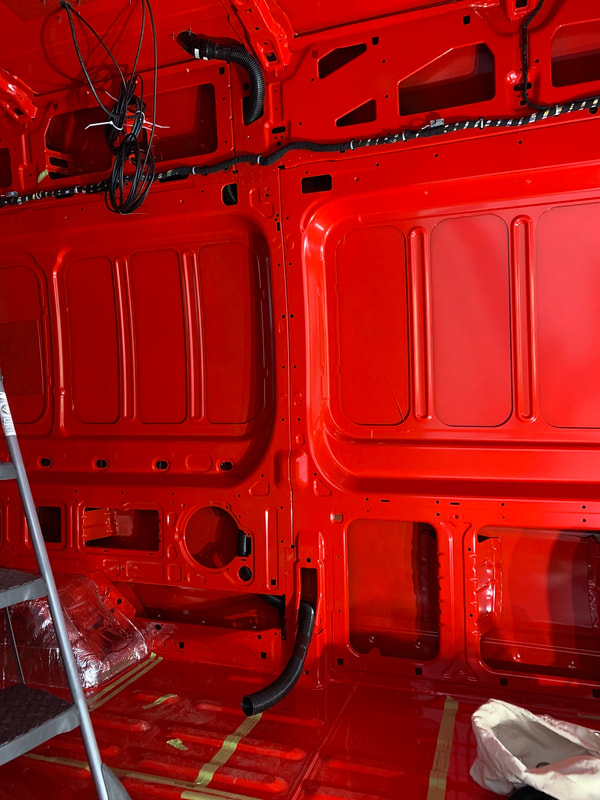
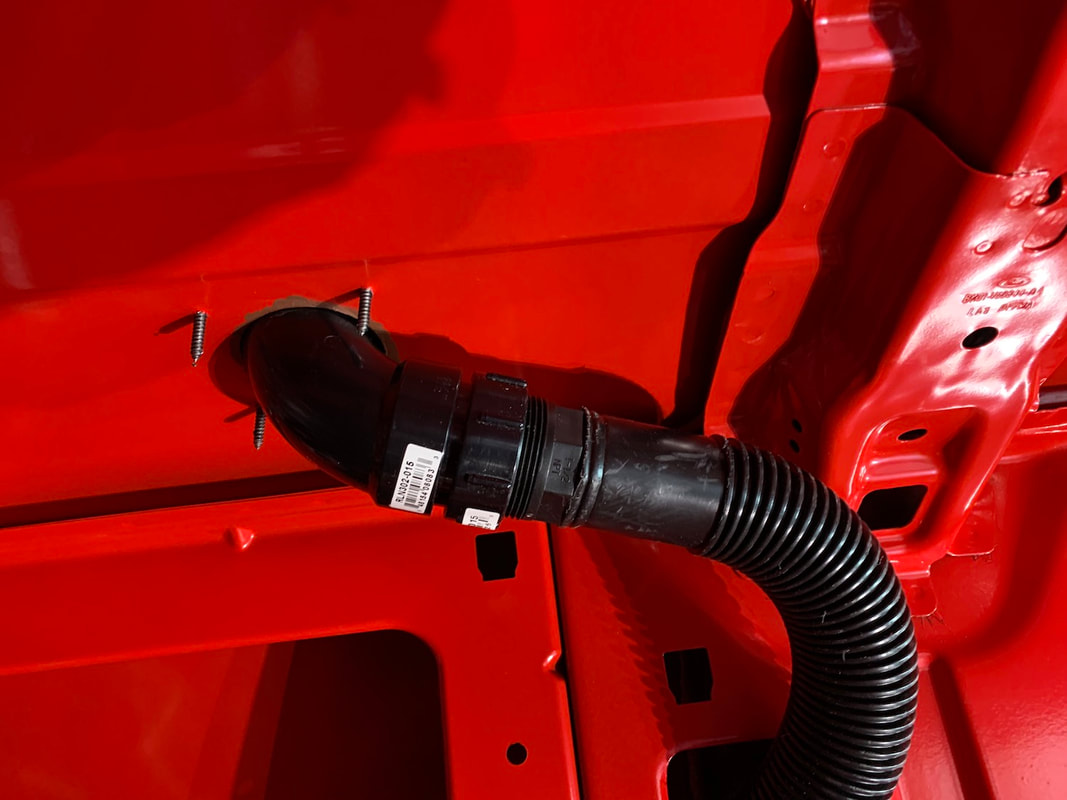
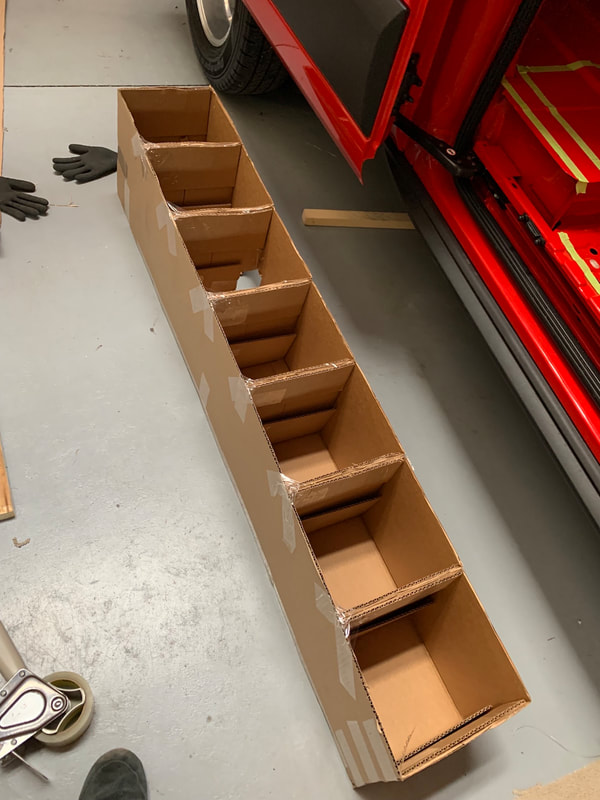
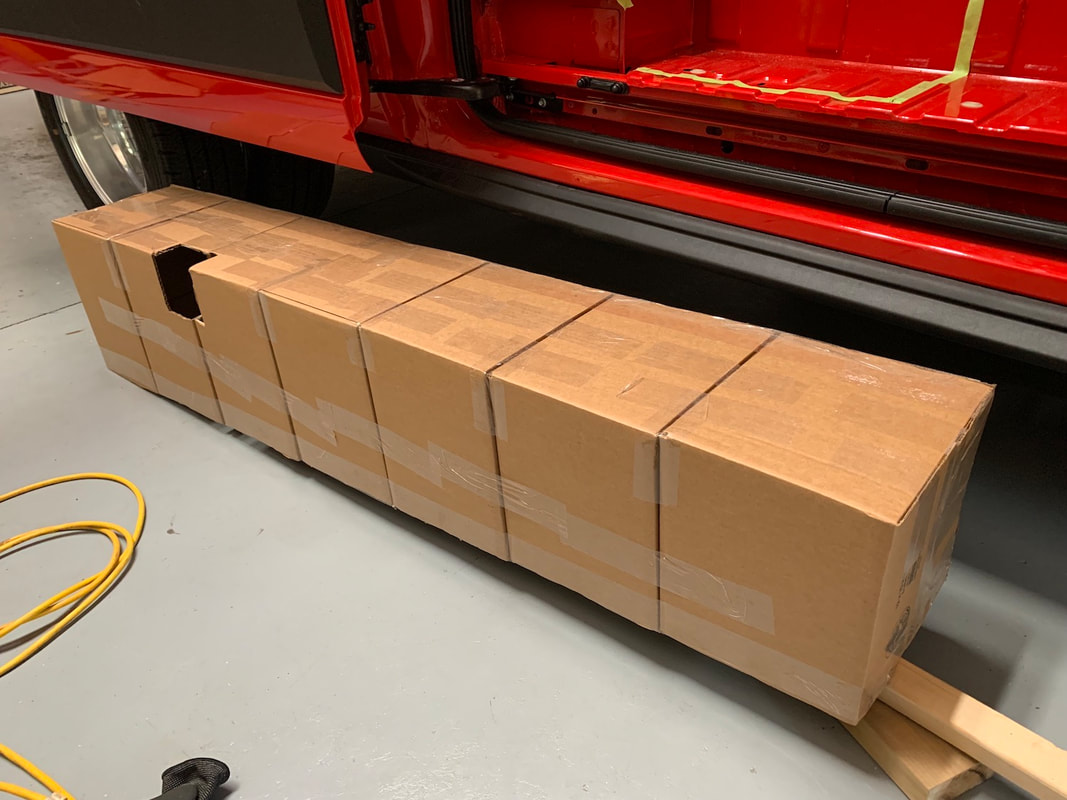
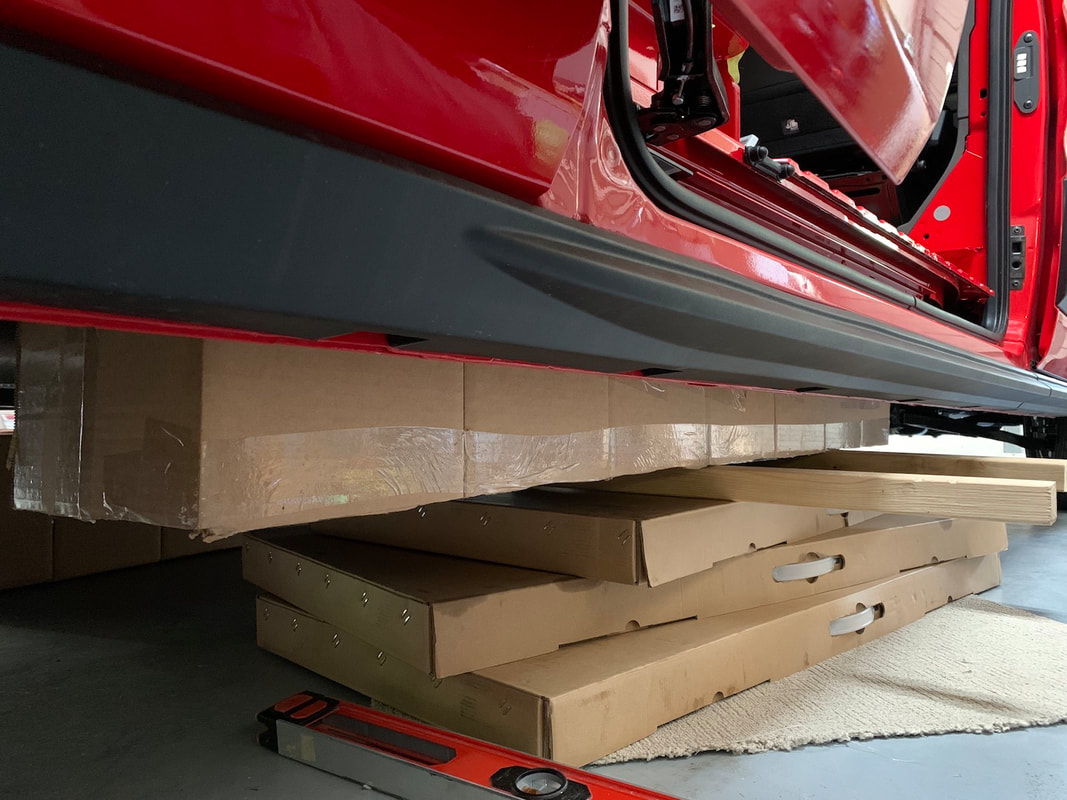
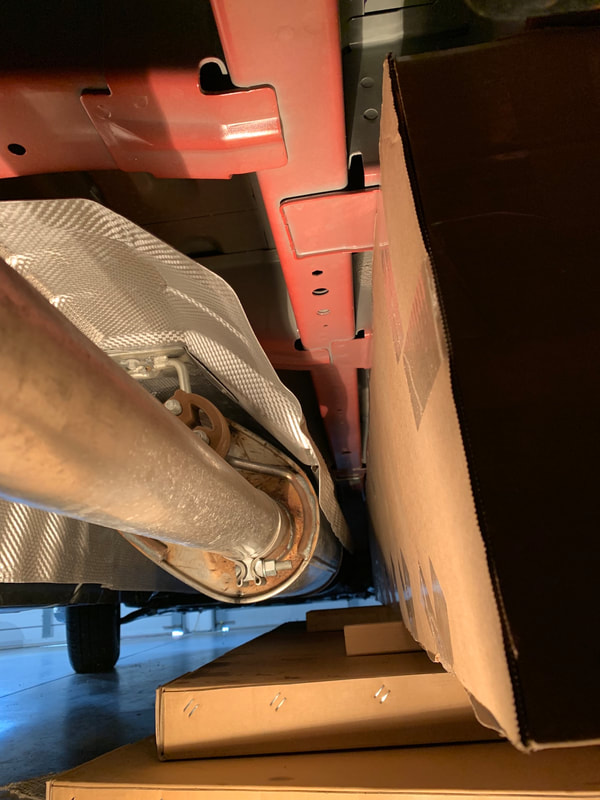
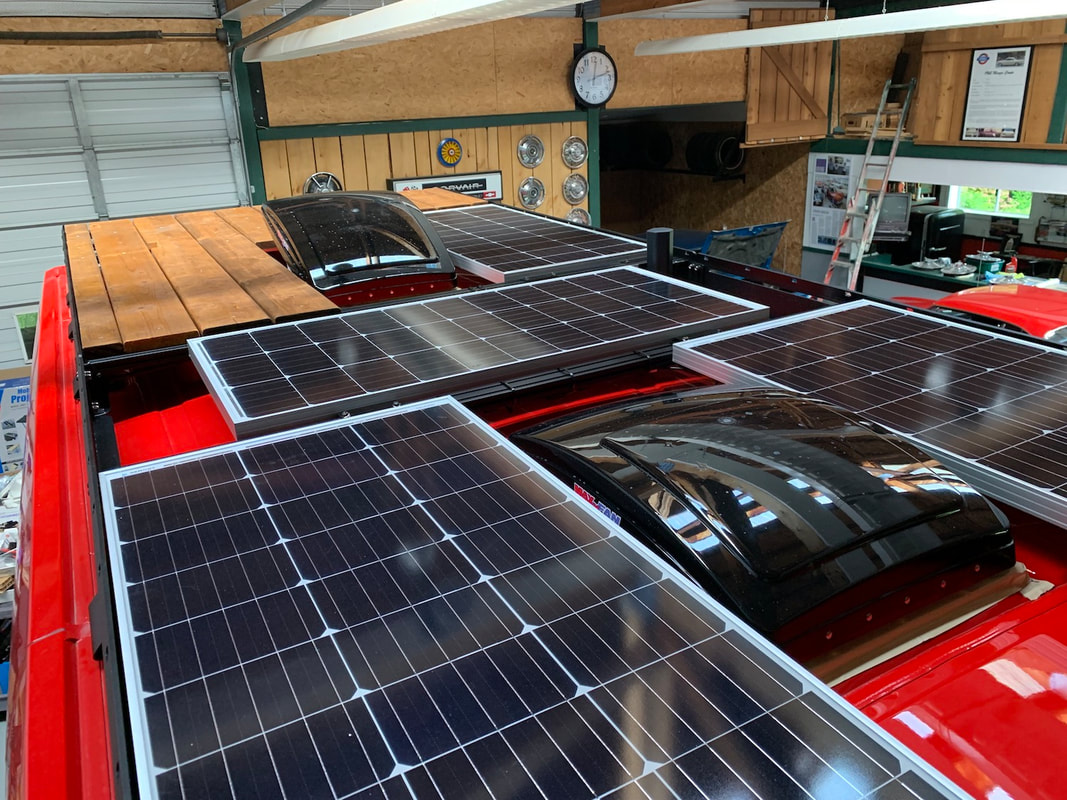
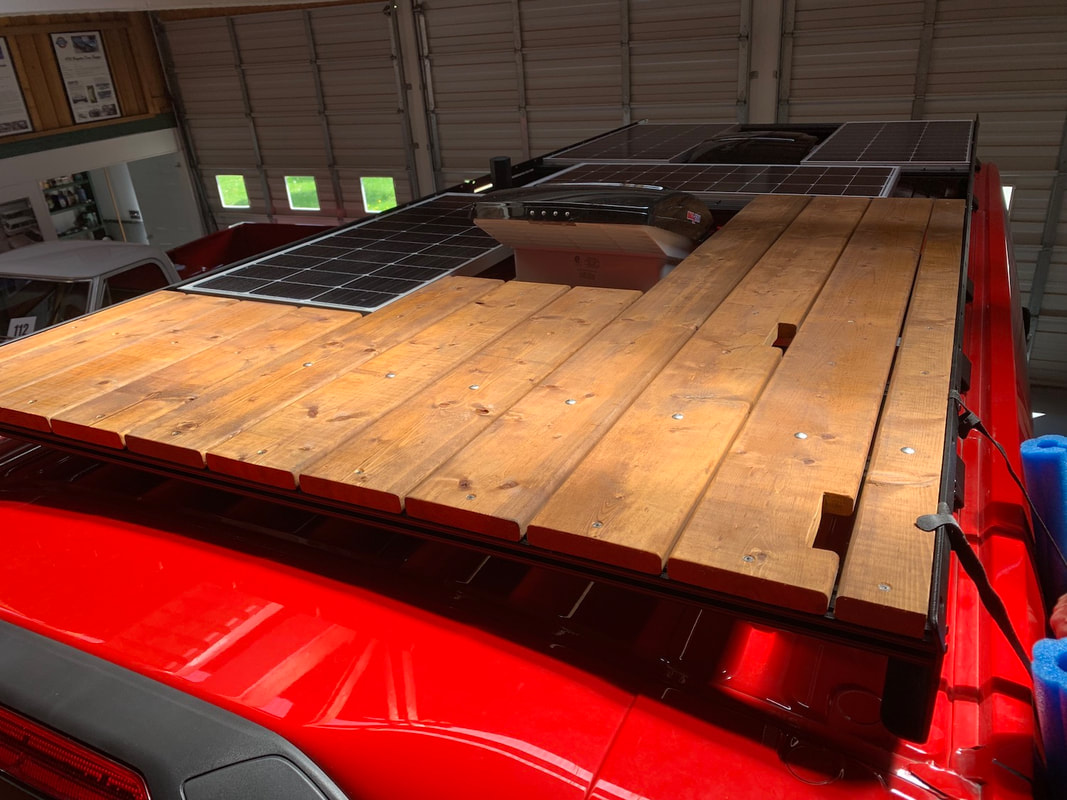
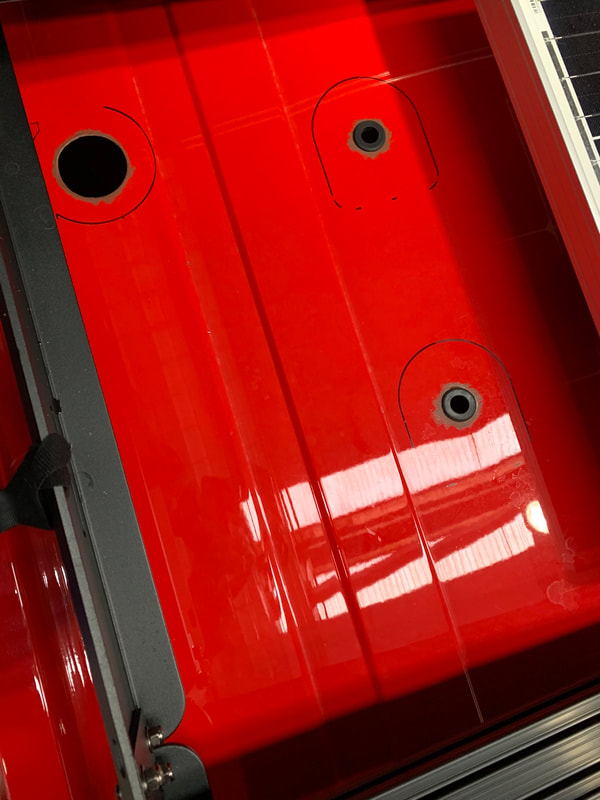
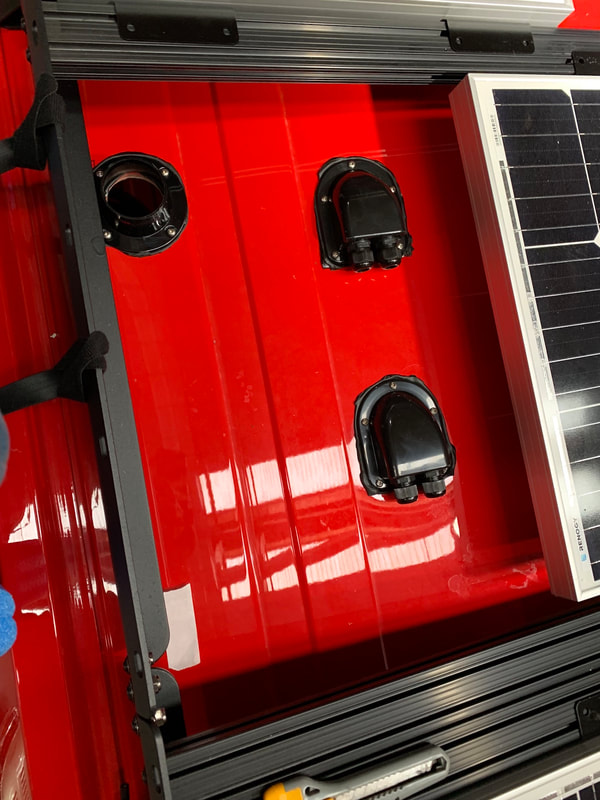
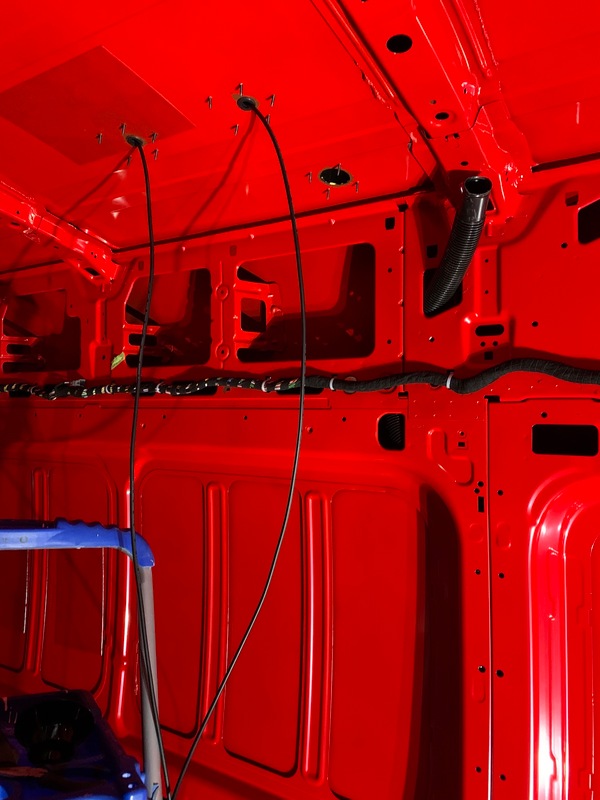
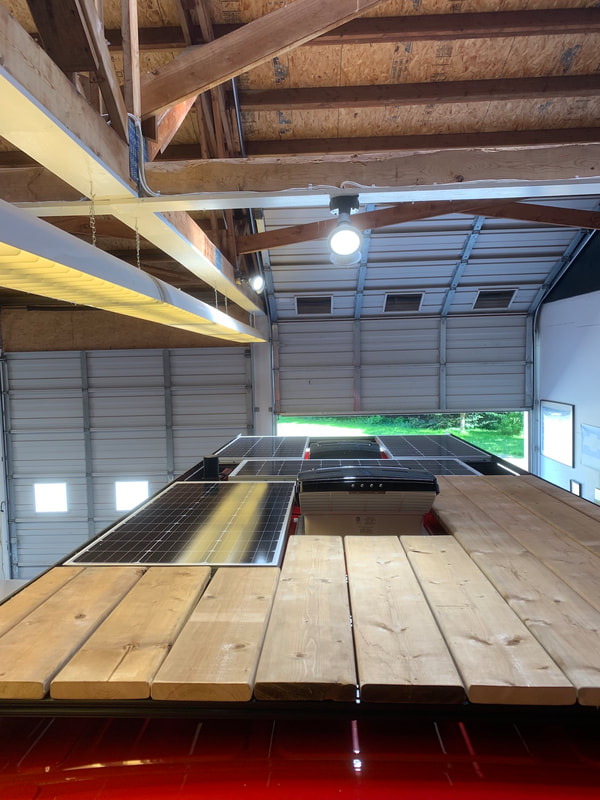
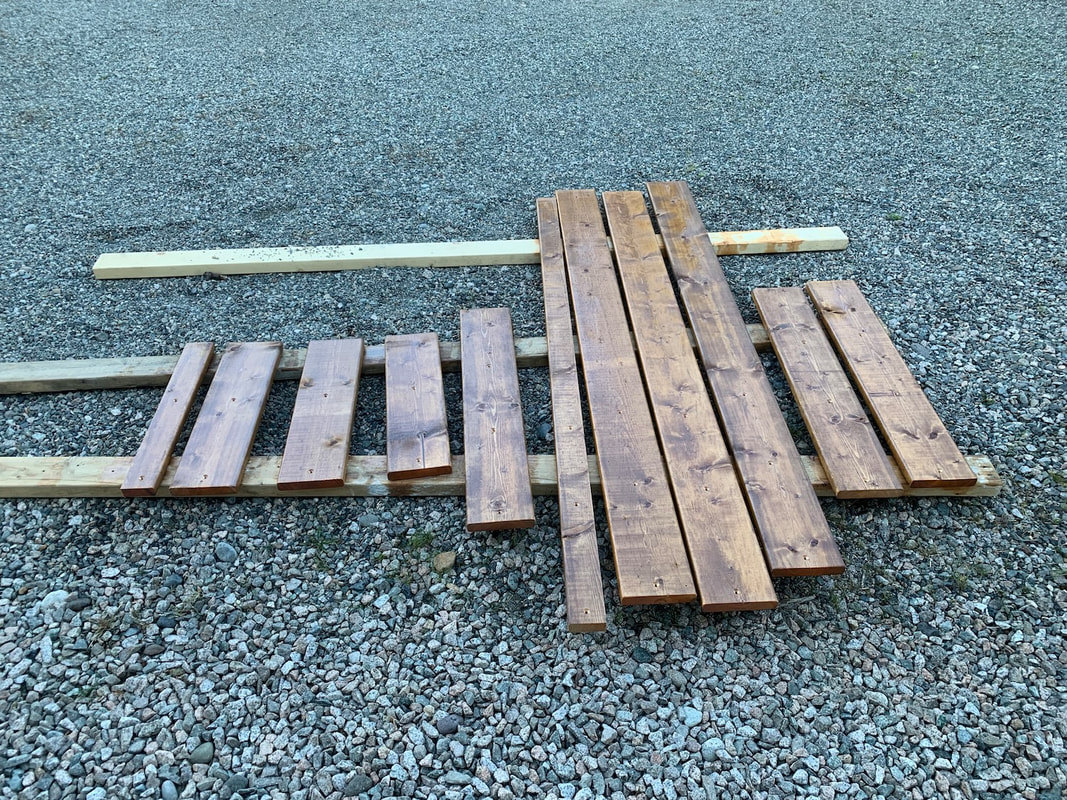
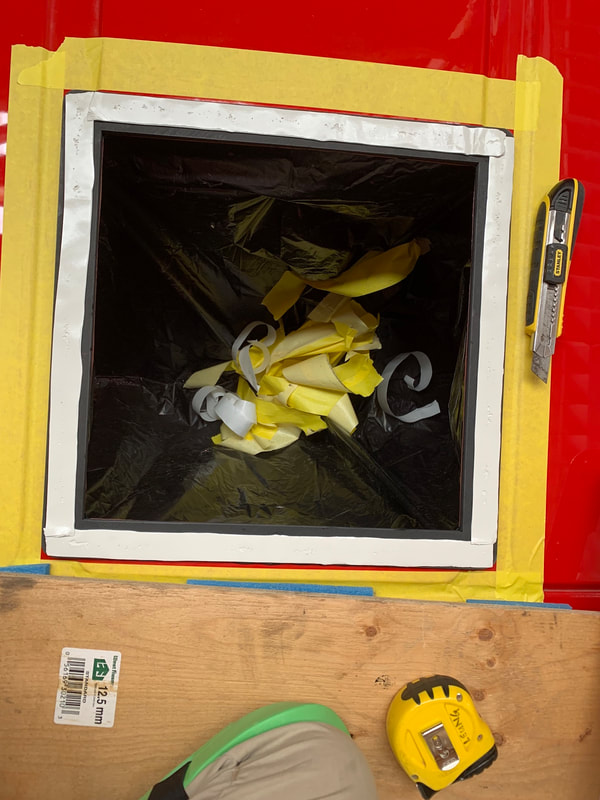
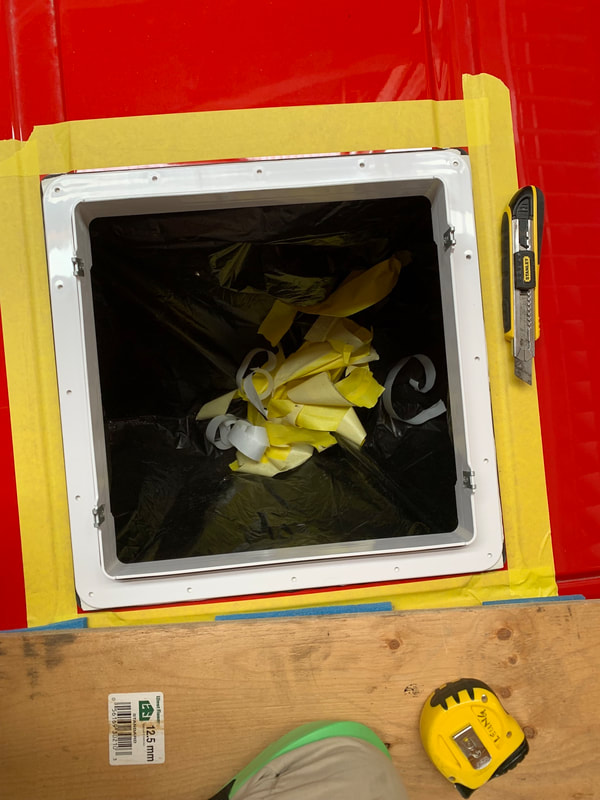
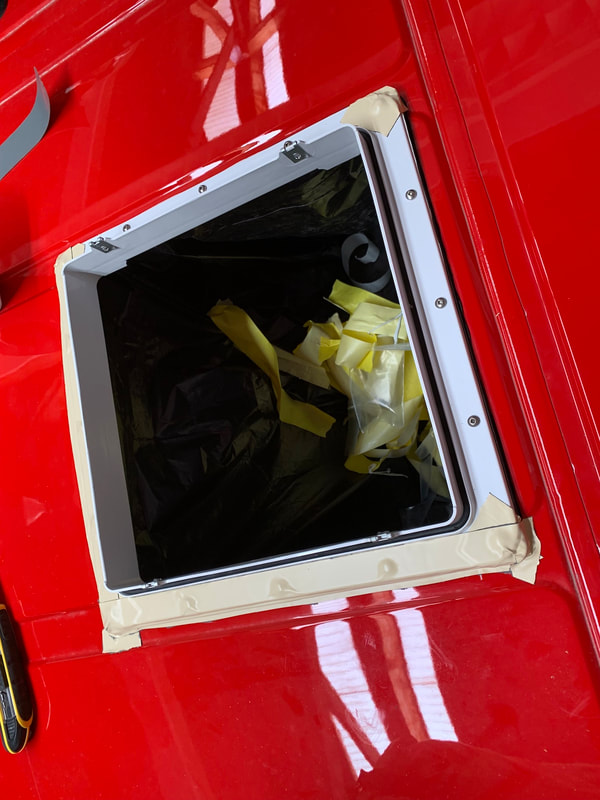
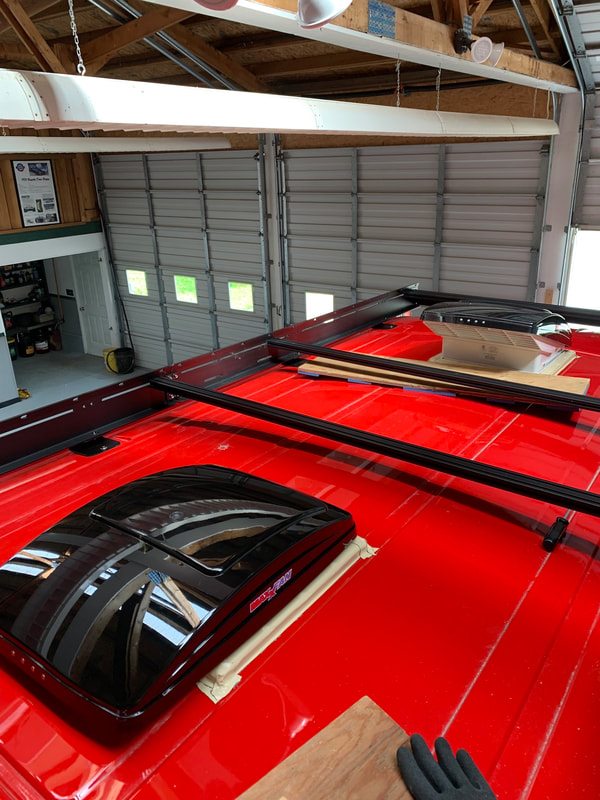
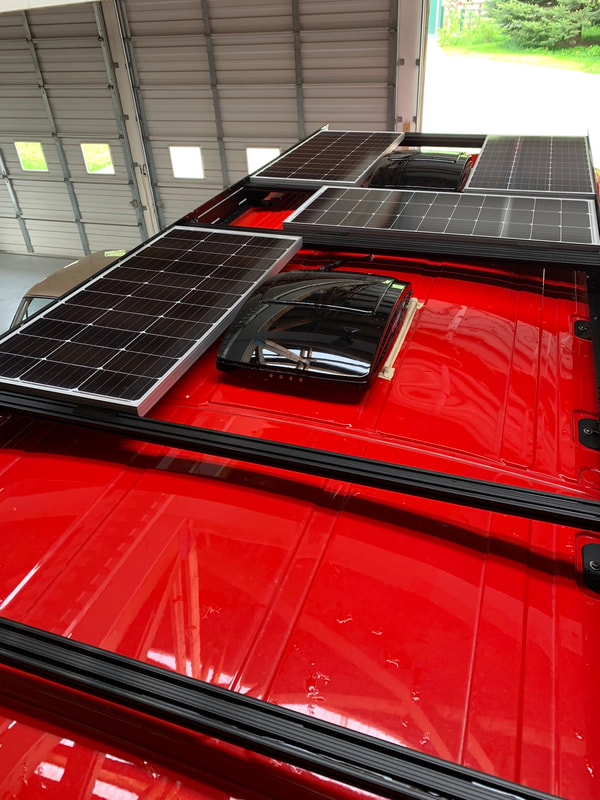
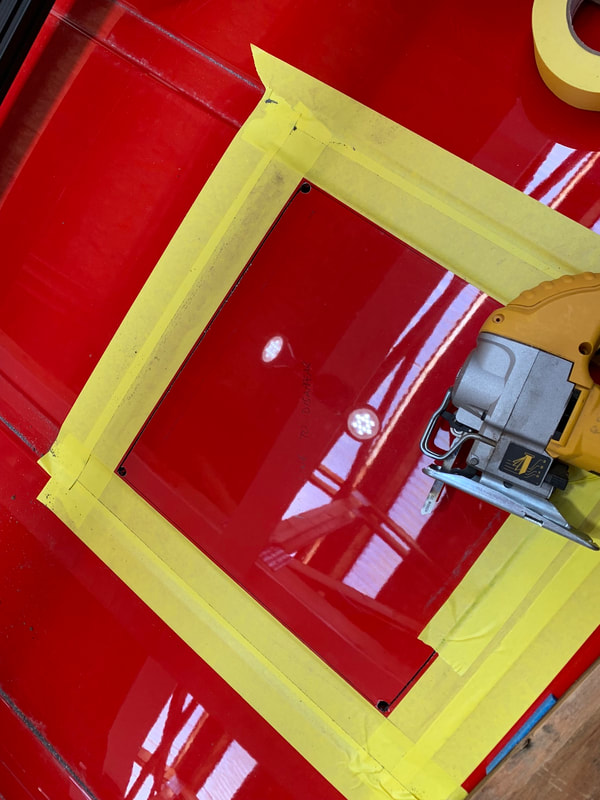
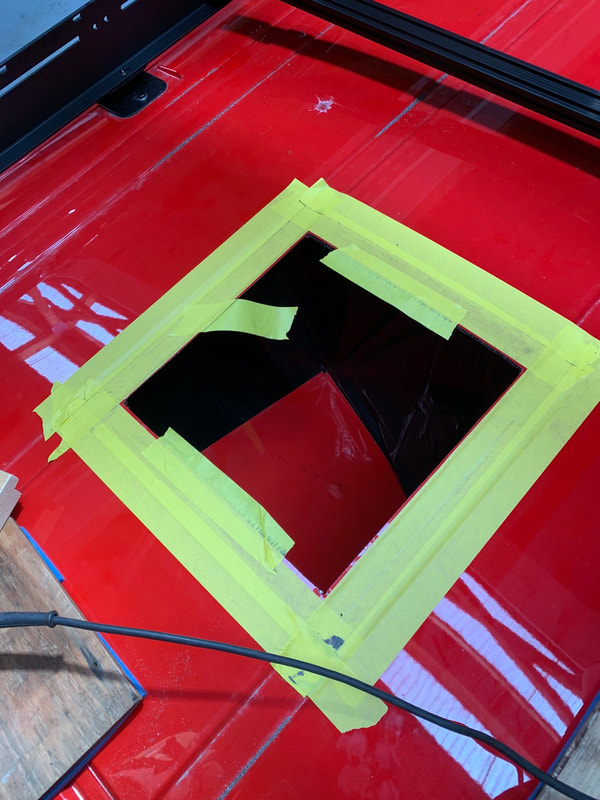
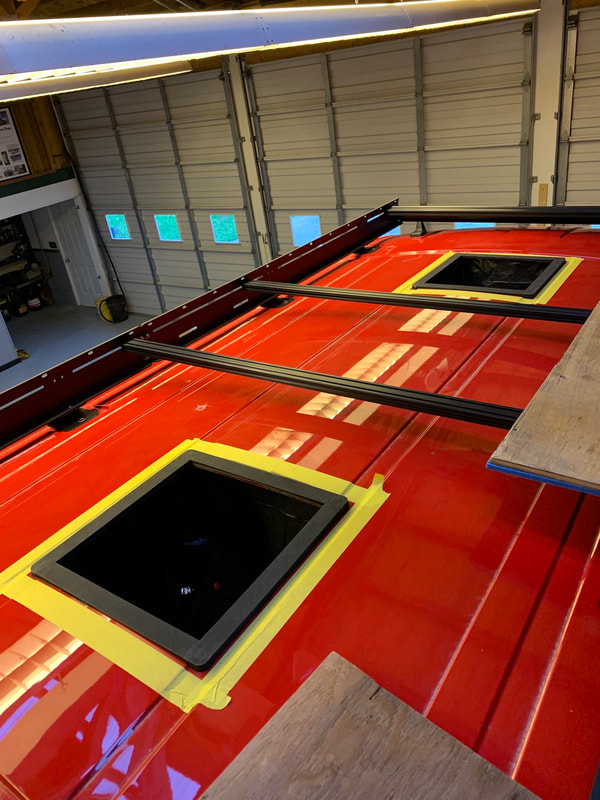
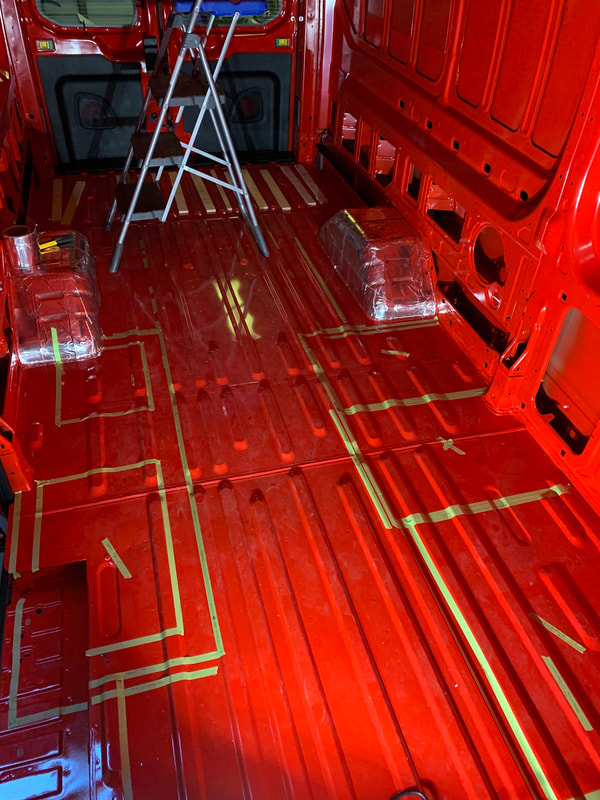
(This was MY mistake - they did send enough of the sealant foam!) After yesterday's prep work, today was the serious business of cutting more holes into Redford. Plenty more humming and hawing went on trying to decide where to place the holes/window precisely. The part requiring consideration was trying to work from the inside relative to how it would appear on the outside. None of the lines are parallel so I decided to work with being square to the cargo door window. I also needed to practice using a tool (air nibbler) that I had never used before. To do this I drew an outline of the smaller window into the space of the large window. That way I could practice cutting with the nibbler in metal I knew was going to be cut out anyways. It was interesting. For cutting the openings I would prefer to just use a jigsaw but it wasn't so easy in certain places because the large van ribs were obstacles to the jigsaw, hence the nibbler had to be used for the small window opening. In the end all the cuts worked out well enough. After some fine grinding with the Dremel to clean up the edges (to prevent water penetration routes) the raw metal was primed. After dinner Angela came to help me hold the windows in place as I screwed in the retraining frames. I applied the sealing foam strip on the first window and in it went - no problem! But... I then realized that they had not sent me enough of the foam strip sealer to do all of the windows. UGH! So the small window is in but there are two rather large 37"x25" gaping holes in the sides of Redford with no windows in place. I contacted the company to let them know my dilemma and I'll see what they say tomorrow. In the meantime (even though the van is not drivable) I can start working on the subfloor tomorrow. I also heard back from the tank manufacturer. The price quotes for the tanks are coming in higher than I budgeted by 25% but that is easily manageable overall so I'll get them to go ahead with production. The Ford Transit has predetermined locations for the windows with imprints built into the sides of the van. Today I screened off the area where the cutting will be taking place to keep the metal dust and tiny metal bits from the nibbler (being used tomorrow) from getting everywhere. The double sided tape was awesome (I saw a guy on YouTube use it to hold up a garbage bag to catch metal bits when cutting for his Maxxair fan install). For about $5 the roll was enough for installing the two Max fans the other day and all of the tarp shown below. I used a Dremel Sawmax with a metal cutting disc to cut the ribs. I can see why the professional guy (in Quebec) that I watched on YouTube used a high speed air tool and disc. With the Dremel all of the sparks were concentrated into the cutting area due to the protective guard - this made it quite difficult to see where I was cutting. On the other hand when I watched the pro do it he had LOTS of sparks flying into his face. I only had a few... All the ribs are out and tomorrow I do some practice with the nibbler! As we are trying to reduce the heat penetration in hot weather and heat loss in cooler weather different layers of insulation are going in. The first layer is virtually finished. Hushmat and Noico have been installed on most of the outer metal surfaces. Because we have the solar panels and deck on the top of the van I was mainly worried about sound deadening up there so that's where the Noise foam went (although it will also provide a thermal break.) The Hushmat I stuck on the exposed high sides of the van and I'm hoping it will prevent some heat radiation. On top of those materials will be a layer of Thinsulate that I will start gluing in after the windows are installed. 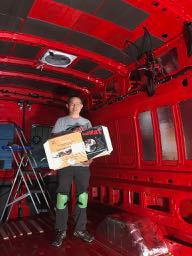 Today the black and grey water system design was finalized. With a model in place for each of the tanks, I was able to plan out how the tanks would drain while making sure there was still enough room for ground clearance. As it turns out here are the final specifications: -Black tank: driver's side, 29 gallons, 9" ground clearance, 3" exit from rear to drain system -Grey tank: passenger side. 25 gallons, 9.5" ground clearance, 1.5" exit to drain system -There is a 1/2" drop from the grey to the black tank to allow for gravity flow. Both tanks will join into a Valterra T80 double valve with pull valves facing straight out the driver side for easy access. I also got the vent tube cut and checked its placement relative to the roof vent; all should work. Tomorrow I'll take the models out to Abbotsford to get a price estimate on making the actual tanks. I'll also start prepping the inside of Redford for the 3 windows being installed. The next job to complete is ordering all of the water (fresh, grey, and black) tanks for Redford. The black tank will be installed on the driver's side and the grey will go underneath on the passenger side. I made a small modification to the muffler heat shield on the passenger side by bending the horizontal flap downwards. I'll also install some heat shield directly onto the side of the tank after it has been installed. I was trying to figure out how to make a tank that would optimize the space. I came up with the idea of using individual cardboard boxes (12"x10"x8"). By taking one box, I could slide it along the cavity I wanted to use to see what the clearances were like. Once I determined the best dimension to fill the space, I created a stack of boxes by taping several together. On the passenger side this allowed me to locate one particular cut out and also check about the drain pipe location. The black tank on the driver side will be a bit simpler in that no cutouts are needed. Both will be trapezoidal prisms. The black tank will be 12" wide (a stack of 6 boxes) and the grey can be longer (a stack of 7 boxes) but only 9.5" wide. Each tank will hold about 26 gallons of water. I'm taking the model to a tank manufacturer tomorrow to see how much it will cost to build - but this is a common process for people who make boats as they are always trying to optimize space utilization. Our fresh water tank will be located inside the van in the back of the passenger side behind the wheel well. That tank will be about 40 to 45 gallons in size. I'm very pleased that the roof has been completed - assuming that everything is waterproof. We'll take it out soon to drive in the rain or at least spray water from a hose all over and from different angles. My fingers are crossed for no leaks! The deck will be handy for when we need to wash to solar panels and it will also help to keep the roof of Redford a bit cooler. It's certainly strong enough for a few people to sit up there but there won't be any dancing parties (not strong enough and we don't want anyone falling off...) Here images taken from the front and rear of the van. The notches are hand hold slots to make it easier to climb onto and off of the roof. I'm happy with the progress this week. The roof is almost finished. It's definitely not the easiest place to work! The first few days being on the roof was tricky. You can't just stand or walk anywhere as the metal is quite thin. So plenty of awkward positions for extended periods of time - kind of a weird "van yoga." The last couple of days it has been: up the ladder, down the ladder, secure the ladder, unsecured the ladder, move the ladder(s), vacuum, vacuum again... All of the roof holes are finished and filled with the fans, wires, and vent. The solar panels are placed and screwed down and the cell phone booster installed. I tested things today and panels are generating the correct 60 volts and my cell signal went from one bar to three (yay!) The deck boards have been fitted and cut, predrilled, and stained; they will be ready for mounting tomorrow. Besides all of the cleaning up of the metal bits on the roof, the only remaining thing is to zip tie the wires to the beams and the roof will be finished. Then I have to spend some serious time on the other side of the van - moving from the roof to underneath! I have to build models of the tanks for underneath and get those ordered. Things do take longer than planned. I was thinking it would be "simple" to screw in the mounting frames for the fans and then install the fans... After drilling pilot holes I went to put the first screw in - despite using the lowest torque setting on the drill, the screw tore the sheet metal - ugh! Angela's dad Joe, suggested I use bigger screws to bite into the metal. Another 20 minutes searching for the right stainless steel screws (at least we have a supply on hand thanks to nephew John!) I also decided to do it by hand. I could totally feel the difference. I could tell when the screw was entering the pilot hole and also when it was finally snug. From now on if I'm going into sheet metal, I'll always do it by hand with a screw driver. Redford got its first bath today too as I had to wash off all the metal bits after the fan install. Yesterday I had painted out the solar panel brackets and screws in black so that things would "look nice". I'm just trying to decide what type of material to use for the roof deck. In the photos below, the "L" shaped space on the back right will be a sitting deck. Also still to be done on the roof are two entry glands for the wires (solar, cell booster, awning LED) and a vent for the waste water system. Yesterday I went to plan for the fan installations but I had to replan the roof layout because either a van rib was in the way, the rack holes didn't line up right for the solar panel lengths, or the possible space wasn't in the right place. So after lots of rethinking and testing layouts today I was able to cut the two holes and glue the spacers in place. The interior space was fine tuned and I have that taped out on the floor. By switching the locations of the fridge and washroom we gain 2 inches of floor space because the fridge can be inset into the window frames in the van. Spent some more time under Redford to consider grey and black water tanks too. The swap works better for the grey tank as well. The van is quite large and the beds are going to be a bit longer than originally planned (although we are not tall people!) Tomorrow I'll finish the installation of the fans and look at the other roof openings (entry gland for solar panel, cell booster, and awning light cables and also for the water tank vents.) |
AuthorCalvin here - after spending almost 33 years in education as a high school teacher, elementary teacher, and elementary administrator, it was time to retire! I did so happily and with no regrets; it was a terrific and fulfilling career. I do enjoy building projects as the design and building process is very therapeutic and you see a completed functional product in the end. Now to combine the build with another of Angela's and my passions - travel - is something we're really looking forward to. Archives
September 2022
Categories |


 RSS Feed
