|
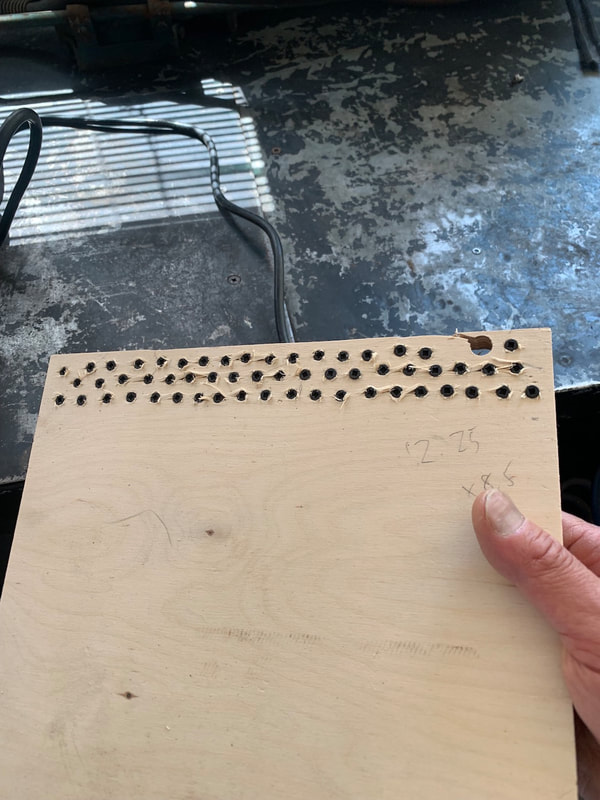
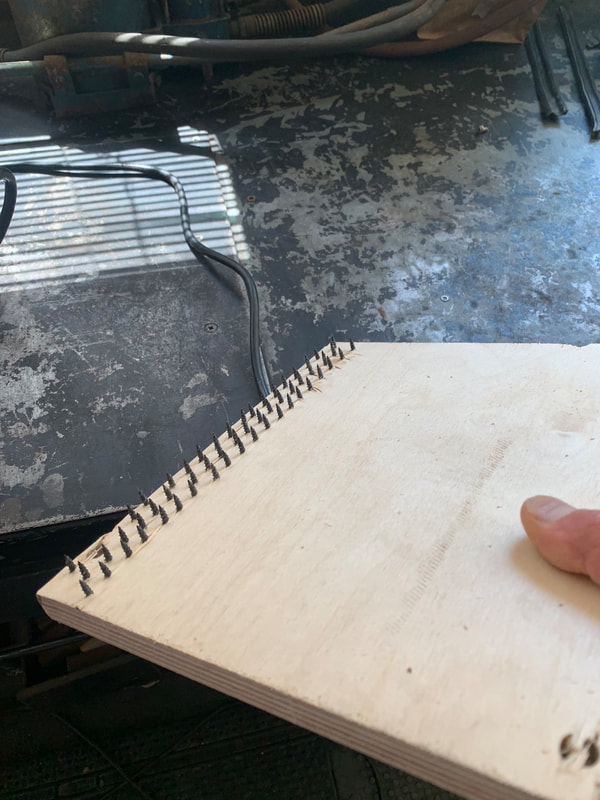
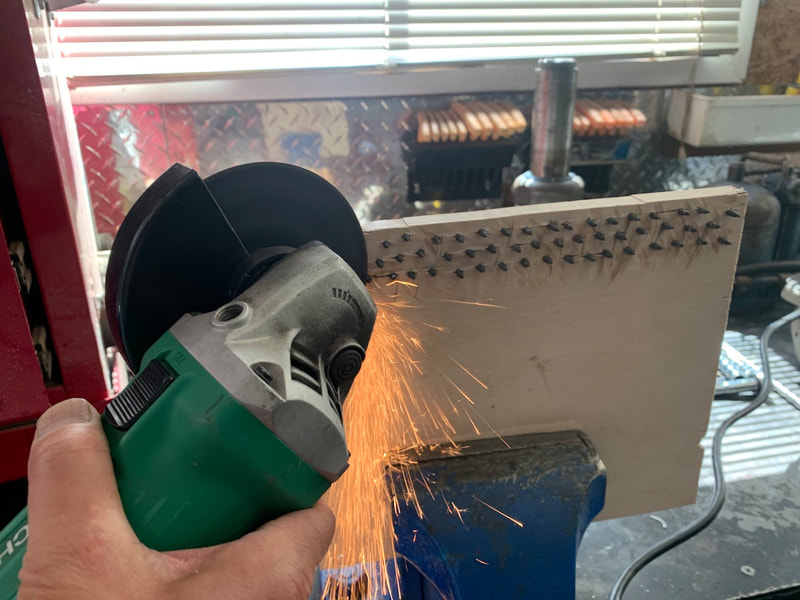
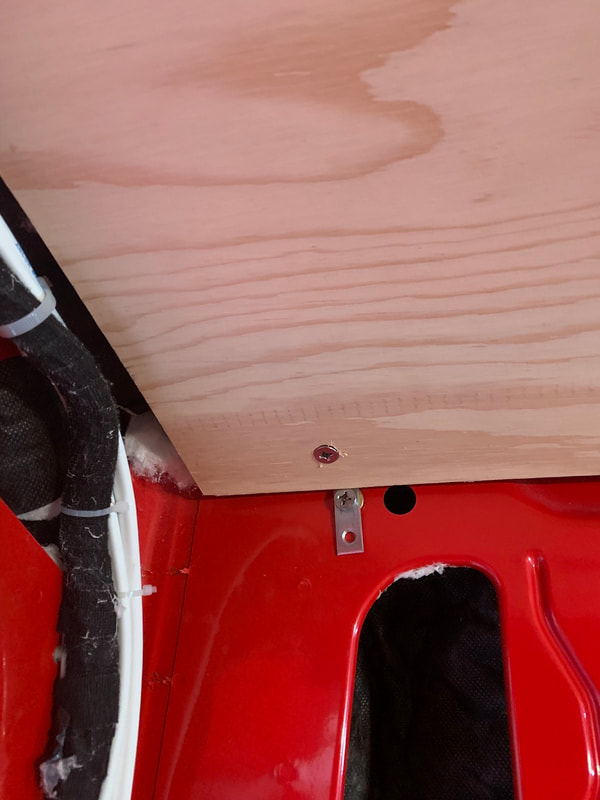
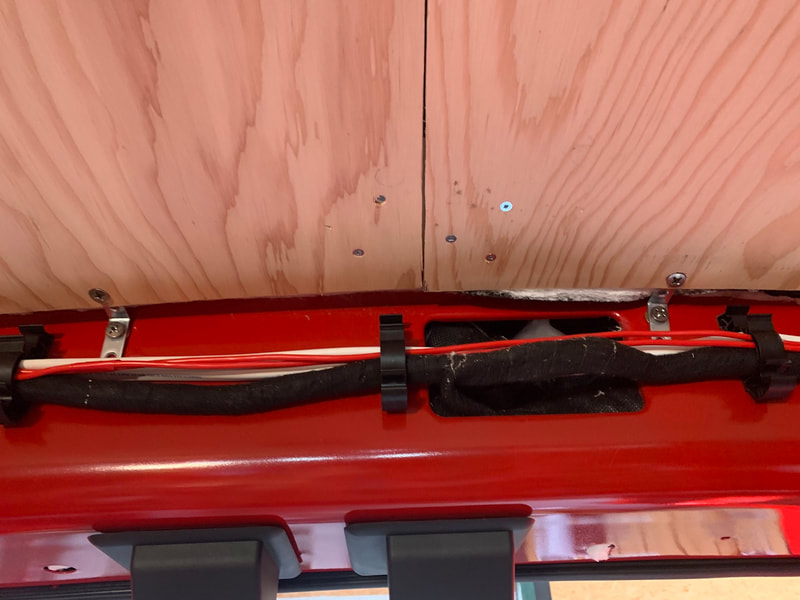
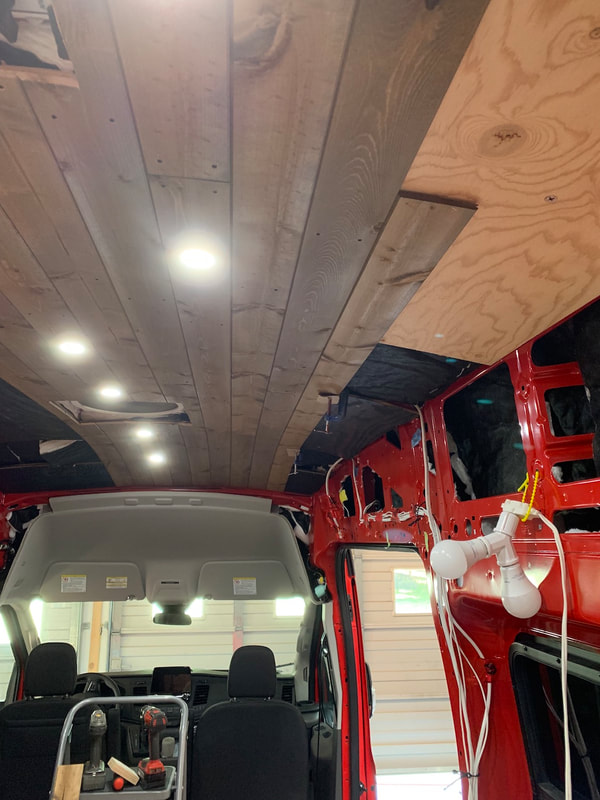
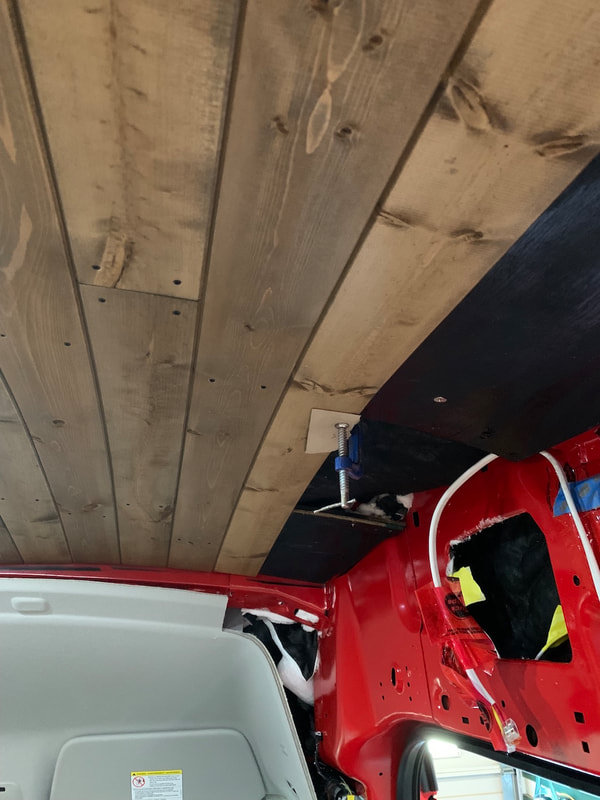
After more consideration, I decided to modify the trim screws for the ceiling. I really didn't like the idea of piercing a wire with a screw when attaching the tongue and groove to the backing plywood. The mod wasn't really hard to do although it did take over an hour to complete. I screwed a pile of 1" #6 trim screws into a scrap piece of 5/8 baltic birch plywood until the head was flush with the surface. Then I used an angle grinder with a metal cutting disc to shear off the ends of the screws. I touched up the ends with a grinding disc in an angle grinder and then removed the screws from the wood. Now I had a bunch of 5/8" long trim screws. I know what you're thinking - "How are those going to go into wood with a flattened tip?!" My plan was to drill an appropriately size hole (3/32") and counter sink for the screw head. Because of the pre-drilling and counter sinking, my hope was that the threads would still bite and allow me to secure the tongue and groove to the plywood. It worked! :) I replaced almost all of the screws I had used yesterday with the modified screws and continued with installation. In the front of the van where there is a large curvature and either some space behind the tongue and groove or some thicker attachment points I left the full length 1" screws in place. Also there is not much wiring at the front to be concerned about.
1 Comment
Carol
8/8/2021 03:44:11 pm
OMG you made your own screws! Grandpa Yen would have been proud 🥲
Reply
Leave a Reply. |
Details
AuthorCalvin here - after spending almost 33 years in education as a high school teacher, elementary teacher, and elementary administrator, it was time to retire! I did so happily and with no regrets; it was a terrific and fulfilling career. I do enjoy building projects as the design and building process is very therapeutic and you see a completed functional product in the end. Now to combine the build with another of Angela's and my passions - travel - is something we're really looking forward to. Archives
September 2022
Categories |
 RSS Feed
