|
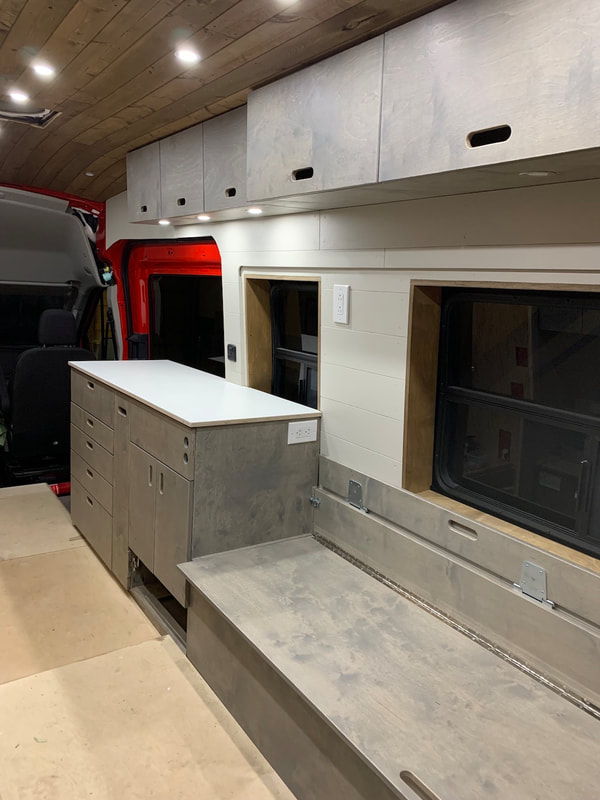
Contact cement sure is smelly stuff. Thank goodness I have a mask that works to filter out solvent fumes (I also wear it when cutting the plywood so I don't breath in the dust.) I cut the laminate sheet and found that after I had cut only to the rough dimensions that there was loads of laminate remaining (it was a 4'x8' sheet and we only needed 22" x 59" for the oversized rough working piece.) I decided to leave our options open and glued laminate onto a couple of pieces of plywood that might act as our Lagun mount table and a piece for the drop down table on the back of the kitchen cabinet in the sliding cargo door area. Then we can decide if we want just straight plywood, laminate, or something else. For the glue process using contact cement: getting an area set up, collecting supplies, pouring out most of a can of cement into the roller tray, buying a special roller for adhesive application, etc., I wanted to take advantage of this opportunity as it wasn't much more work to do two more pieces. It also gave me some learning experience... When applying contact cement with a roller (much easier than with a brush - I was doing that too for something else) do not go back and forth with the roller and cement. Only dip and then roll in one direction to spread the glue, lift the roller to come back, then press down and roll forward again. On my "practice sheet" I found going back and forth like you do with paint, the cement goes goopy, starts to set, and makes globs.
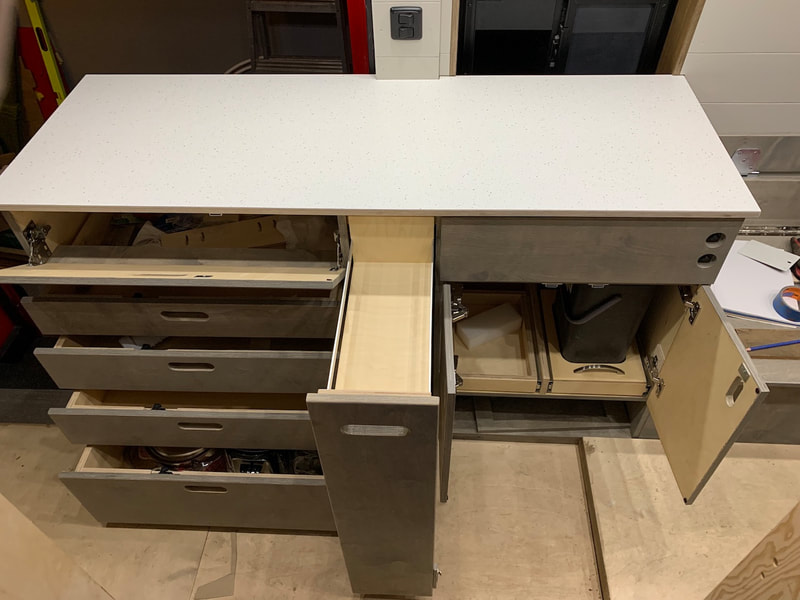
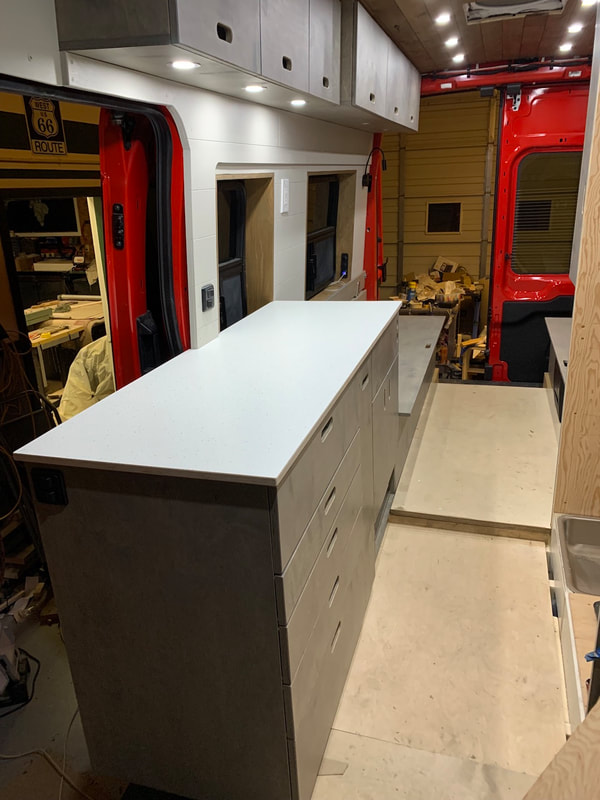
After dinner I was able to get the countertop cut, test fitted, and then did the final cut and routing. Tomorrow I will cut out the openings for the induction cooktop and sink and drill the hole for the faucet. I was thinking about drilling from underneath to transfer the cooktop and sink cut lines when Angela had a MUCH easier solution and asked, "Why don't you just trace it from underneath...?" Duh! (Thanks Ang!) Angela and I both though the laminate had a tiny bit more grey flecking in it than the small sample we had but we are quite happy with that.. Of the two samples that we liked this actual piece was a good blend (but still closer to the lighter one) of the two. I did a test on the foam blob that covers the airbag in the rail above the driver and passenger doors. I had tried using the regular (but excellent quality paint we had left over for some house painting which has been used on the wall panels) to see what would happen. The paint flaked and chipped off. Yesterday I bought a spray can of grey primer that said on the front "bonds to plastic" and gave that a try - yup, it stays well adhered to the foam so I'm going to spray out the blob with that paint and reinstall it.
0 Comments
Leave a Reply. |
Details
AuthorCalvin here - after spending almost 33 years in education as a high school teacher, elementary teacher, and elementary administrator, it was time to retire! I did so happily and with no regrets; it was a terrific and fulfilling career. I do enjoy building projects as the design and building process is very therapeutic and you see a completed functional product in the end. Now to combine the build with another of Angela's and my passions - travel - is something we're really looking forward to. Archives
September 2022
Categories |
 RSS Feed
