|
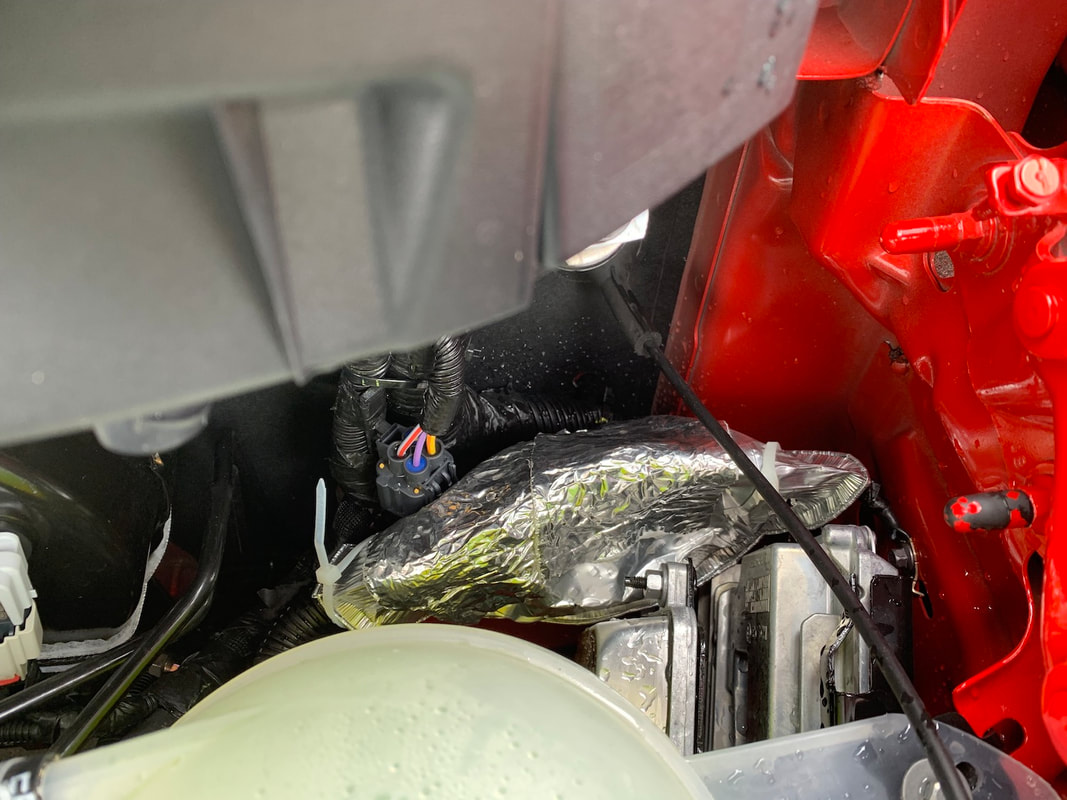
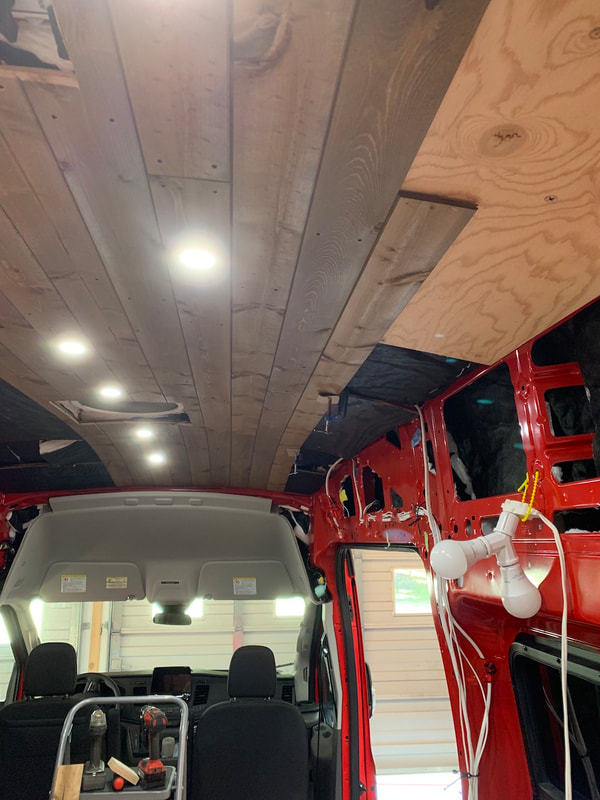
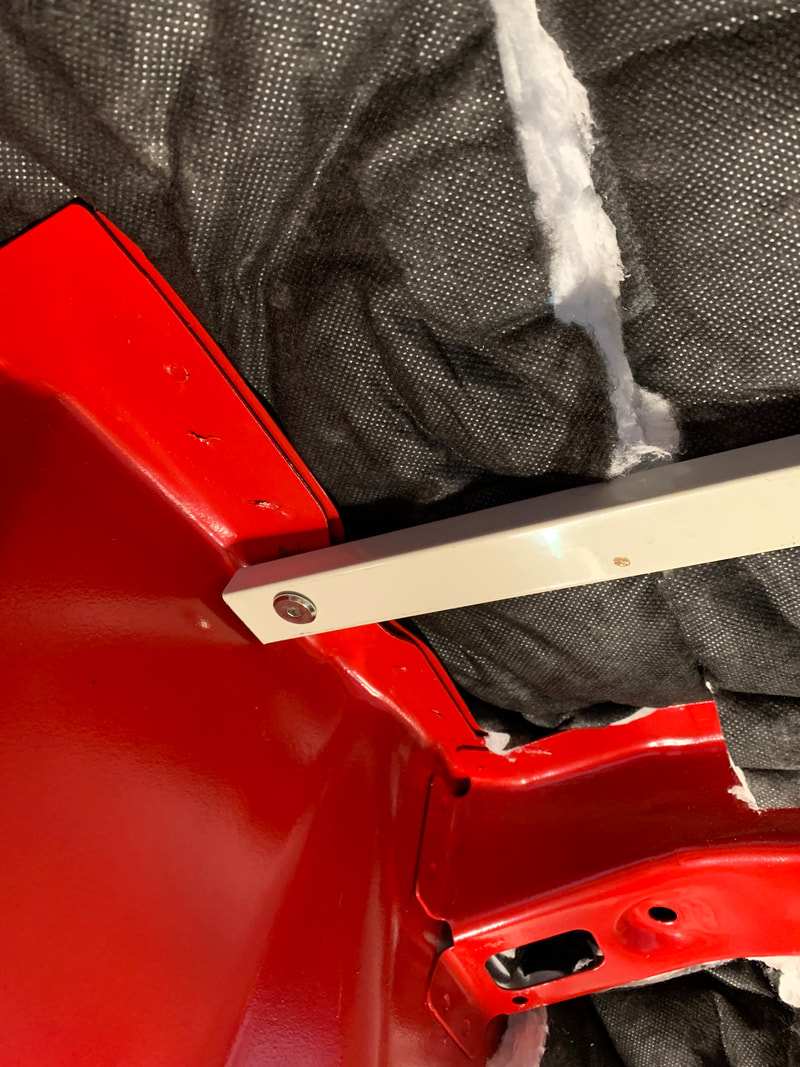
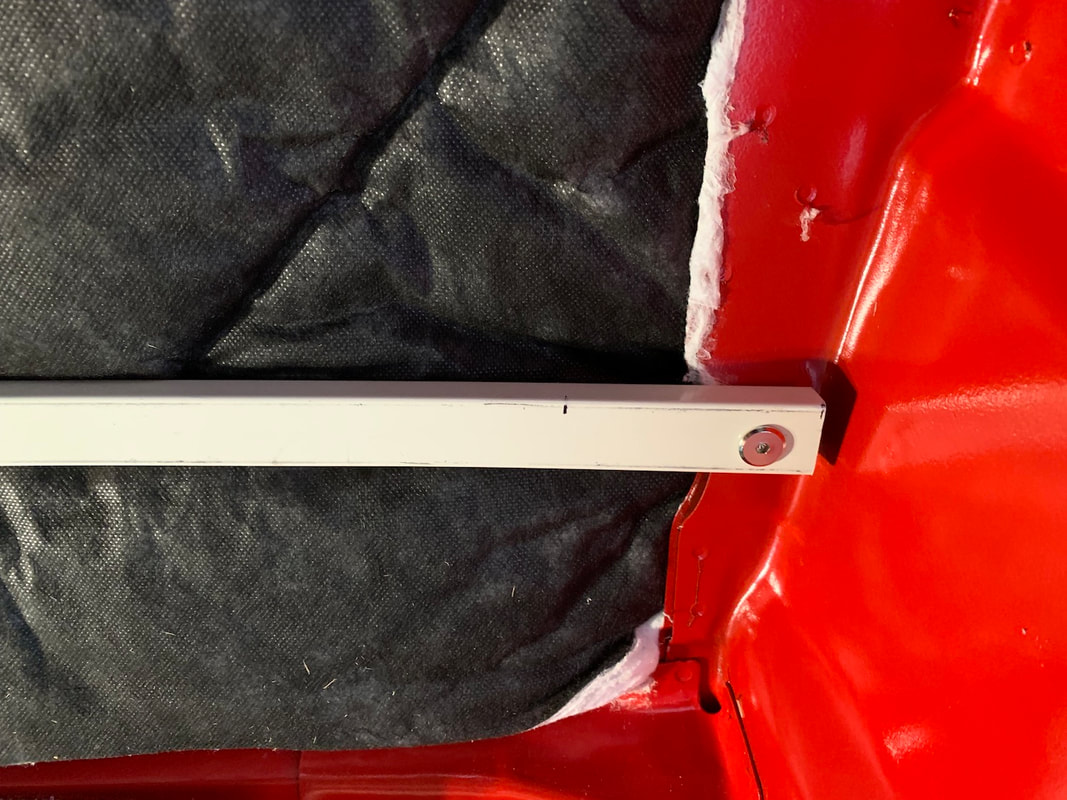
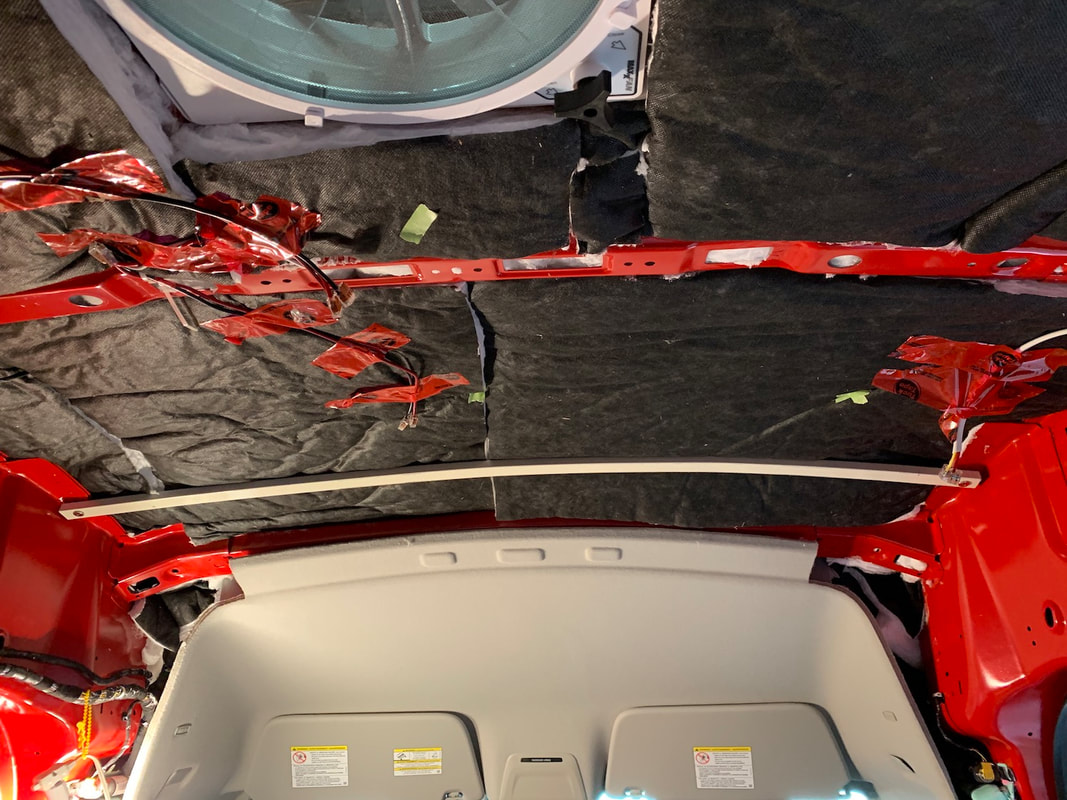
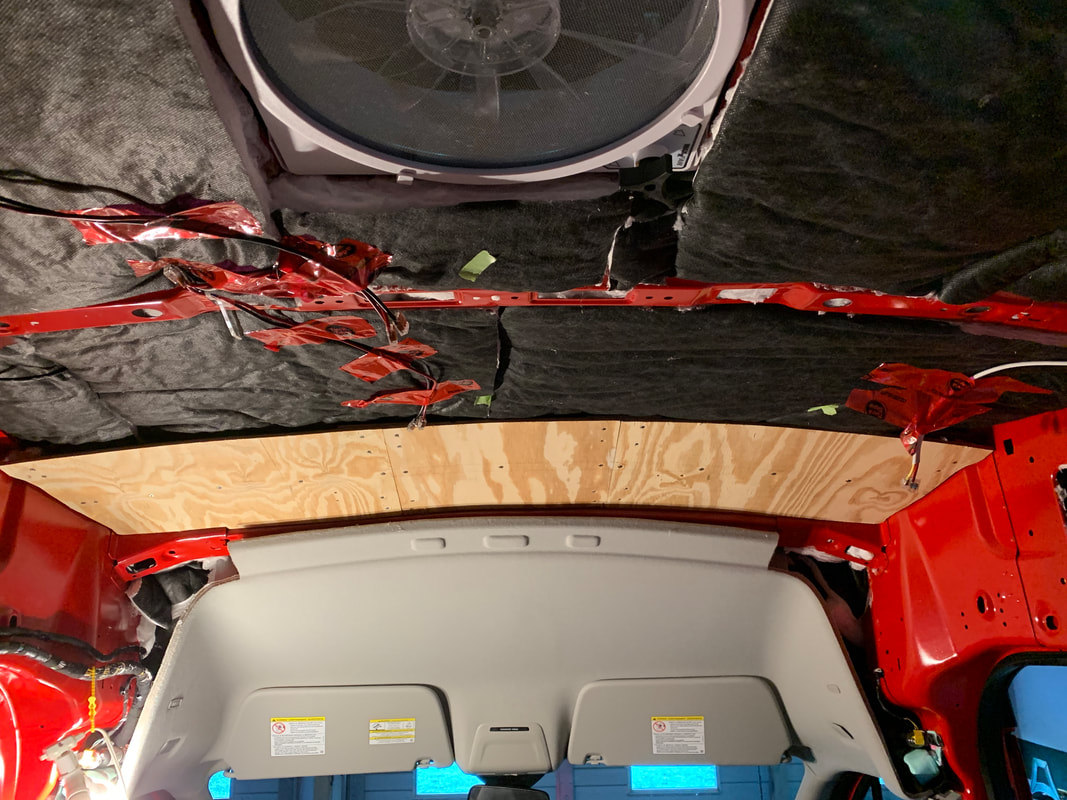
We haven't had rain for over 35 days! Nothing but a heat wave. After revising the vent system for the black and grey tanks I really needed to know if there were any leaks in the roof before starting an installation of the ceiling. Ideally this would meant leaving Redford out in a lot of rain and also going for a drive on the freeway in some heavy rain. You never know where water can sneak in. Go figure that we would be having a record heat and dry period. I did discover a leak in the vent system - I thought the way the external cover gather air and water that it would be funnelled into the vent tube - nope! There was a drip. I removed the ABS pipe going into the stack and used SikaFlex to seal the stack to the vent cover. After water testing as best I could with a hose everything seems fine. (I put toilet paper onto the screws and other pipes penetrating the ceiling to collect moisture - no evidence of any water entry:) However, what I did find was that all the water running down the front of the van ran into the rain gutter below the windshield and funnelled all of the water directly onto the wiring harness inside the engine compartment! The gutter was also very loose and came off. I installed an aluminum pie plate folded in half and covered with some heater duct insulation over the harness. Its zip tied in place. The idea is the shield the harness from the water flow while still allowing air flow over the harness. Hopefully it works! I also drilled hole high up on the loose rain gutter and zip tied that to a wire harness to keep it from falling off the gutter system. The first couple of ceiling tests were unsuccessful. The plywood that was flexible enough to conform to the shape of the front compound curved section was not self-supporting A single piece of 1/8" steel strapping was also not strong enough to support itself (let alone the mass of the wood as well.) The best solution was that I found a piece of rectangular channel aluminum in "inventory" (probably from some old door/window system.) I curved that by rolling it over a large roller (for a table saw to support long pieces of wood coming off the table) until I got a shape I was happy with. I did have to enlarge and align the holes in the roof metal extensions so that I could bolt the aluminum channel in place. I used self-tapping 1" flat head screws to install the pieces of wood across the front ceiling area. This will give me something to screw into when I install the finished tongue and groove 1/4" pine as the final ceiling. Trying to find the right screws to install the tongue and groove planks into the plywood as not been easy. We want something that is 1" long, has a small head, and is the "right colour." Unfortunately, the local Home Depot and Canadian Tire did not have anything suitable. Amazon.ca didn't have what I wanted either. I ended up ordering from Amazon.com and got some 1" black trim screws with small head. Hopefully it won't look too busy.
0 Comments
Leave a Reply. |
AuthorCalvin here - after spending almost 33 years in education as a high school teacher, elementary teacher, and elementary administrator, it was time to retire! I did so happily and with no regrets; it was a terrific and fulfilling career. I do enjoy building projects as the design and building process is very therapeutic and you see a completed functional product in the end. Now to combine the build with another of Angela's and my passions - travel - is something we're really looking forward to. Archives
September 2022
Categories |


 RSS Feed
