|
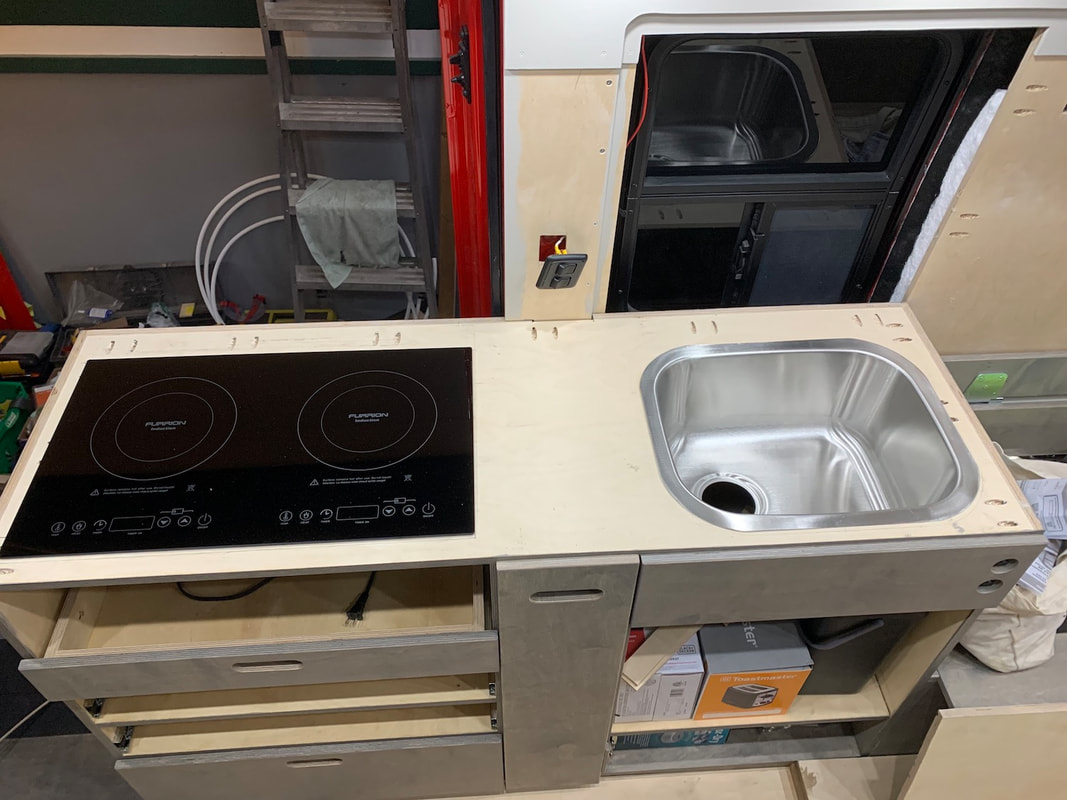
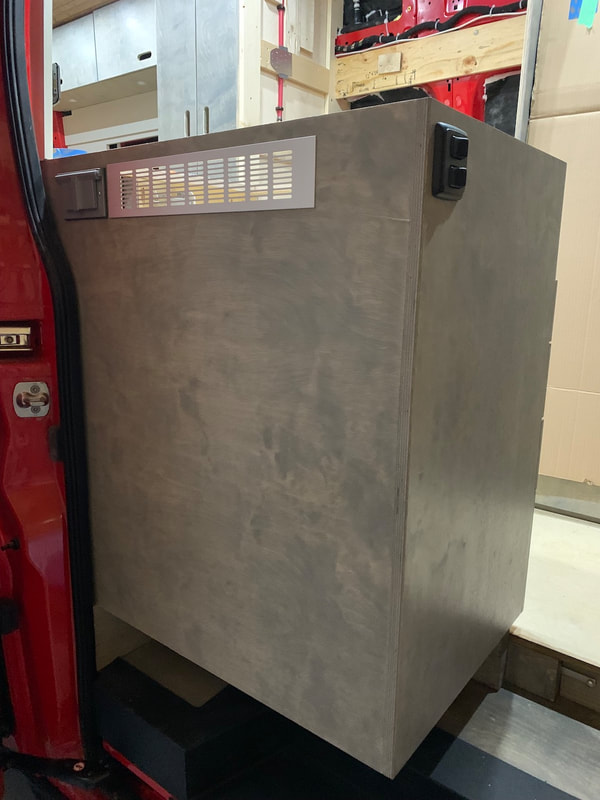
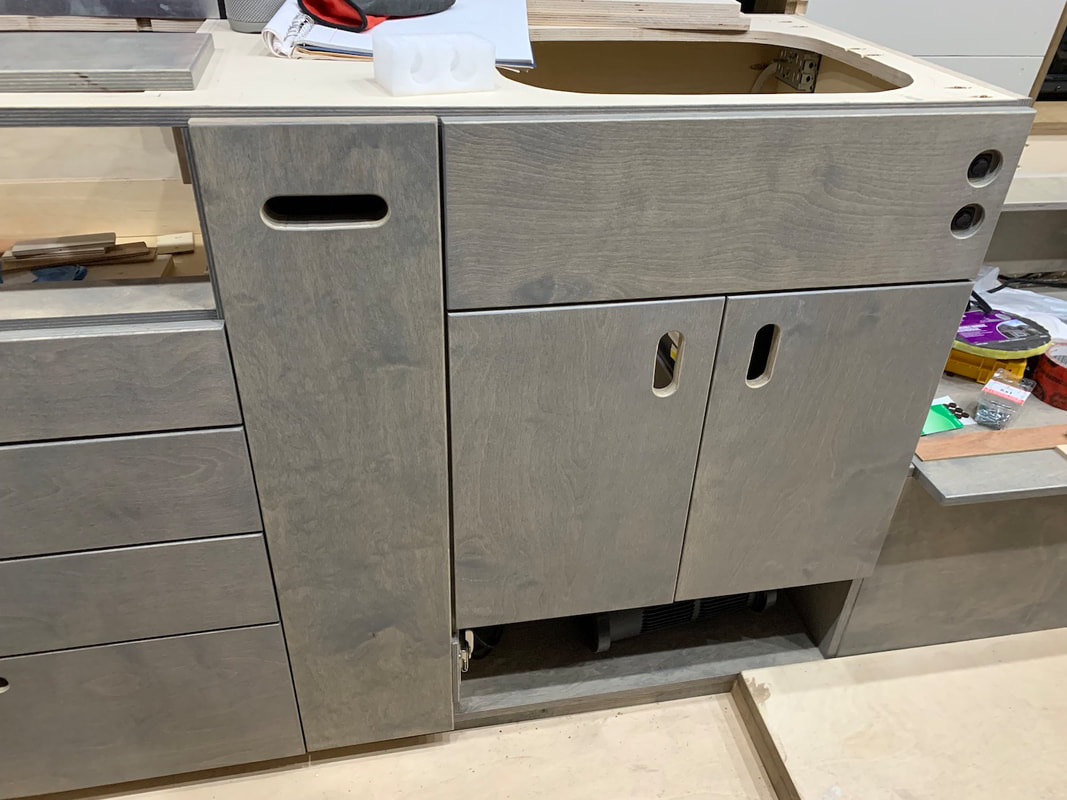
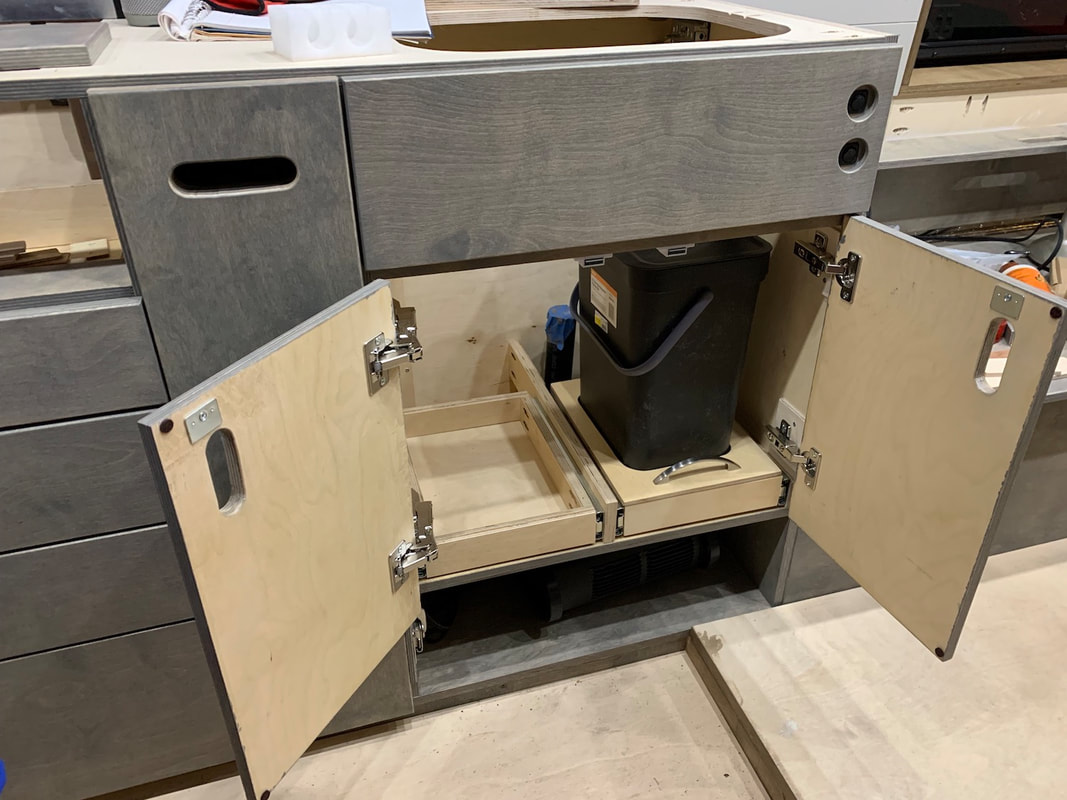
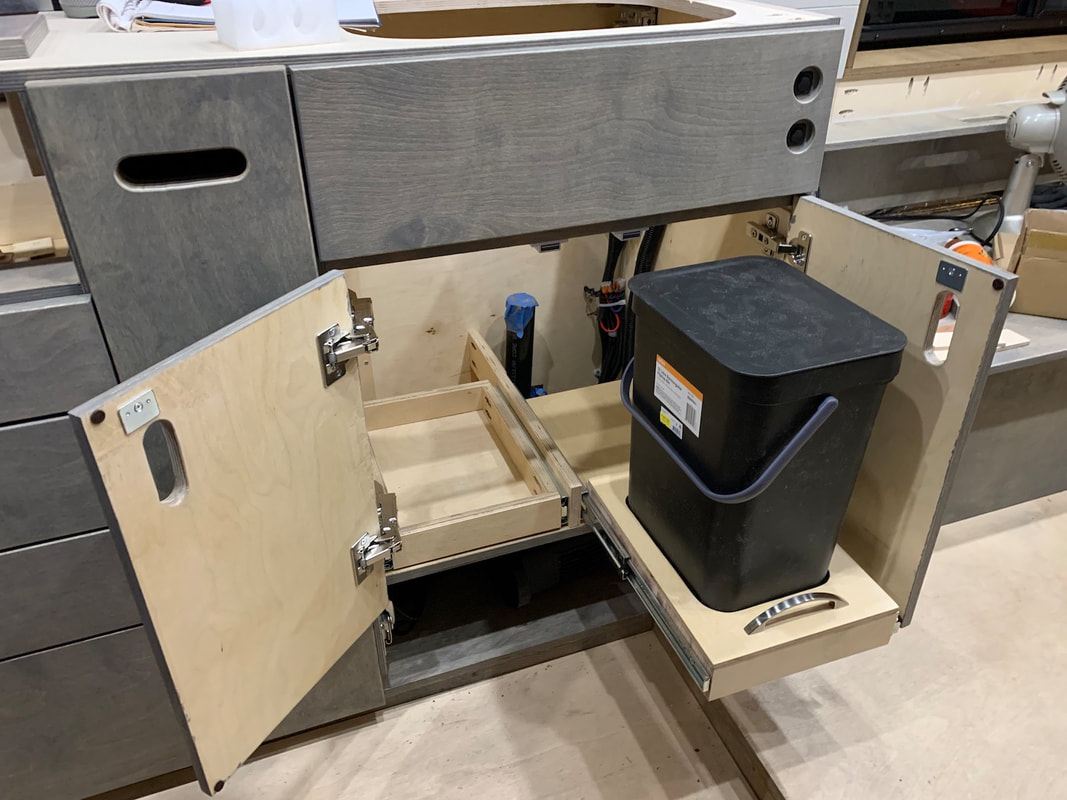
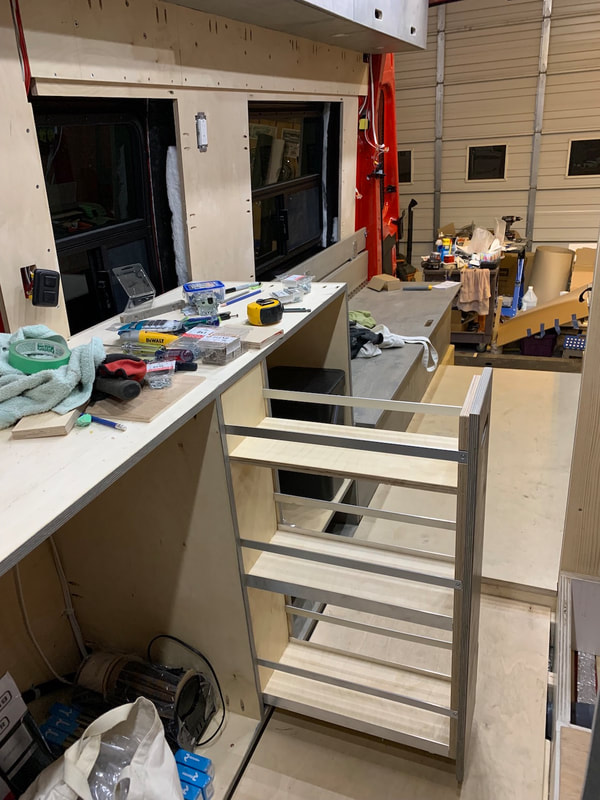
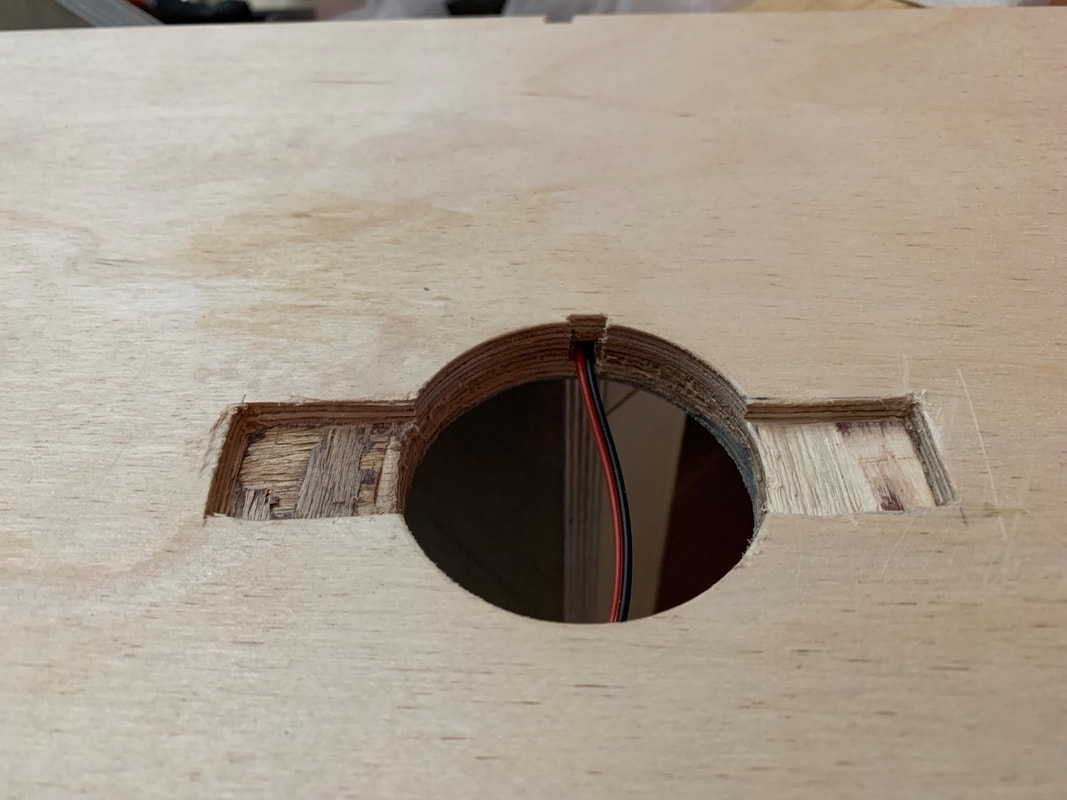
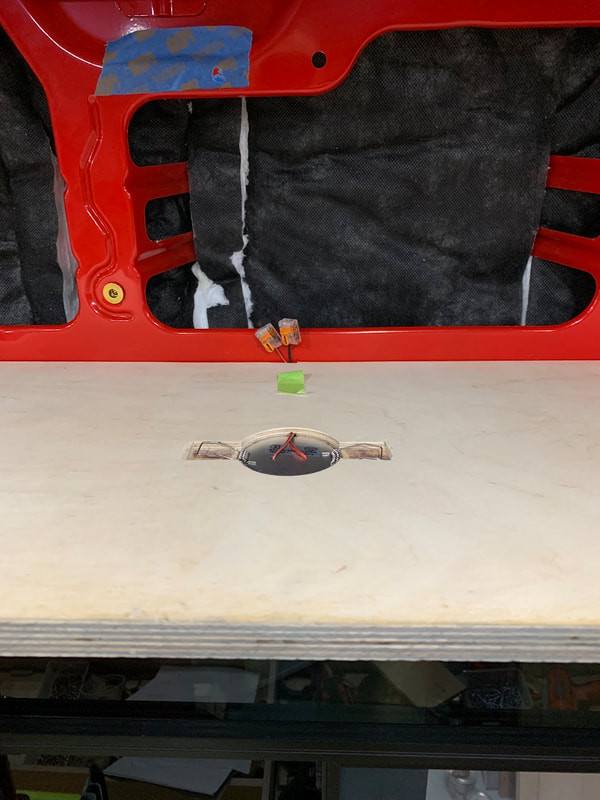
The kitchen drawer side is really close to being complete. All that's remaining to do there is to attach the false front in front of the cook top. I went to Homedepot and unfortunately they don't carry the hinges in store - they have to be ordered online (sigh!) Wiring in the outlet for the backside of the cabinet (for potential outdoor use) was a bit challenging. I thought I had left myself extra wire but there was definitely no extra which made things very challenging for working space. I also gave myself a bit of a scare when I went to test the outlets and was wondering why there was no power (I had tested the wires before beginning to make sure the power flow was correct and all was good.) After checking the outlets and the breaker panel, I realized that I had forgotten to reset the GFCI button on the outlet! Phew (again!) Next item for the cabinet are the slide out trays for under the sink. As there are two cabinet doors, we're going to have a pull out tray for each side. One will be for the garbage can and the other side for the cleaning supply caddy. I finally got going on the window frame for the large window on the passenger side. The window frames need to be completed and installed before I can continue any further with the wall panelling. The frame itself was not a big challenge but the opening for the 12v charging points was a bit of a bother. I had recut it larger a few times prior to assembly to make sure the sockets would fit through the opening. Then I applied the aging compound to the individual pieces before dinner thinking that I could assemble and test fit after dinner. All was good - the frame fit into the space very nicely - but then I realized that one of the three 12v sockets was shorter than the other two and the lock ring would not be able to secure that socket. More cutting... (a few times.) Eventually I did get it to fit into the frame.
0 Comments
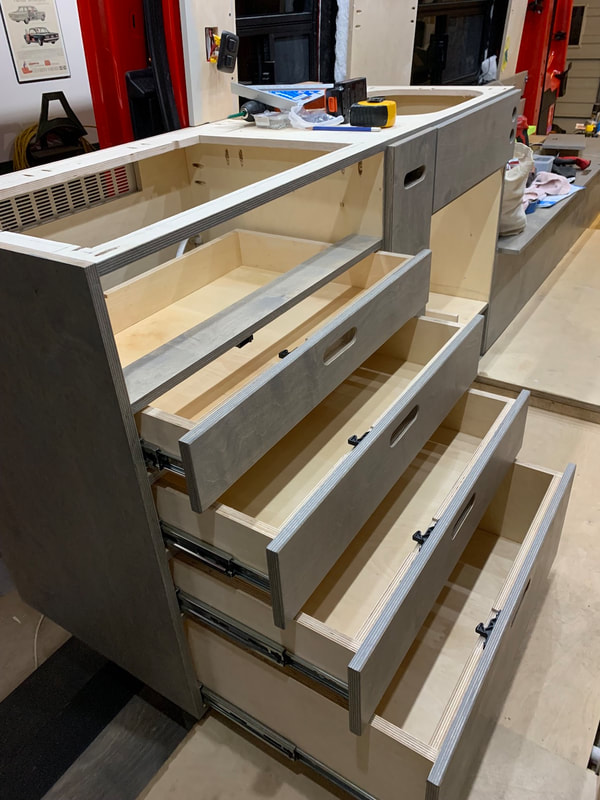
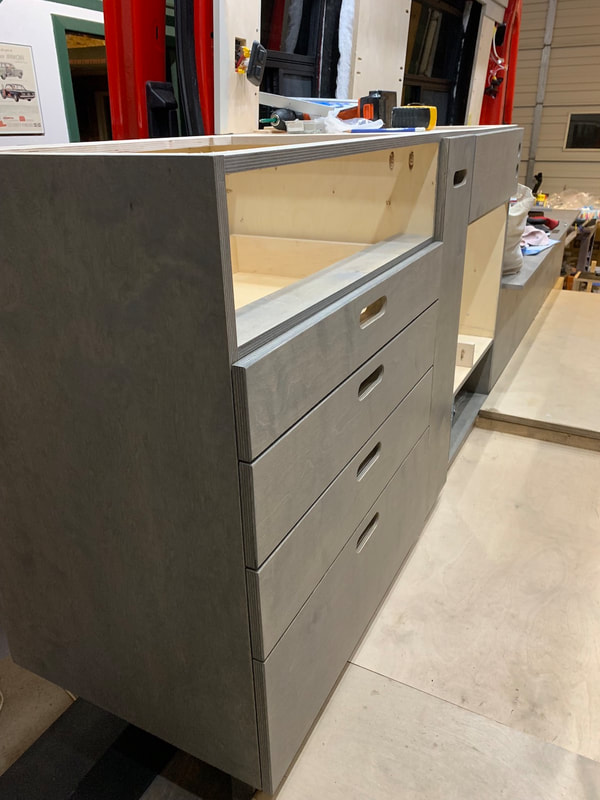
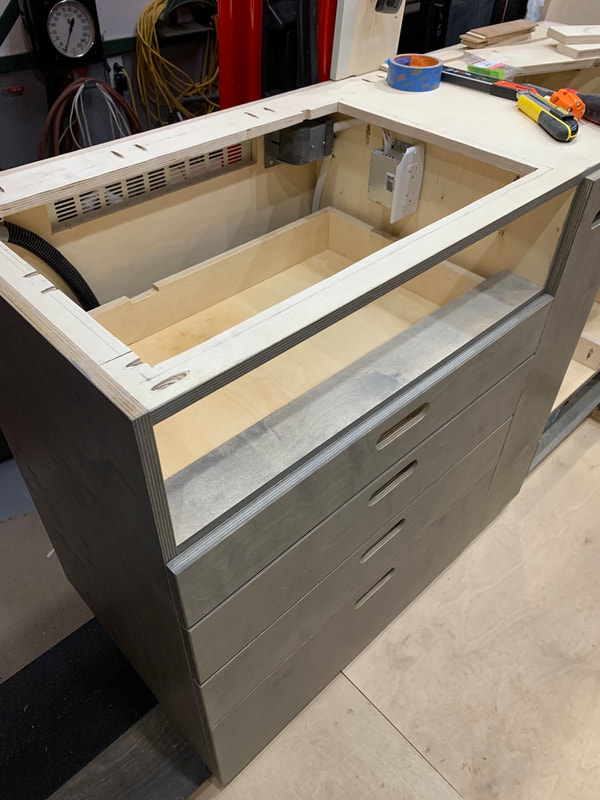
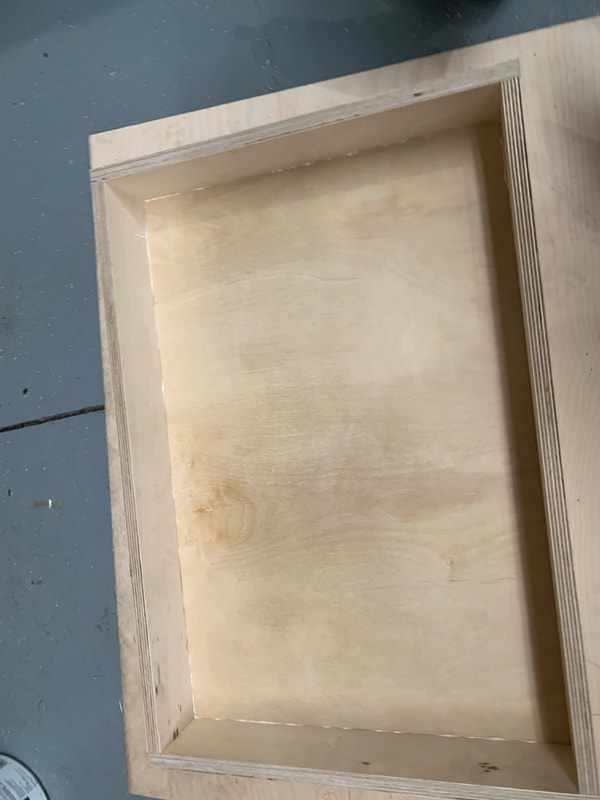
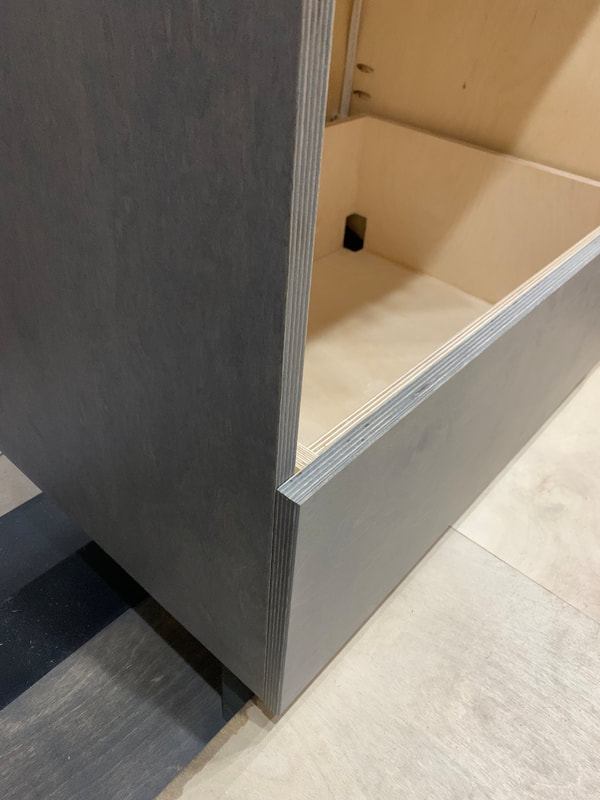
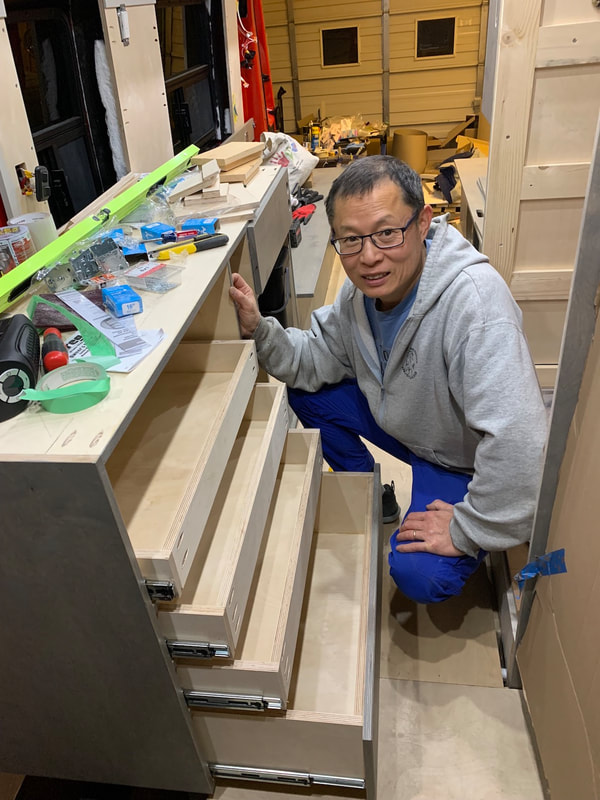
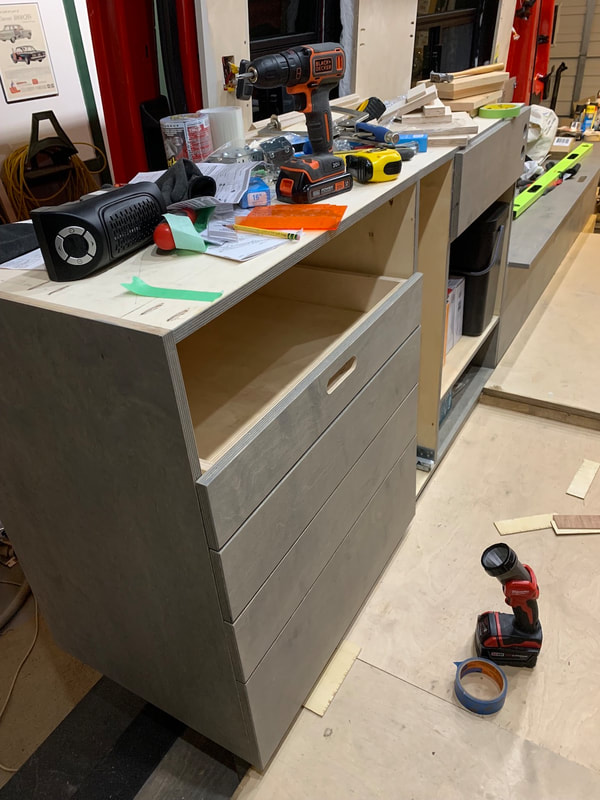
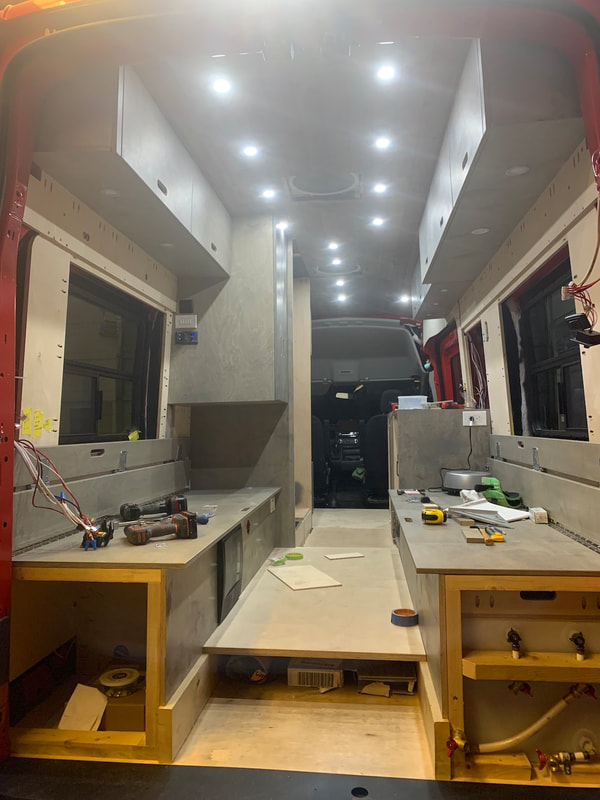
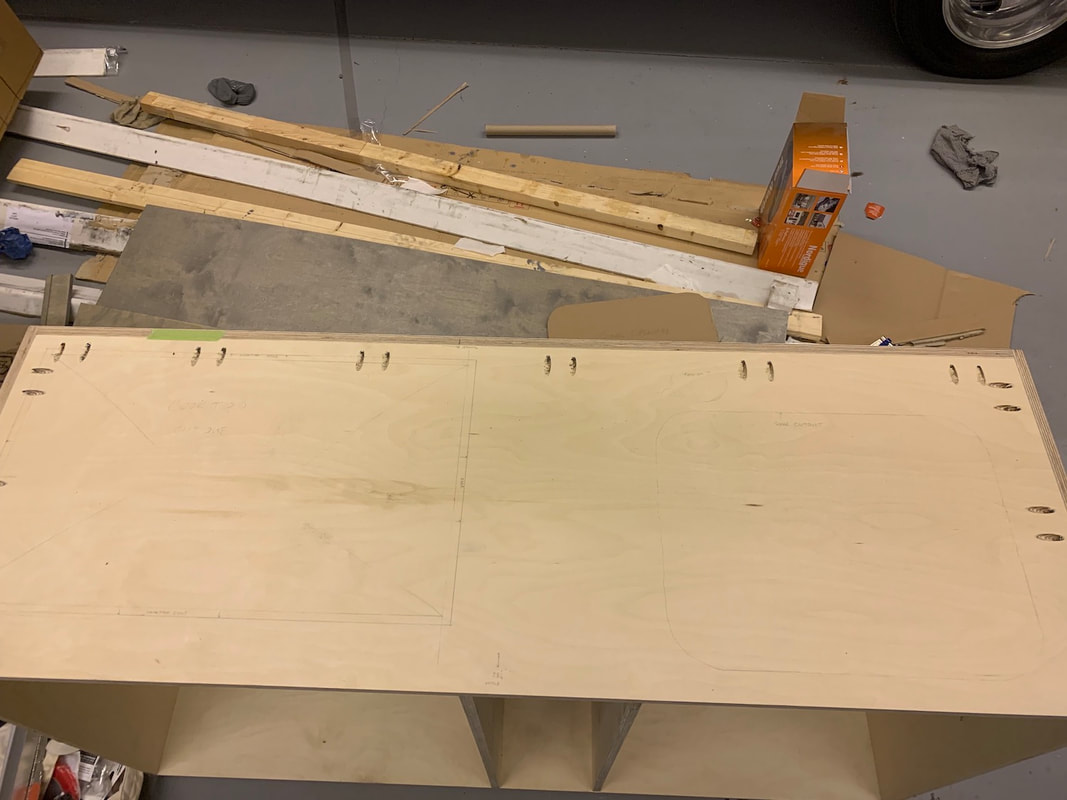
Work on the kitchen cabinet continues. After visiting three different kitchen cabinet and counter top suppliers in Langley, I was not able to find a supplier for Corian solid surface material besides a big box retailer. The price estimate came in much higher than what we think is reasonable - and we wouldn't even get the cut out waste material from the cooktop and sink cuts. We'll probably end doing a laminate on either plywood or a pine board shelf. We had considered doing a wood countertop (which we see in many vans and it does look really nice) but we think it has a couple of drawbacks. First, when we've looked at vans with wood counter tops, after time, the wood splits or shows excessive wear. Second, we already have sooo much wood in our build. The cabinets, ceiling, and floor all show wood grain and earth tones. We felt the Corian would have helped lighten/brighten the interior. Laminate will do the same. So one more job for me to do - but at least I can cut and finish the counter myself. Lots of work occurred yesterday when I built all of the cabinet drawers and installed the boxes on rails into the cabinet. Today I only got a few hours to work after dinner and did some tweaking of the drawers with their finished wood faces. Boy, building and installing drawers is really fussy work. I had never done it before and trying to get the faces to line up properly with the cabinet frame was exasperating. In the end I think I have them reasonably well aligned. The last finish for them will be hand holds and then South catches. It will be the catches that will pull the drawers tight so that everything lines up nice and tight. Spent the entire afternoon picking up leaves today... and that was only about one quarter of the leaves! So plenty more to come down and plenty more to pick up. I continued to work on the kitchen cabinet and the false front for the sink area was probably the most challenging thing I've done yet. If something could go wrong, well it went wrong. In the end, I was able to repair the mistakes and accidents but it was a bit frustrating. I had mentioned previously that working in a van is the "gift of small spaces" but this was magnified today. Even though I tested the length of pocket screws and holes (and the test went fine) a screw still went astray and punctured the side of the panel - in a highly visible area (right on the edge of the panel that faces the dining area.) Arrrgghhh! After several hours (all while picking up leaves) I was able to repair the edge of the panel so the mistake is not longer visible. I've also installed the first of the wall panels (pictures of that tomorrow.)
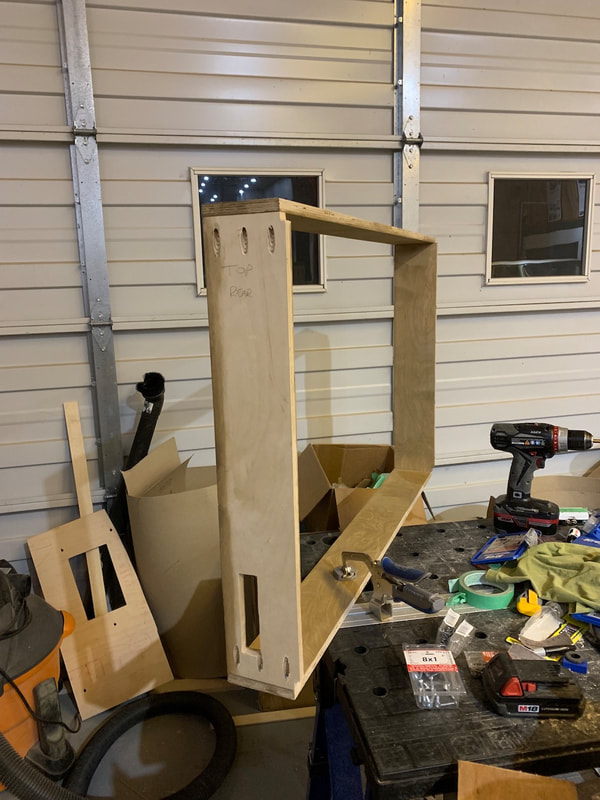
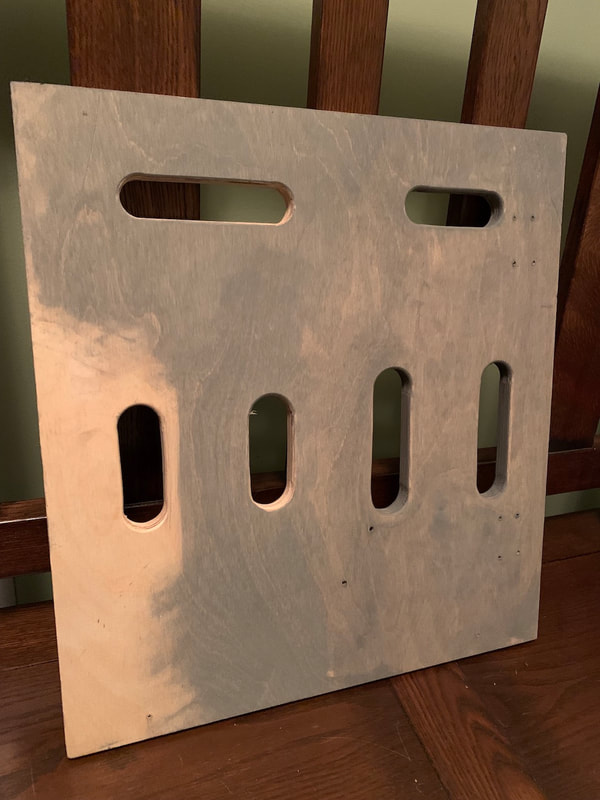
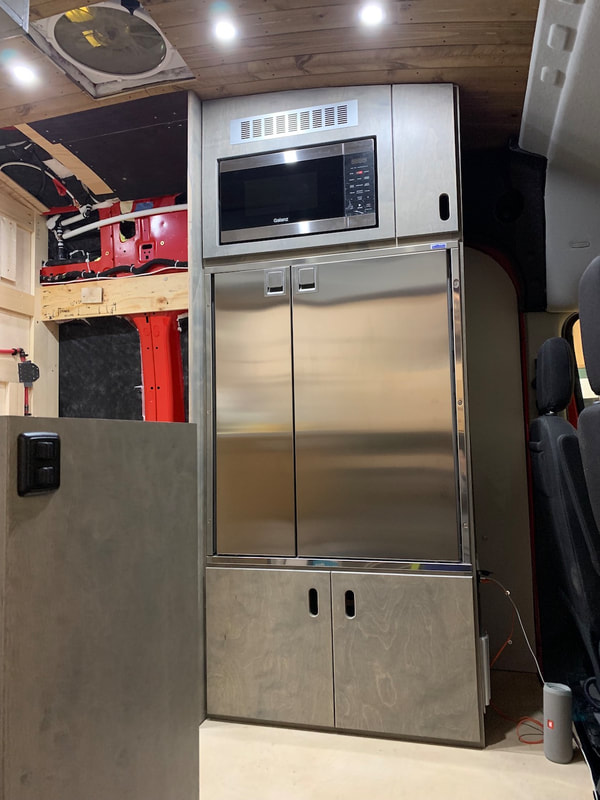
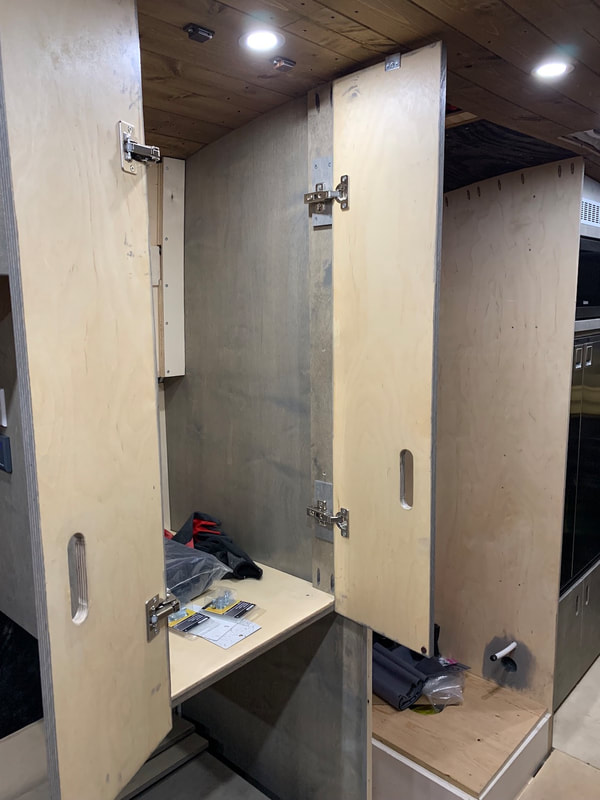
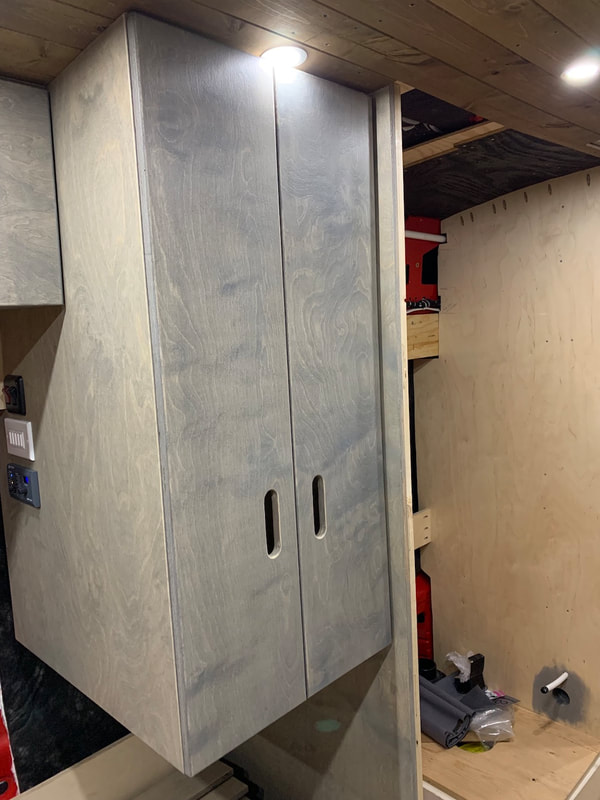
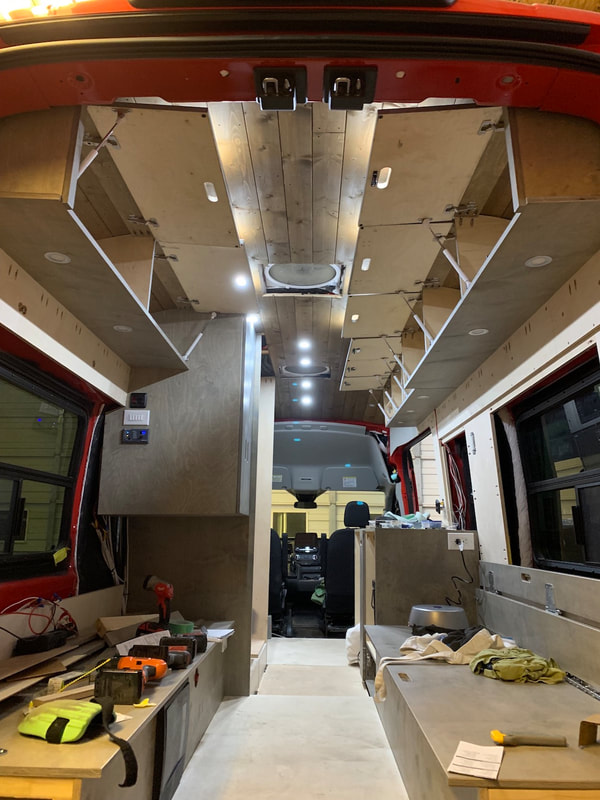
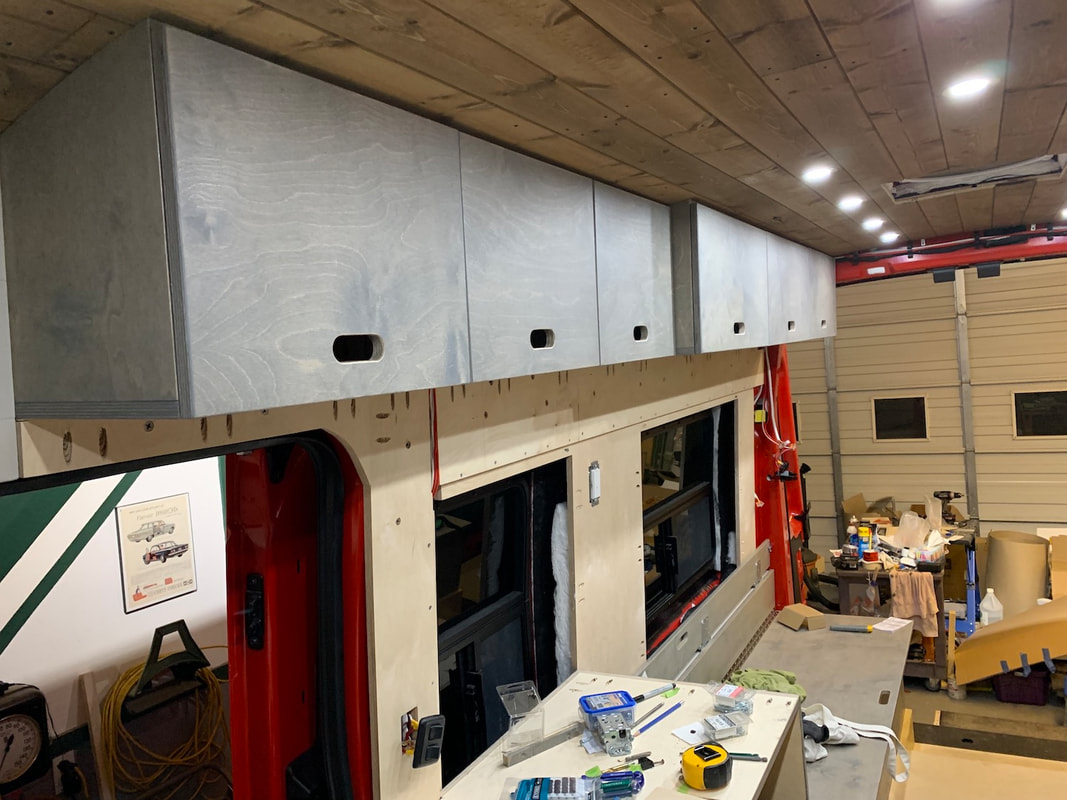
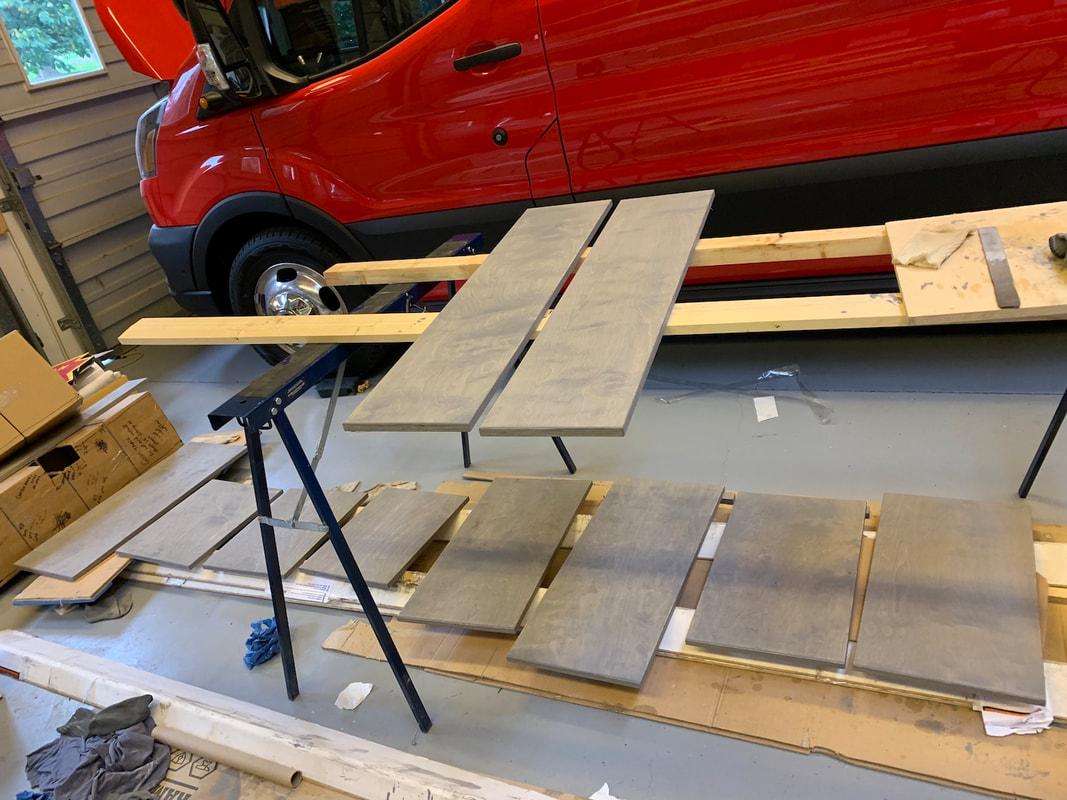
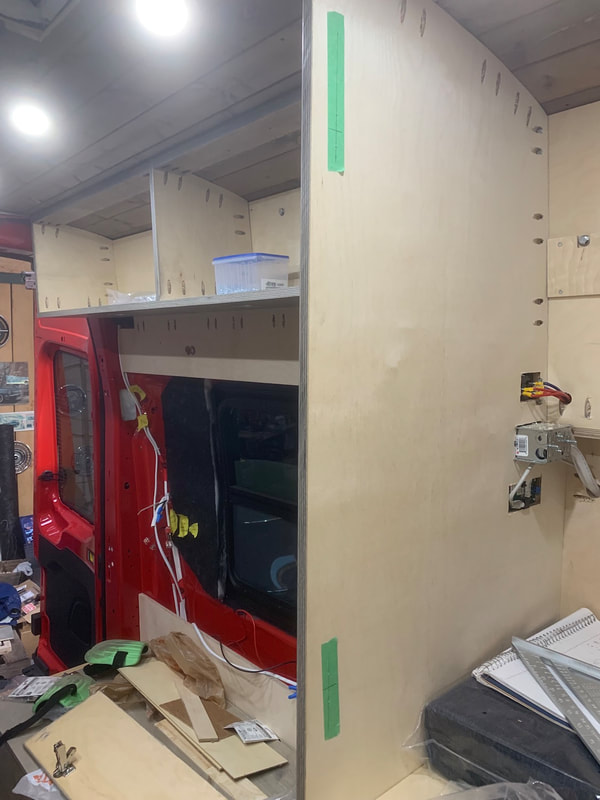
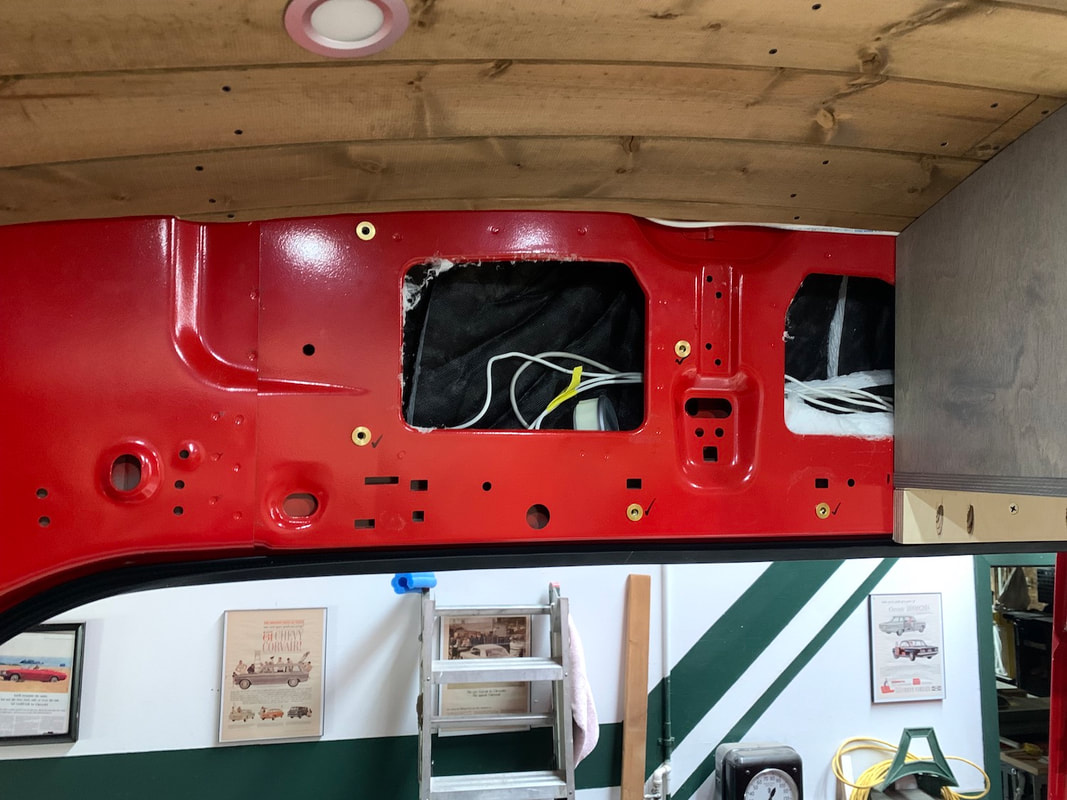
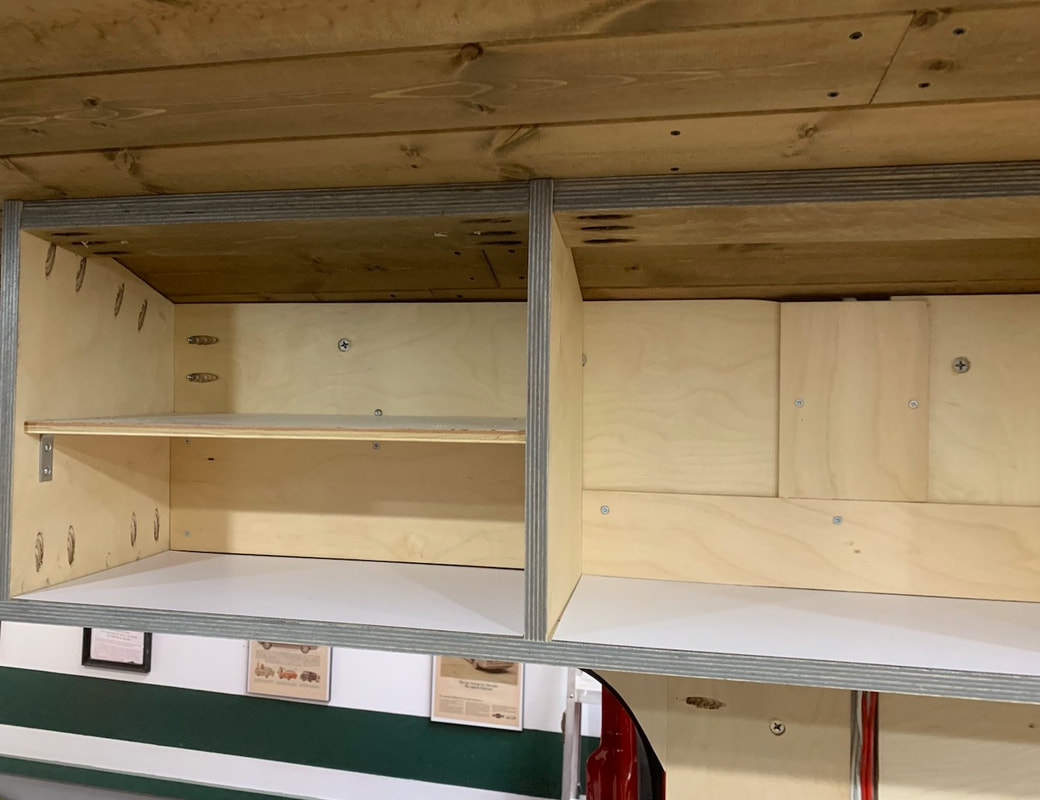
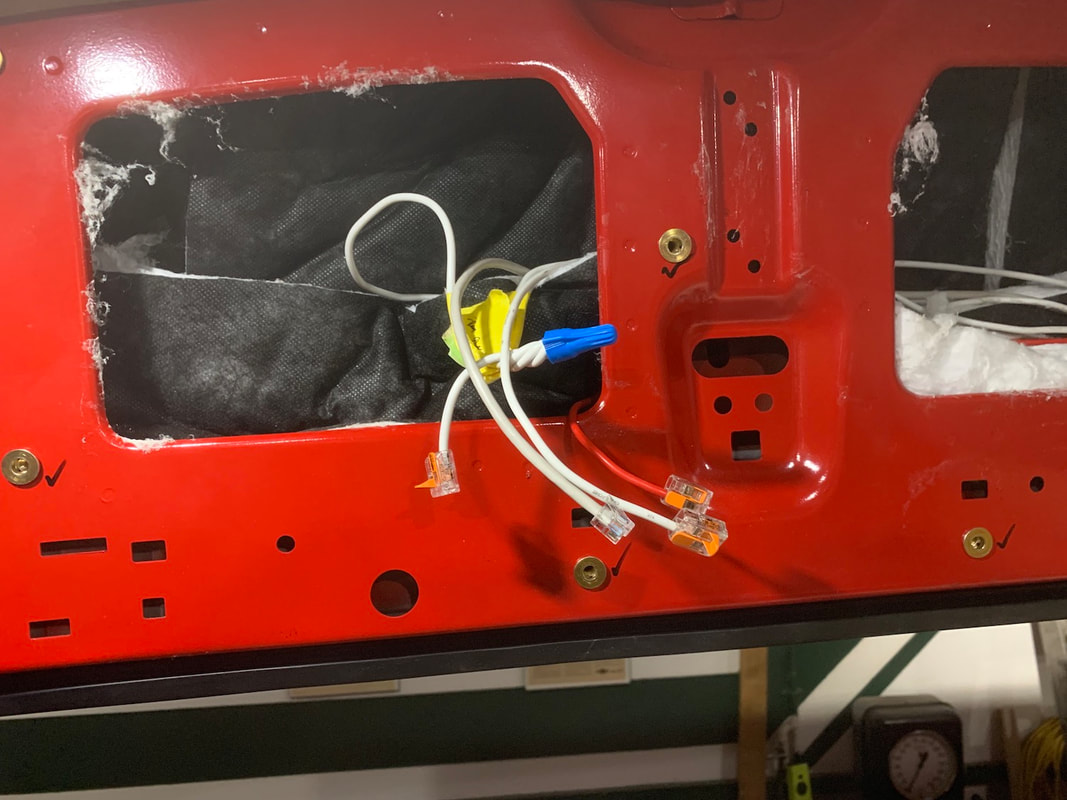
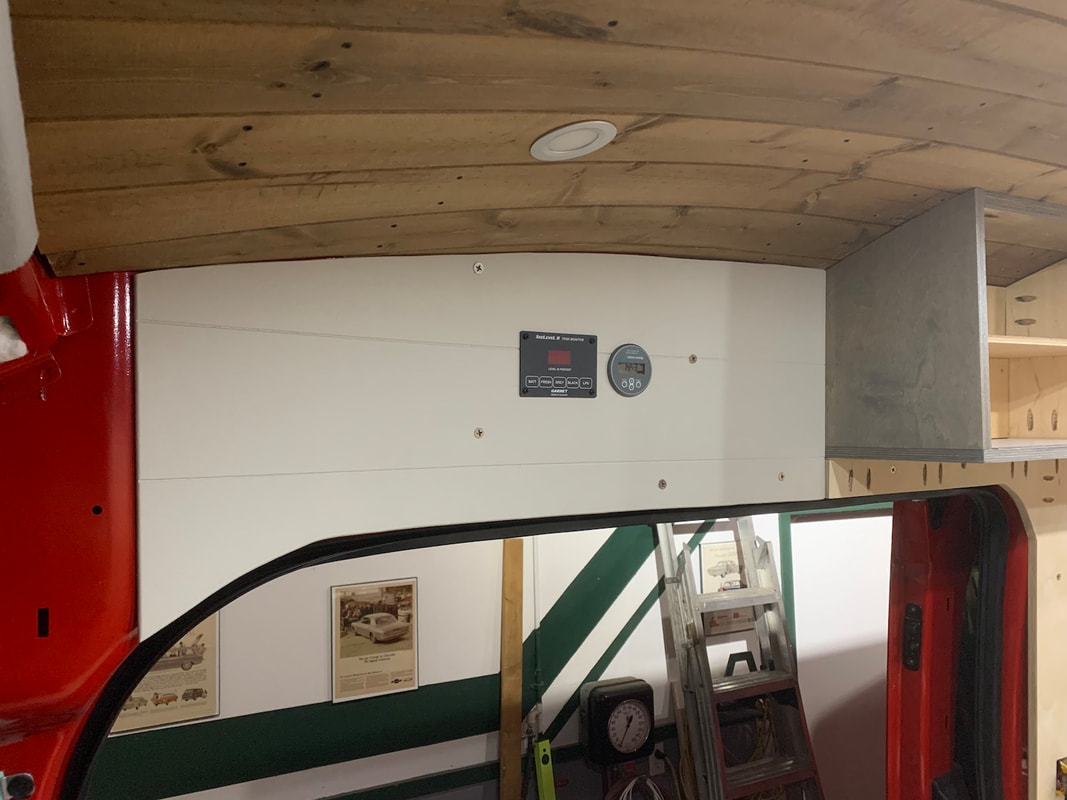
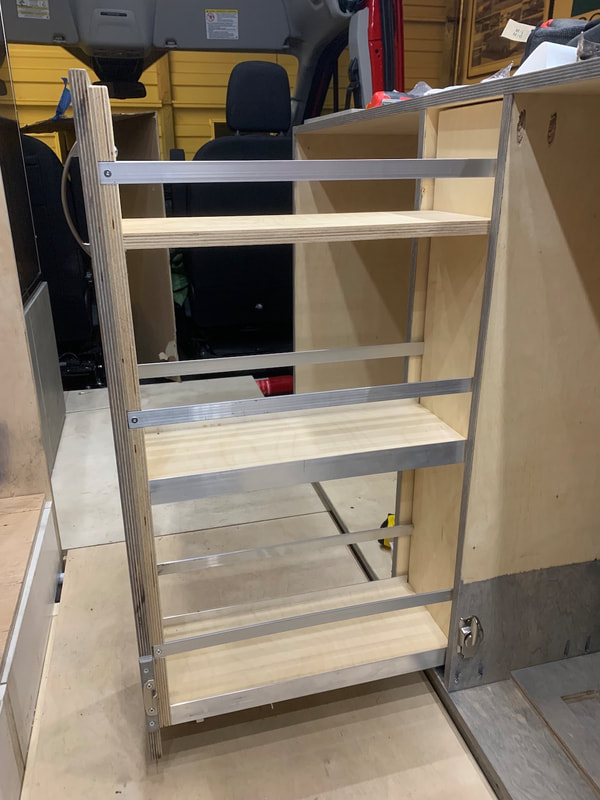
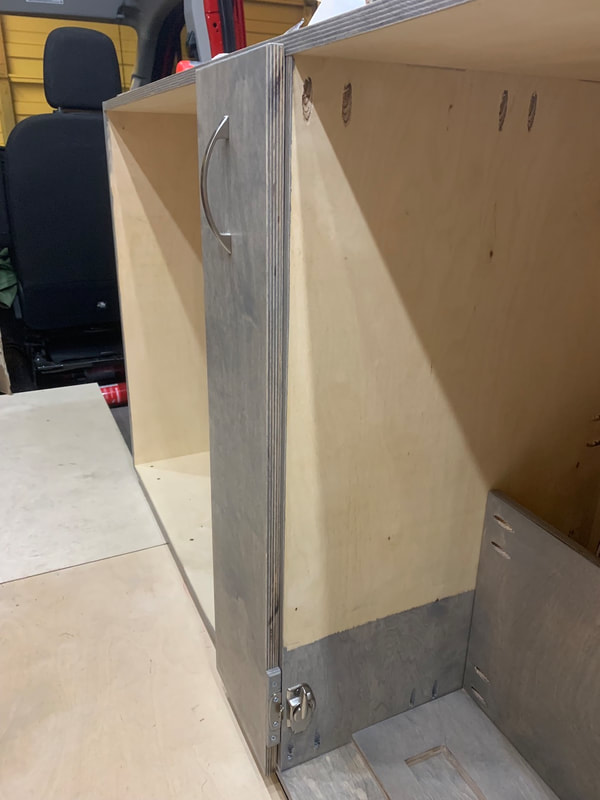
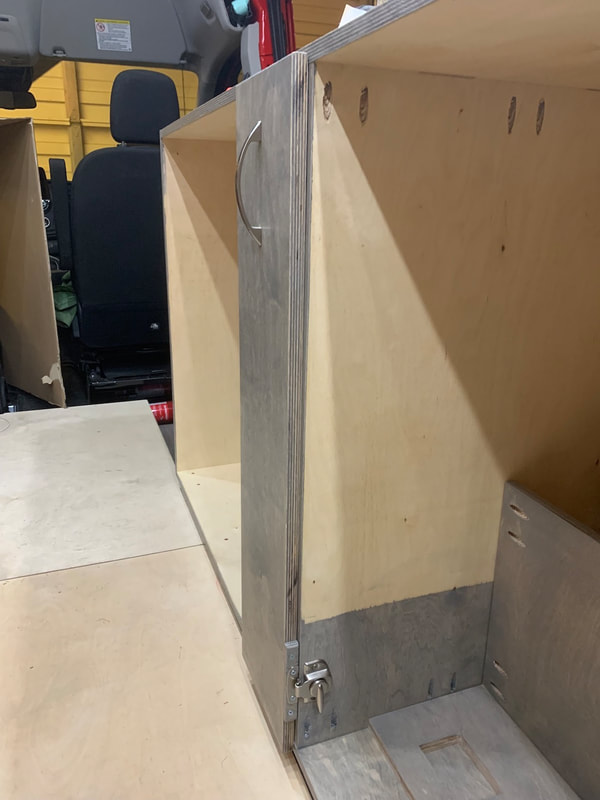
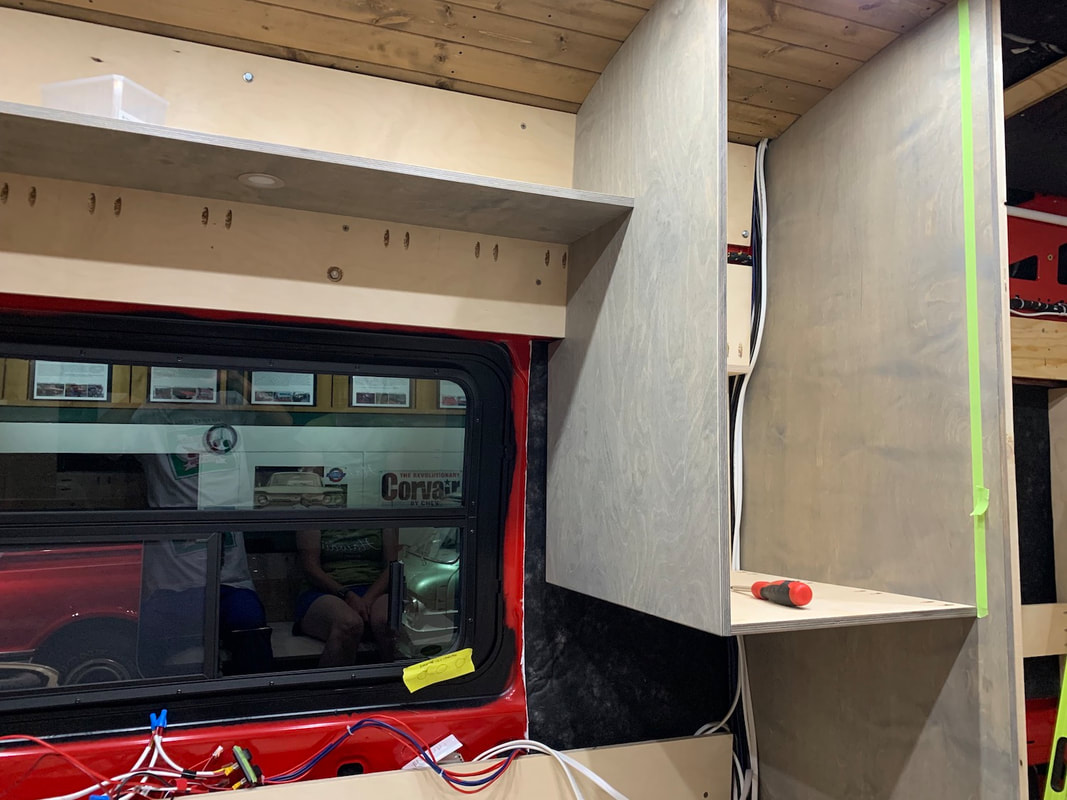
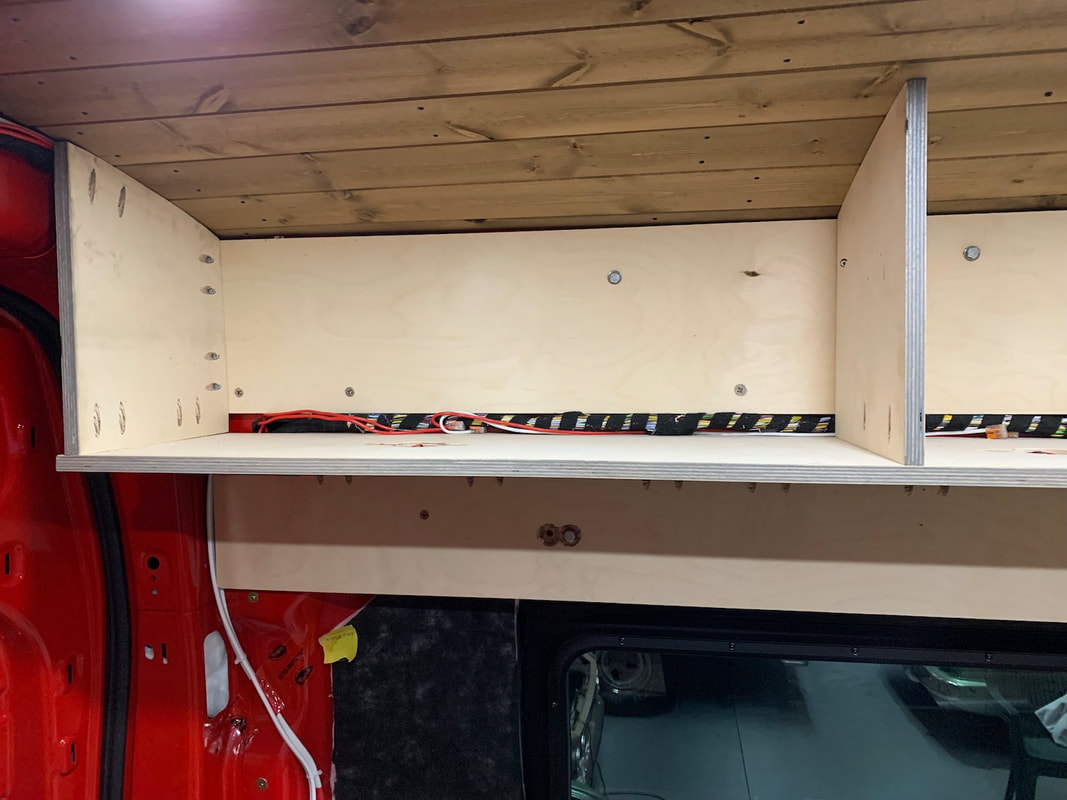
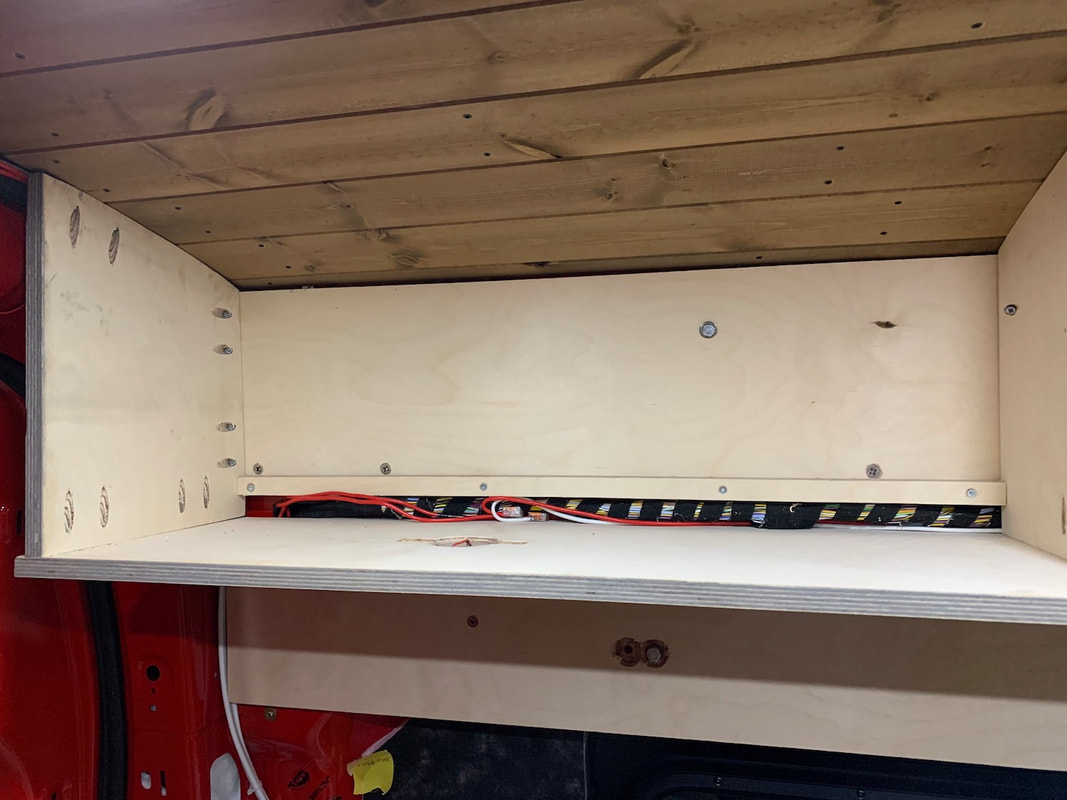
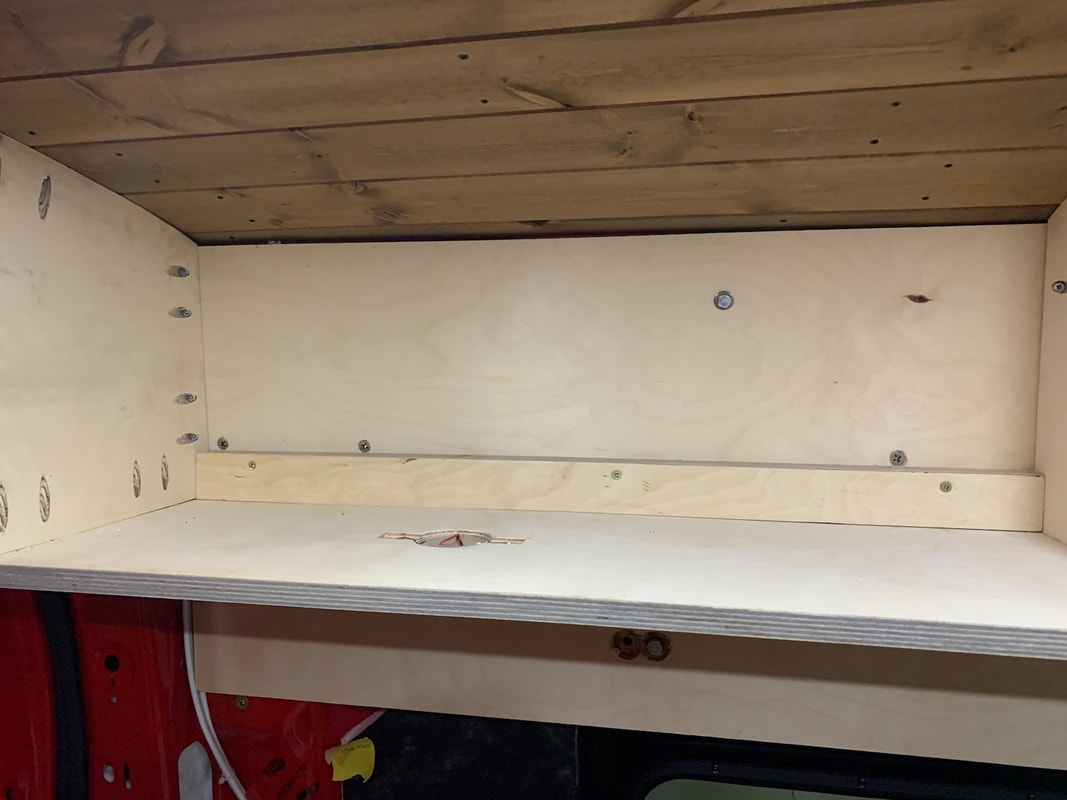
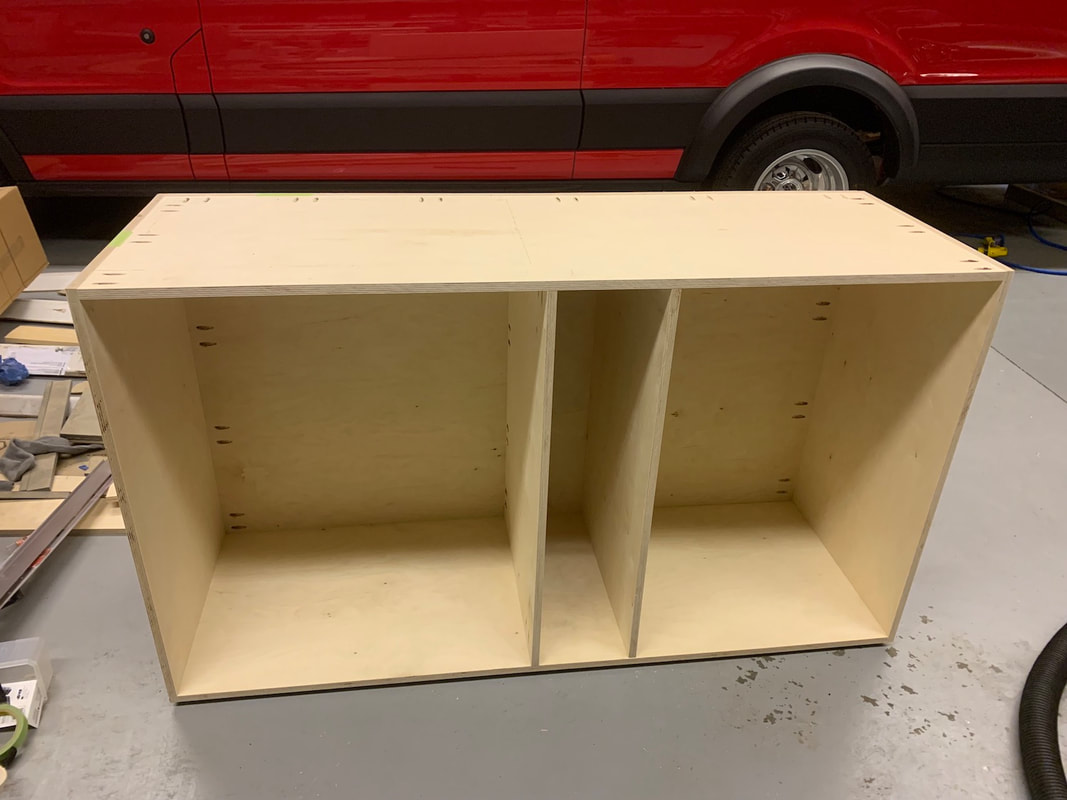
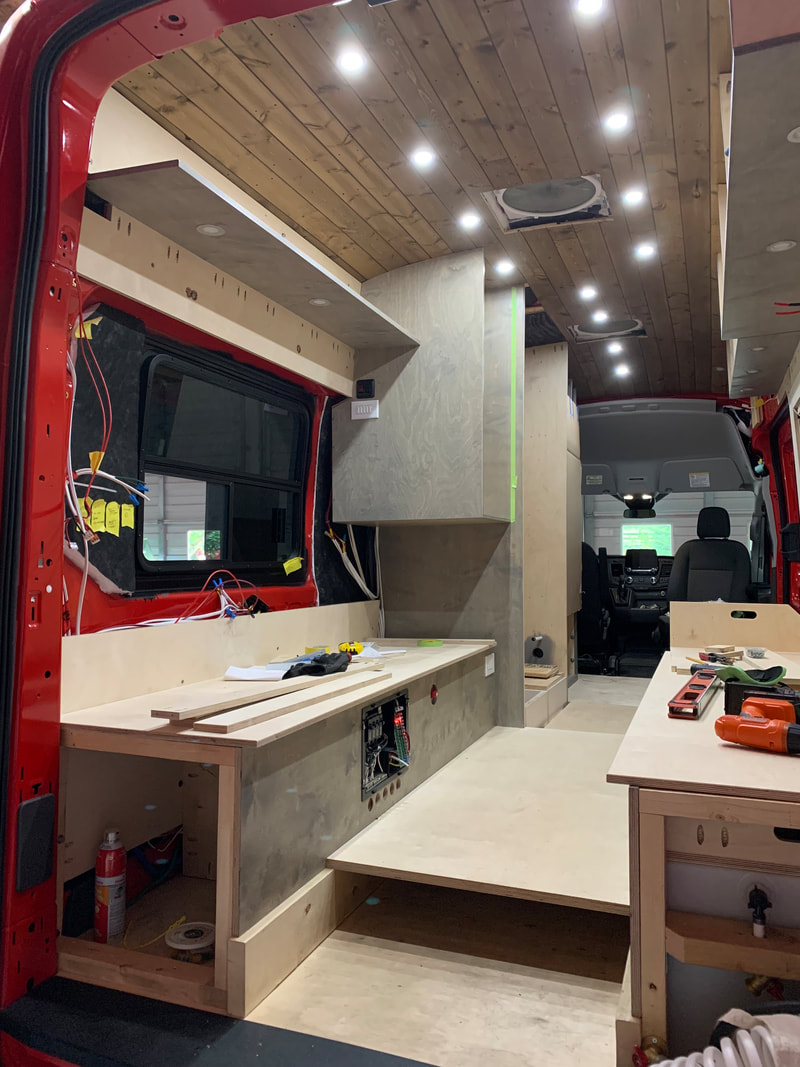
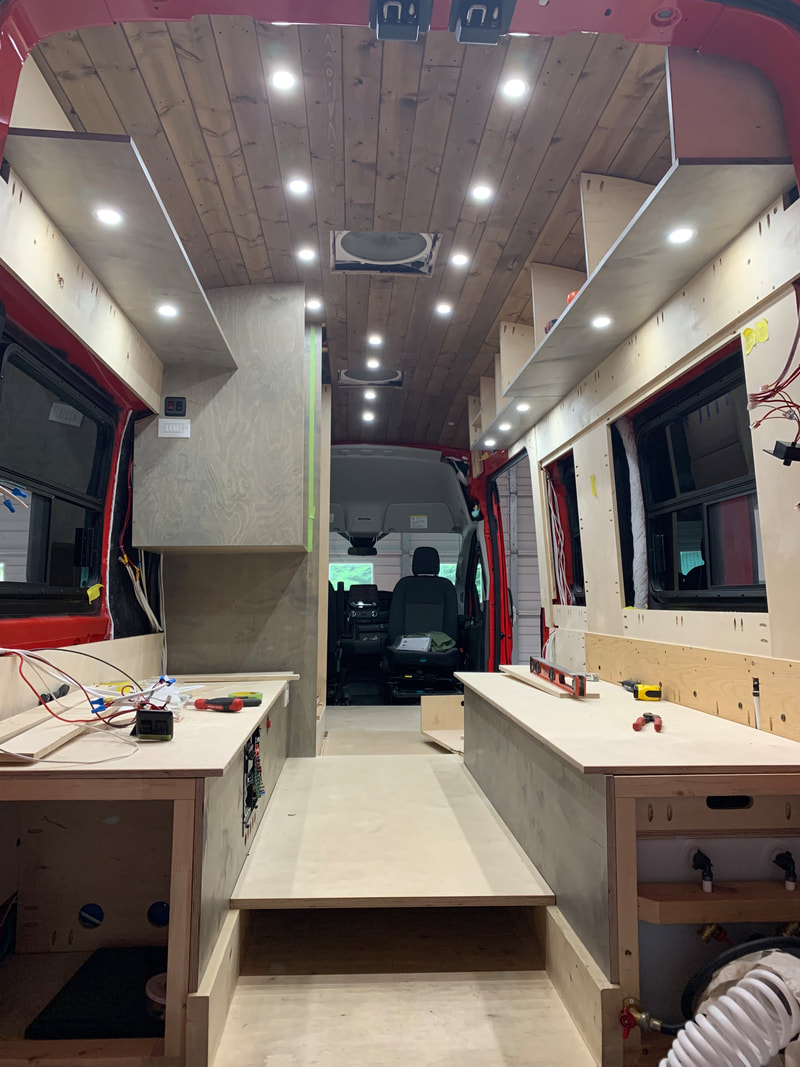
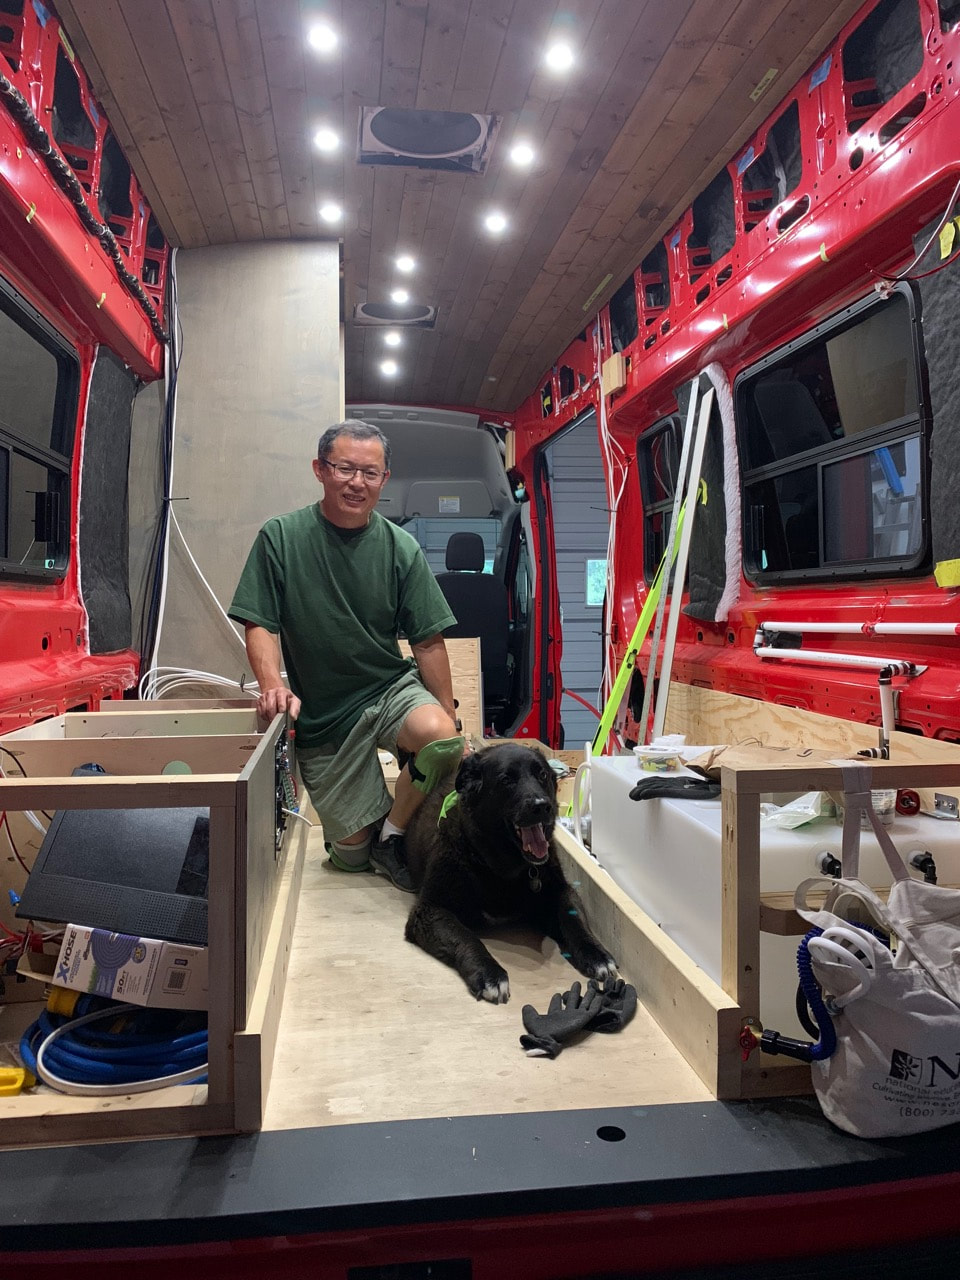
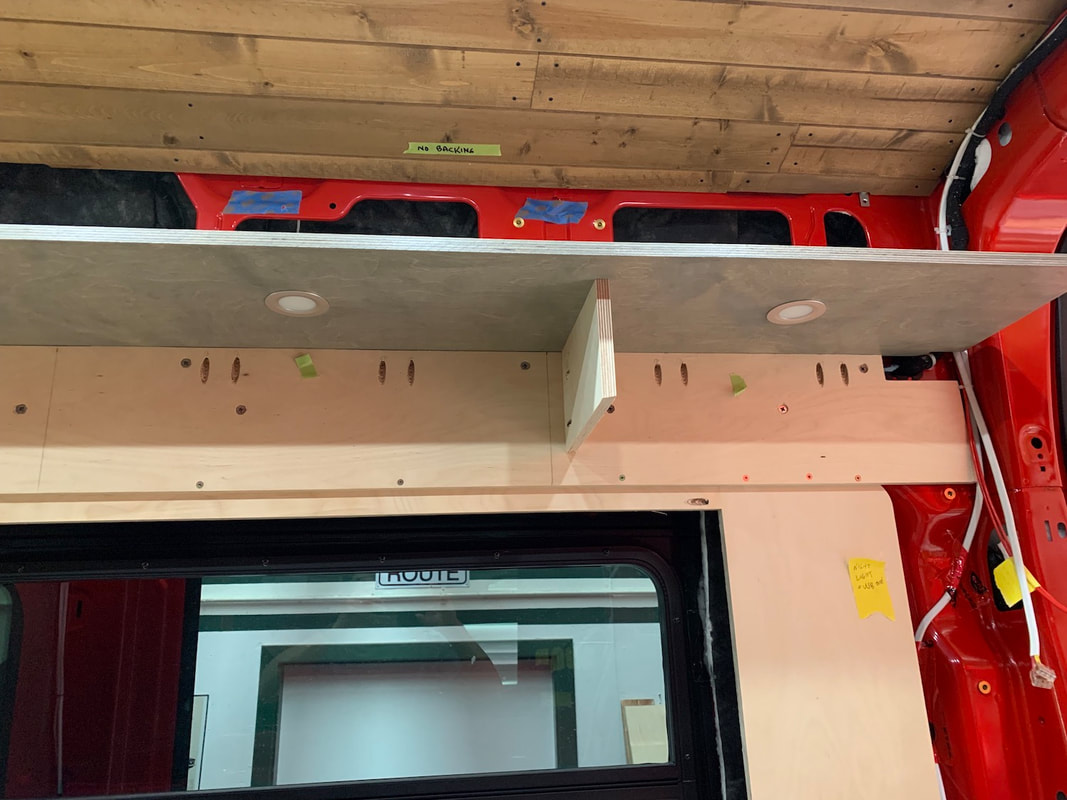
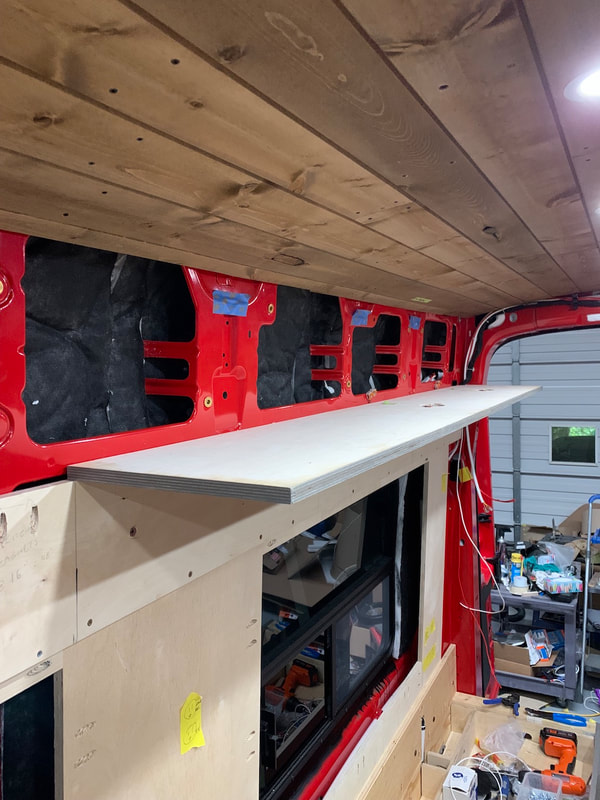
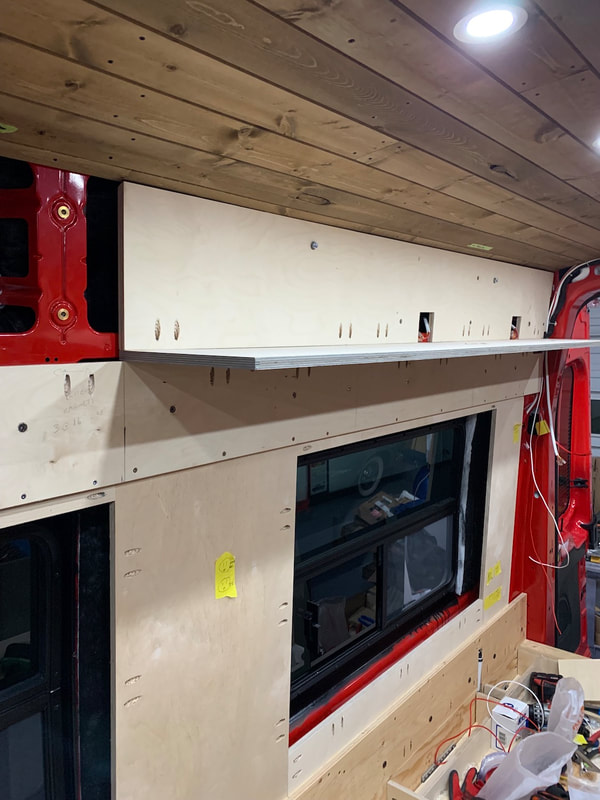
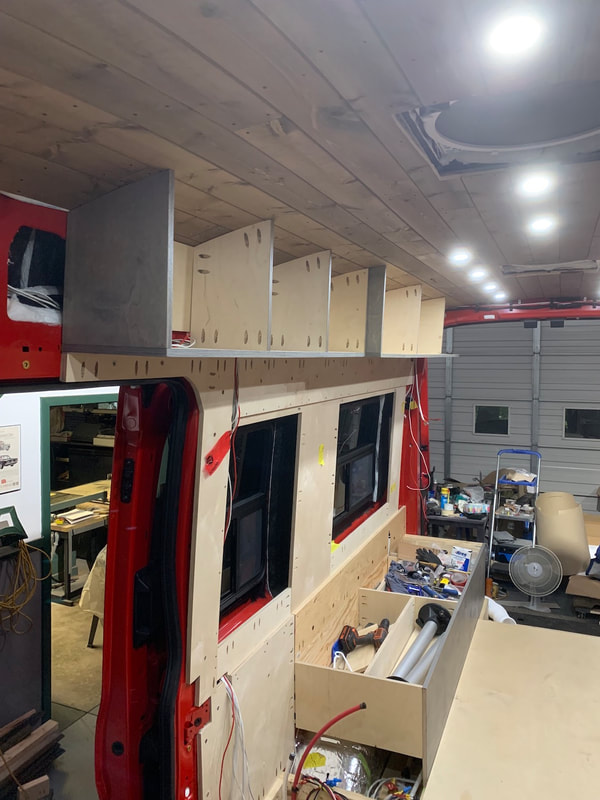
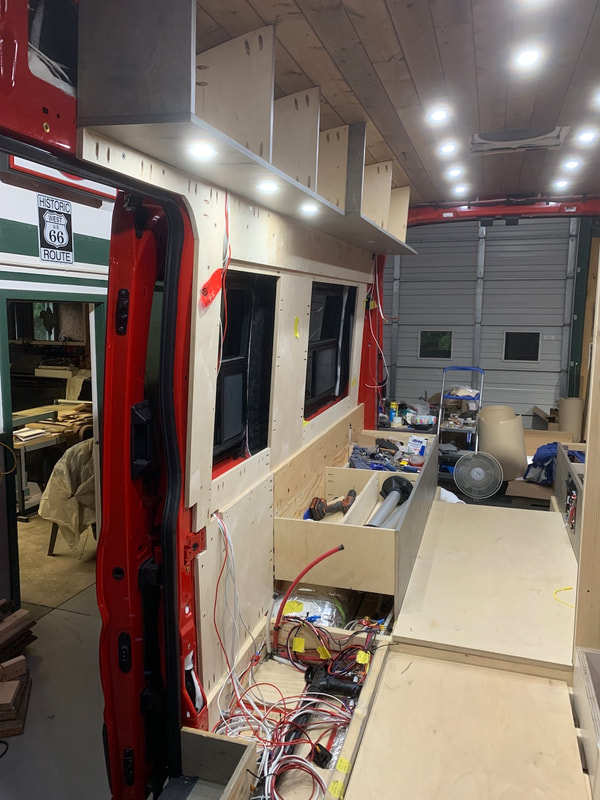
It took quite a while for the whole process: take down the doors, template and cut the hand holds (two holes and jigsaw for each), sand, prestain, stain with the thinned stain, varathane three to four coats, sand again, and then remount the doors. In the end we're happy with the appearance. The cabinets had a flush face and the look is clean. Tonight I also got the rest of the gas lift struts in place. Onto the driver's side dining area and bathroom. I'm leaving the kitchen drawers to later... Working around very slight (and some not so slight) slopes makes installing cabinets a challenge. I purposely set the cabinet bottoms a little back from the tops so that there was less chance of whacking my head on a cabinet edge. That posed the challenge of now having a hinge point that would close at an acute angle (less than 90°) which is unusual for a cabinet. After trying several different Blum hinges from Home Depot, I found one that will work. It is a Euro style for a frameless cabinet - but it is not a clip in hinge (none of those worked.) It is adjustable but the door attachment is a screw onto the mounting plate. I worked carefully to try and have nice looking wood grain (no patches) with a reasonably consistent stain application for all the doors. This meant doing all of the upper doors at the same time. We're still deciding on whether to use cabinet door pulls or to do cutout slots on each door. Because each door will have either a magnetic or mechanical latch on them (to keep them from accidentally opening while driving) there is a certain amount of force needed to pull the door open. In terms of using a handle/pull, we see two main downsides. One, pulling hard on the handle will loosen the screw and probably create problems later. We have this (handles coming loose over time) happening in our cabinets at home and there are no magnets or latches at home. Two, the handles protrude into the van living space. Another inch here or there is a big deal in a tiny living space. I think I've mentioned this before - there's so much to keep track of during the build process. I had planned on installing the Seelevel tank monitor panel and the Victron battery monitor unit in the panel just over the cargo slider door on the passenger side. I had previously tested the wiring from the grey, black, and fresh tanks to make sure the wiring was working. What I forgot was that when I tested it I had used a + and - wire from a different location in the van as I hadn't finished all my wiring yet. Well... I forgot and continued with the build. Low and behold, I built my overhead cabinets and installed the kitchen cabinet shell overtop of all the wire runs. When I went to wire up the Seelevel panel I was looking at the wiring thinking, "Hmmm, how did this go together again? Oh CRAP!!!" I realized that the wires to the battery were not installed. THANKFULLY, I had the right idea in that I had planned for access to the wires behind the cabinets - they were covered over with 1/4" plywood. So I undid 9 screws and jumped + and - connections off the wires that I had for the lights nearby. This also reinforced for me that I am happy I ran heavier gauge wire than is necessary (12 gauge when many people would have used 14 or 16) to the lights so jumping another connection off the power source wasn't going to overload anything. Life gets in the way! There haven't been many full days of work that I've been able to get in. Plenty of various other activities and events - but life is good:) I have managed to squeeze in a couple of hours on most days. The kitchen cabinet shell has been installed. As with everything else, building the pantry was a "one off custom job." I bought hidden bottom mount glides for the pullout pantry and the slides had "slow close" mechanisms built in which I at first thought was great. Then after installing them I realized that we were going to need some sort of restraint mechanism for when we are driving (other wise the pantry might fly open on a corner.) I realized that the slow close wouldn't close with enough force to engage a latch. After some thinking and serendipitous shopping, I came across a solution - a sash lock like those used on windows. Because our pantry is right next to the heater cubby, there is an exposed vertical wall which would allow for mounting the lock. More updates coming today on what's been happening since my last post. Plans change... It's always interesting to see when plans meet reality. When I first encountered the 3/4" thick wiring harness running down the driver's side of the van I thought I had a way I was going to cover it. Of course, as the build progressed the ideas evolved and I arrived at a minimally intrusive way to cover the harness inside the upper cabinets (see photos below.) The main kitchen cabinet for the cook top and sink have also evolved. We're quite happy that the evolution ended up incorporating a pullout pantry in the middle of the cabinet unit. I haven't quite completed the pullout unit yet but that is in the plans for tomorrow. It has been very sad around here - our dog Brinkley passed away last weekend. She had been keeping me company in the barn for the entire build. She was not doing well three weeks ago; after a vet visit and some meds, she had perked up quite well and had a terrific two weeks. She was just coming up to her 13th birthday and she had a terrific life on the farm. She passed away peacefully in our company at home last Sunday. We miss you Brinkley. Work has continued slowly on Redford. Really getting into the nitty gritty of finer interior details at this point. I'm not a cabinet maker by trade so my goal is not to make finely finished furniture or kitchen cabinets. I want the cabinets to be very functional and look nice but I'm not aiming for super smooth finishes and perfect joinery. So far so good! The upper cabinet structures (minus the doors) are almost complete on the passenger side. I still have to cover the wiring with some thin protective material but the cabinets have been built in place. |
AuthorCalvin here - after spending almost 33 years in education as a high school teacher, elementary teacher, and elementary administrator, it was time to retire! I did so happily and with no regrets; it was a terrific and fulfilling career. I do enjoy building projects as the design and building process is very therapeutic and you see a completed functional product in the end. Now to combine the build with another of Angela's and my passions - travel - is something we're really looking forward to. Archives
September 2022
Categories |


 RSS Feed
